Step into a world of vintage charm and effortless elegance with this easy-to-follow tutorial on sewing a stylish Soldier dress! Inspired by the classic military silhouette, this dress offers a unique blend of practicality and sophistication, perfect for adding a touch of retro flair to your wardrobe. Whether you're a seasoned seamstress or a beginner just starting your sewing journey, this project is designed to be accessible and rewarding, guiding you through each step with clear instructions and helpful images. The structured design, typically featuring a fitted bodice and a slightly A-line skirt, lends itself beautifully to various fabrics and personal styling choices.
Forget complicated patterns and frustrating instructions! This tutorial breaks down the process into manageable, easy-to-understand steps, ensuring you'll create a stunning Soldier dress without feeling overwhelmed. Get ready to unleash your creativity and transform fabric into a chic and timeless garment. Let's begin with the first step in our comprehensive, step-by-step guide to sewing your own perfect Soldier dress.
Preparation and Safety Guidelines
- Fabric
- Sewing Machine
- Pins
- Measuring Tape
- Scissors
- Iron
- Hemming Gun
- Always use sharp sewing machine needles and pins to prevent fabric from tearing or causing injury. Change needles regularly.
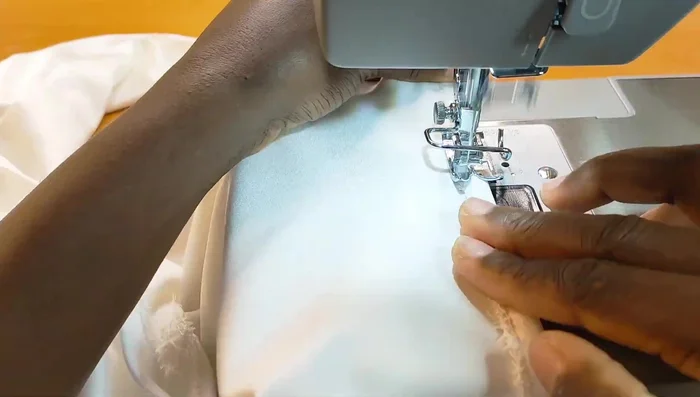
- Be mindful of the placement of your fingers when operating the sewing machine. Keep fingers away from the needle and presser foot.
- If working with fabric scissors, cut away from yourself and never leave scissors lying open.
Step-by-Step Instructions
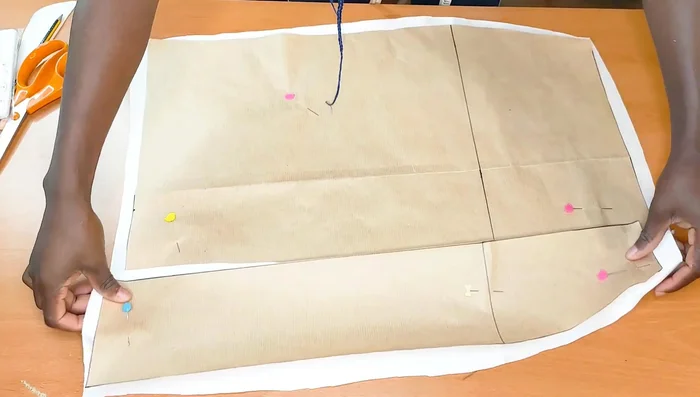
Prepare Fabric
- Cut fabric pieces with ½ inch seam allowance added. Cut one full back piece and two front pieces.
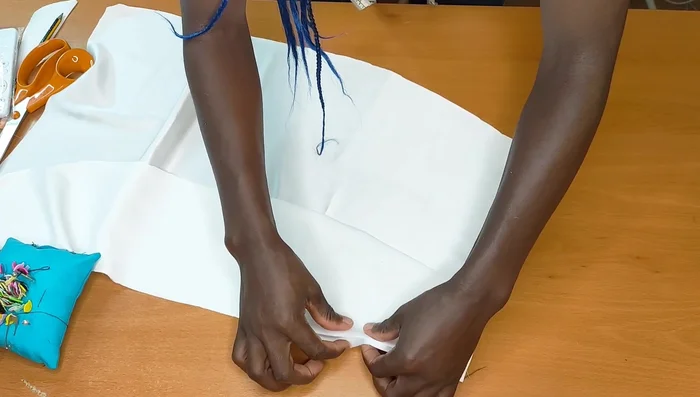
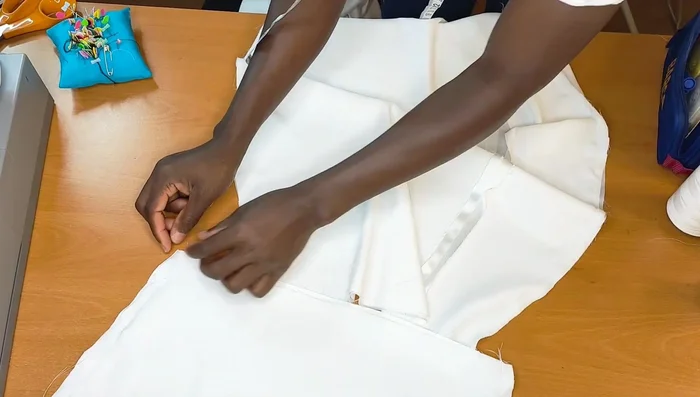
Assemble Back
- Join the back piece. Pin and stitch the side seams of the dress.

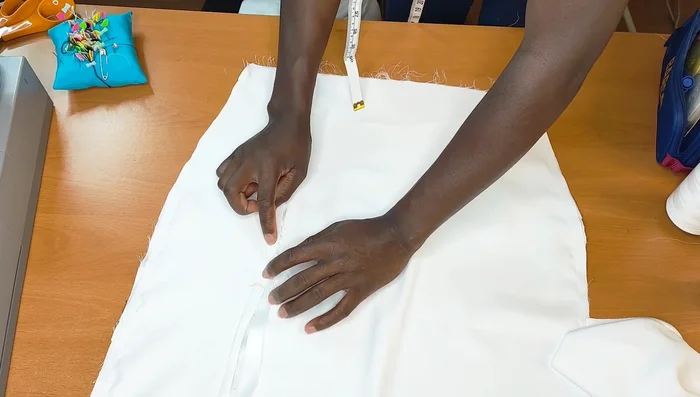
Assemble Back Attach Front to Back
- Place the front pieces on top of the back piece, right sides facing, pin, and stitch from the shoulder to about 12.5 inches down (adjust as needed). Leave the lower part open.
Attach Front to Back Join Side Seams
- Pin and stitch the side seams of the skirt, right sides facing each other. Stitch the top.
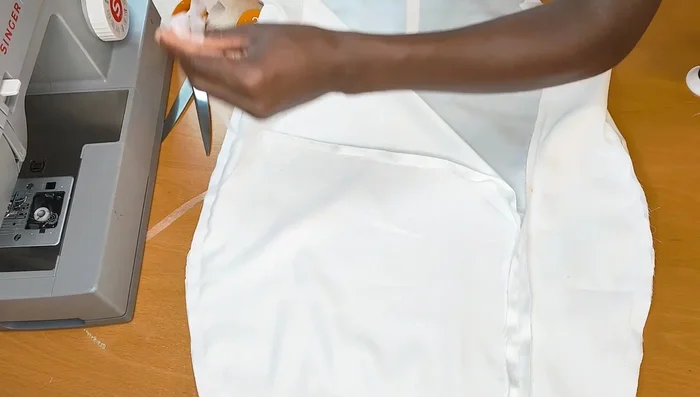
Join Side Seams Press and Finish Seams
- Press the seams open. Apply hemming gun to the seam allowances for a neat finish.
Press and Finish Seams Attach Top and Skirt
- Join the top and skirt pieces, leaving about ½ inch allowance at the waist and neckline. Stitch.
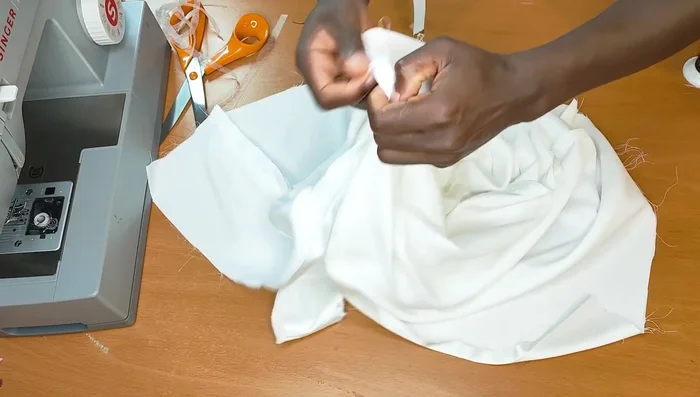
Attach Top and Skirt Close Gaps and Finish Seams
- Close up any small holes and finish the seams (overlock or zig-zag stitch).
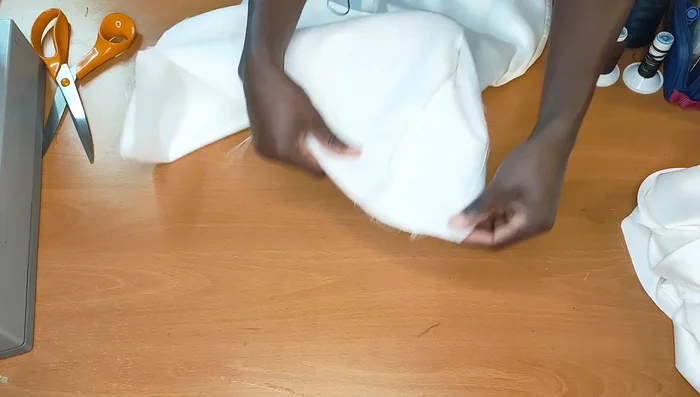
Close Gaps and Finish Seams Hemming and Finishing
- Overlock the raw edges of the skirt hem and neckline. Apply hemming gun to the inside, press with a steam iron.
- Hem the neckline and skirt hem (4 ½ inches inward).
Hemming and Finishing Final Pressing
- Press the finished garment.
Final Pressing
Read more: Raglan Sleeve Sewing Tutorial: A Step-by-Step Guide
Tips
- Add ½ inch seam allowance to all pieces for better fitting.
- Use a hemming gun for a clean finish and to help maintain the design.