Winter's chill calls for cozy, stylish attire, and this season, nothing embodies that sentiment quite like a smocked top with charming balloon sleeves. Imagine yourself wrapped in the soft comfort of a handmade garment, perfectly tailored to your liking, and radiating a touch of effortless chic. This DIY project allows you to create a unique and beautiful piece, far exceeding the appeal of anything you might find in a store, all while expressing your personal style. Forget the expense and limited choices of ready-to-wear; with a little patience and these easy-to-follow instructions, you'll be crafting your own winter wardrobe staple.
This comprehensive tutorial will guide you through every step of constructing your own adorable smocked top with delightful balloon sleeves. From choosing the right fabric to mastering the smocking technique, we'll cover everything you need to know to create a stunning, wearable piece. Let's dive into the detailed, step-by-step process to make your very own winter wardrobe winner!
Preparation and Safety Guidelines
- Sewing Machine
- Serger
- Iron
- Pins
- Elastic Thread
- Twill Tape (or Bias Tape)
- Measuring Tape
- Always use sharp, appropriately sized needles and pins to avoid accidental pricks and injuries. Handle fabric shears with care.
- If using a sewing machine, ensure it's properly threaded and the needle is the correct type for your fabric to prevent breakage or damage. Keep fingers clear of the needle.
- When working with elastic, be mindful of stretching it too tightly, which could distort the garment or cause discomfort. Measure twice before cutting.
Step-by-Step Instructions
Prepare Bodice
- Hem the top of the bodice pieces. Serge the edges and fold under a quarter inch, then top stitch.
- Attach the two bodice pieces at the side seams. Place right sides together, match seams, pin, and sew with a half-inch seam allowance. Serge excess fabric.

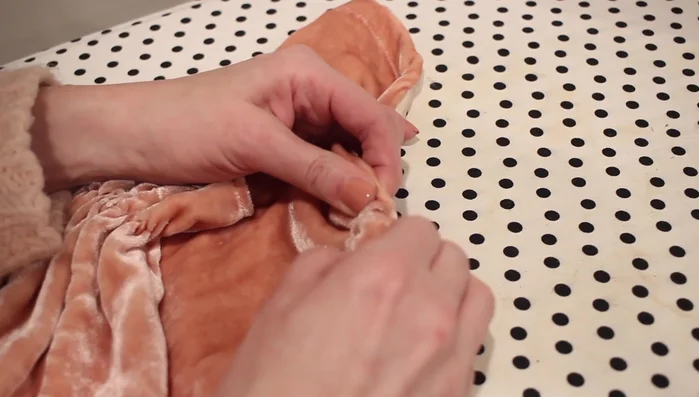
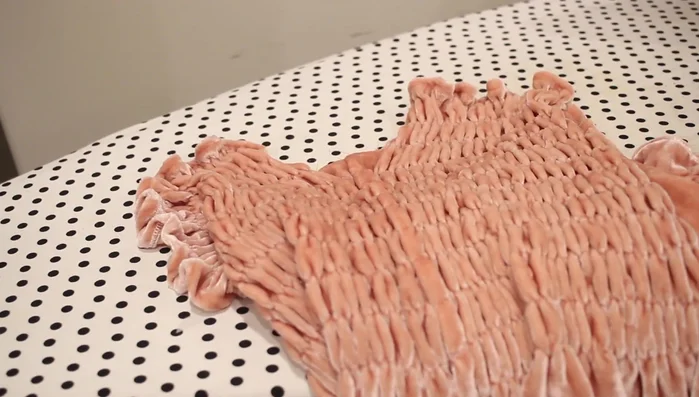
Prepare Bodice Create Smocking Detail
- Create the smocking. Sew rows of elastic thread approximately two inches apart, starting a quarter inch from the hem. The first row may gather less; subsequent rows will gather more.
Create Smocking Detail Prepare Sleeves
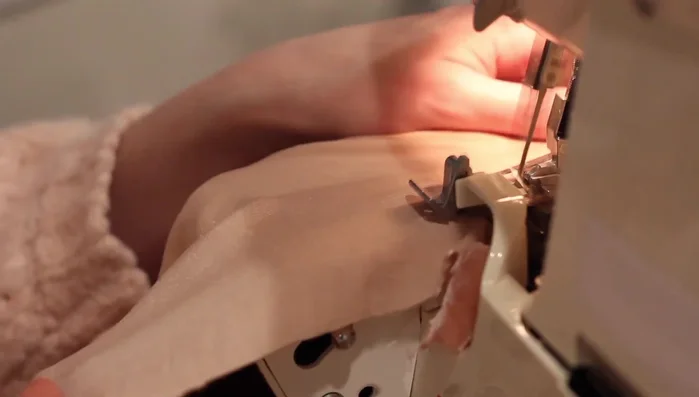
- Sew the sleeve side seams. Match long sides of each sleeve piece, sew with a 5/8 inch seam allowance and serge.
- Hem the sleeves. Serge the bottom, fold under, and top stitch.
- Create sleeve cuffs. Sew a row of elastic thread along the sleeve cuff, then use steam to gather.
- Attach twill tape (or bias tape) to the top of the sleeves. Pin along the top edge, leaving space for the underarm, and sew with a quarter-inch seam allowance. Turn under and top stitch to create a casing for the elastic.
Prepare Sleeves - Thread elastic through the sleeve casings. Measure to ensure a comfortable fit; pin and adjust.
Prepare Sleeves Attach Sleeves to Bodice
- Attach sleeves to the shirt. Match sleeve and shirt side seams, pin at underarm, and sew with a half-inch seam allowance. Serge the underarm edges.
Attach Sleeves to Bodice Hem Bottom
- Hem the shirt bottom. Serge the edge, fold under, and top stitch.
Hem Bottom


Read more: Raglan Sleeve Sewing Tutorial: A Step-by-Step Guide
Tips
- With velvet, ensure all fabric pieces are oriented in the same direction to avoid color variations.
- Use steam to help the smocking gather more evenly.
- Bias tape works better for the sleeve casing than twill tape.
- Be careful not to iron directly onto the velvet fibers.