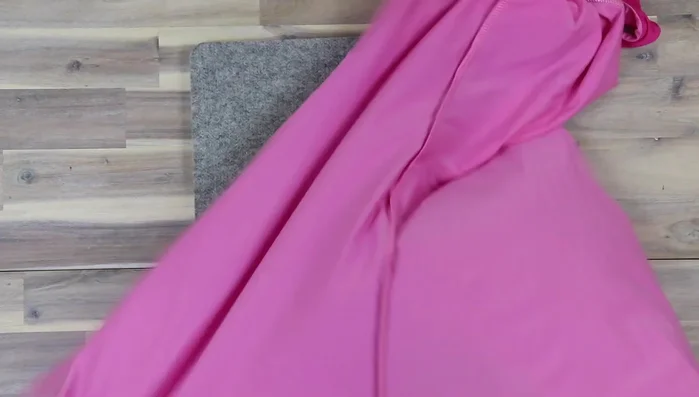
Craving a breezy, stylish sleeveless frock but dreading complex sewing patterns? The Lulu frock is your answer! This incredibly versatile garment is perfect for summer days, offering both comfort and chic appeal. Forget hours spent wrestling with intricate instructions; this tutorial guides you through the absolute fastest and easiest method for sewing your own Lulu frock, perfect for beginners and experienced sewers alike who want a quick and satisfying project. We've streamlined the process, focusing on simple techniques and minimizing seams for a beautifully effortless result.
Imagine slipping into your handmade Lulu frock in a matter of hours, ready to enjoy the sunshine! This project prioritizes speed and simplicity without sacrificing style, making it ideal for those short on time but big on ambition. Prepare to be amazed by how quickly and easily you can create this wardrobe staple. Ready to get started? Let's dive into the step-by-step process!
Preparation and Safety Guidelines
- sewing machine
- French curve ruler
- clear elastic
- serger (optional)
- double needle (optional)
- packing paper
- Always use sharp sewing machine needles and pins to prevent fabric snags and injuries. Dull needles require more force, increasing the risk of accidents.
- Before starting, pre-wash and iron your fabric to avoid shrinkage and ensure accurate cutting and sewing. This prevents alterations later.
- Handle your sewing machine with care. Keep fingers away from the needle and moving parts at all times. If unsure about any function, consult your machine's manual.
Step-by-Step Instructions
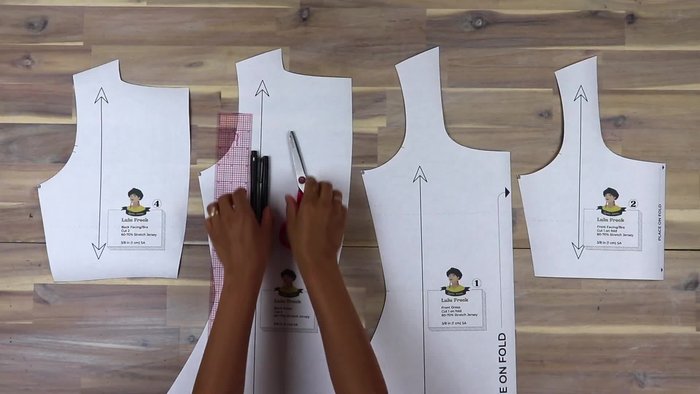
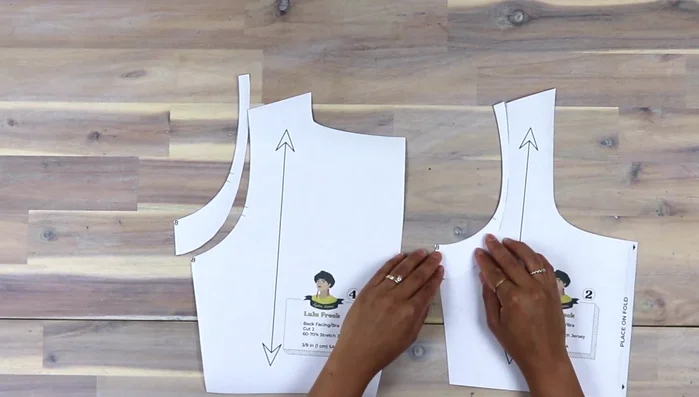
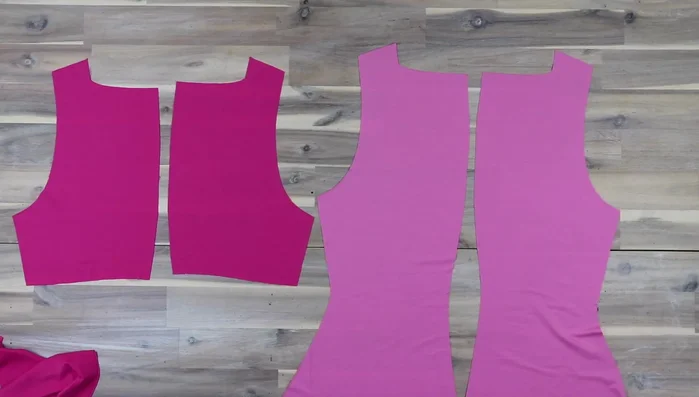
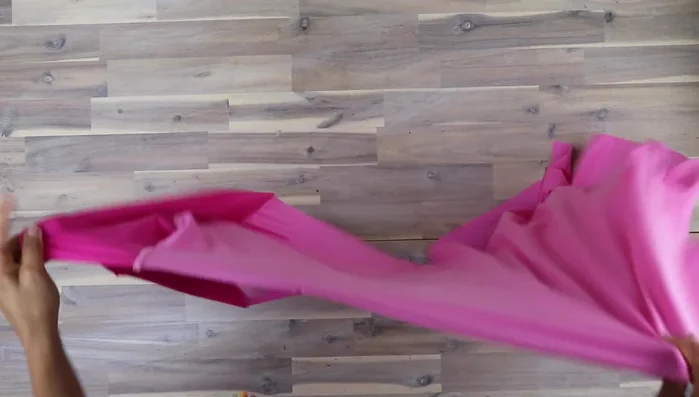
Prepare Dress and Facing Pieces
- Prepare the front and back dress pieces. Mark 0.5 inches (13 mm) from the outer edge at the shoulder and 1.5 inches (3.8 cm) down at the underarm. Connect these points with a curve.
- Repeat step 1 for the facing pieces, taking in an additional ⅛ inch (3 mm).

Prepare Dress and Facing Pieces Sew Shoulders and Attach Elastic
- Sew shoulder seams of dress and facing. Add ¾ inch (1 cm) wide clear elastic to the dress shoulder seams only.
Sew Shoulders and Attach Elastic Attach Facing
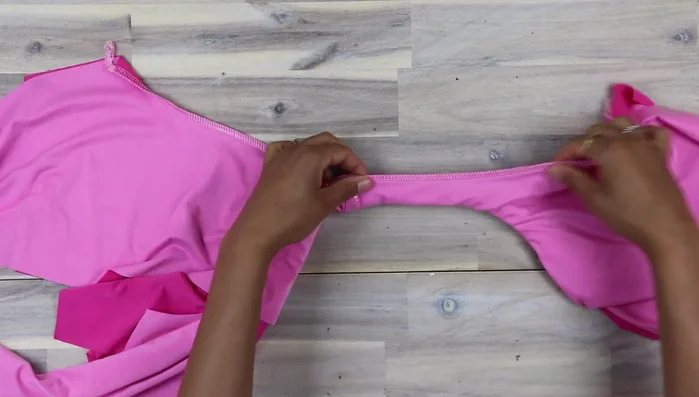
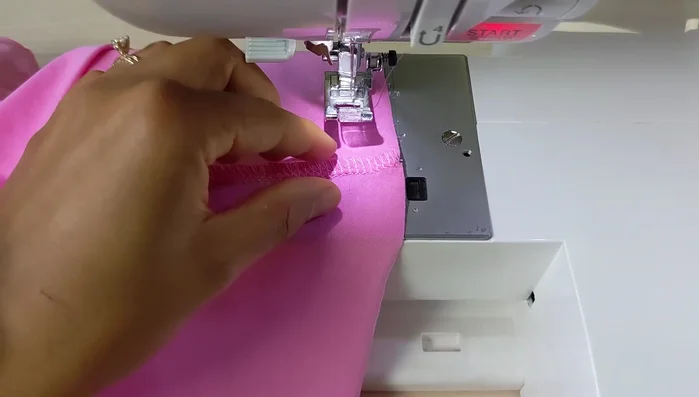
- Attach the facing. Place the dress right side to the facing along the neckline. Pin together with the clear elastic along the edge. Use a zigzag stitch or serger. Use packing paper under the fabric to help with starting the seam.
- Trim seam allowance, push towards facing, and understitch with zigzag stitch.
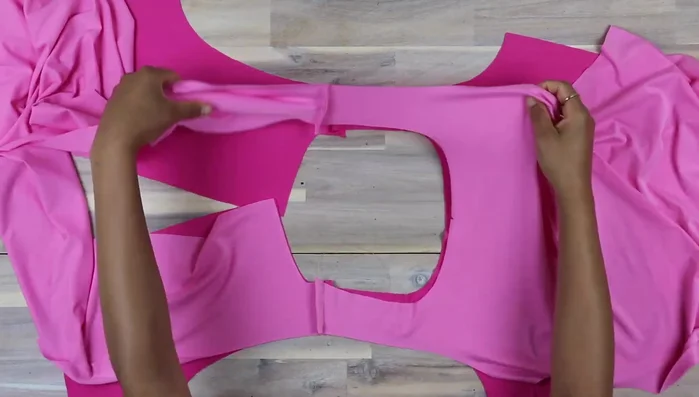
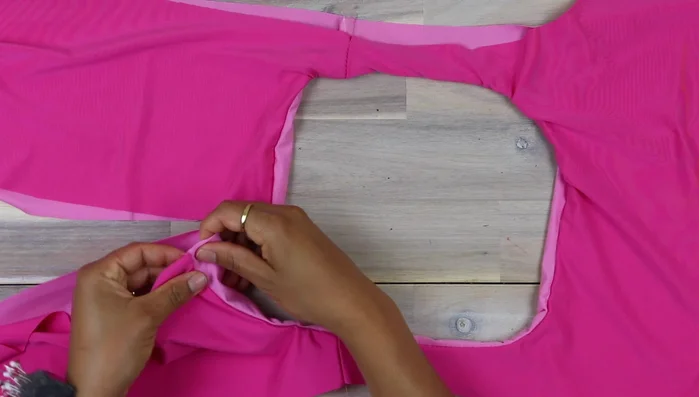
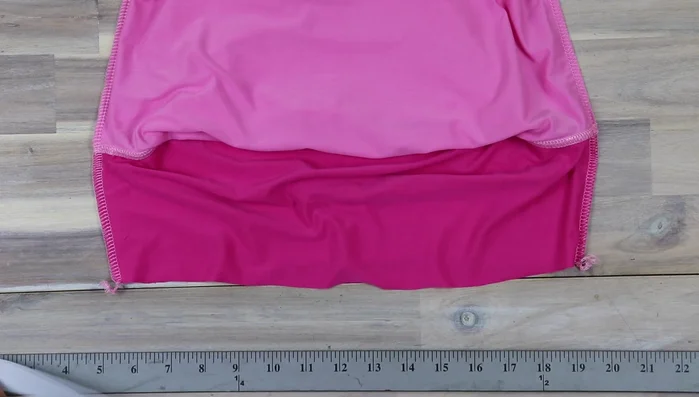
Attach Facing Finish Sleeveless Armholes
- Clean finish sleeveless armholes. Roll one side of the garment into a thin roll, wrap the other armhole around it (right sides together), and pin. Sew, incorporating ¼ inch elastic (if using a serger with ¼ inch allowance). Avoid stretching the elastic while sewing.
- Turn the armhole right side out (best from the back). Repeat steps 6 for the other armhole.
- Understitch the armhole seam up to the side seam on both sides.
Finish Sleeveless Armholes Sew Back Seam and Press
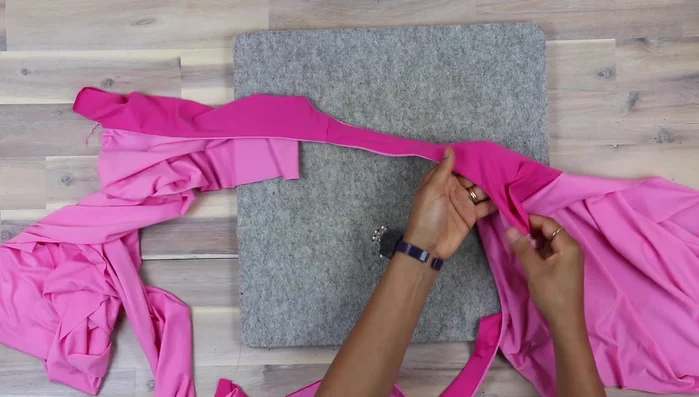
- Sew the center back seam, right sides together, matching notches and seams from the facing.
- Press each back seam to the same side (left, when right sides up).
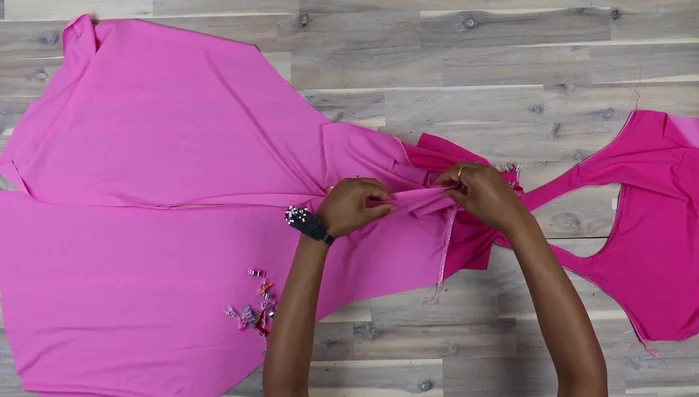
Sew Back Seam and Press Sew Side Seams
- Sew side seams right sides together from facing to the hem.
Sew Side Seams Attach Elastic to Shelf Bra
- Attach elastic to shelf bra. Cut elastic according to the chart. Overlap ends ¾ inch, sew together. Fold, mark the other side for the center. Line up the marked side of the elastic to the right side of the facing, sew with zigzag stitch, fold and secure inner edge.
Attach Elastic to Shelf Bra Hem the Dress
- Hem the dress. Fold 3/8 inch (1 cm) hem, sew with a zigzag stitch or double needle (for a more professional look).
Hem the Dress

Read more: Raglan Sleeve Sewing Tutorial: A Step-by-Step Guide
Tips
- Use a French curve ruler for smoother curves.
- A little snip in the elastic at the corners helps it lay flat.
- Packing paper under the fabric helps with starting seams.
- Avoid stretching the elastic while sewing armholes.
- Pull the armhole right side out from the back of the dress for easier turning.