Sewing your own clothes can be incredibly rewarding, offering a unique blend of creativity and practicality. However, certain elements, like zipper installation, can seem daunting to beginner sewists, often leading to frustration and abandoned projects. A flawlessly installed zipper, however, can elevate a garment from homemade to high-end, transforming a simple skirt into a polished piece of clothing. Many find zippers intimidating, but mastering this technique unlocks a world of sewing possibilities.
This guide aims to demystify the process of installing a zipper, specifically focusing on a straightforward technique perfect for skirts. We'll break down the seemingly complex task into easy-to-follow steps, ensuring even novice sewers can achieve professional-looking results. Let's get started with our step-by-step guide that will have you confidently installing zippers in no time!
Preparation and Safety Guidelines
- sewing machine
- zipper
- double-sided sewing tape (optional)
- pins
- seam ripper
- zipper foot
- Always use sharp fabric scissors to prevent fraying and ensure clean cuts. Dull scissors can cause fabric damage and make it harder to install the zipper smoothly.
- Pin the zipper carefully and accurately before stitching to avoid misalignment. Take your time to ensure everything is perfectly placed for a neat finish.
- Test the zipper frequently while sewing to check for smooth operation and make adjustments as needed. This prevents having to unpick and redo significant sections of stitching.
Step-by-Step Instructions
Prepare the Skirt
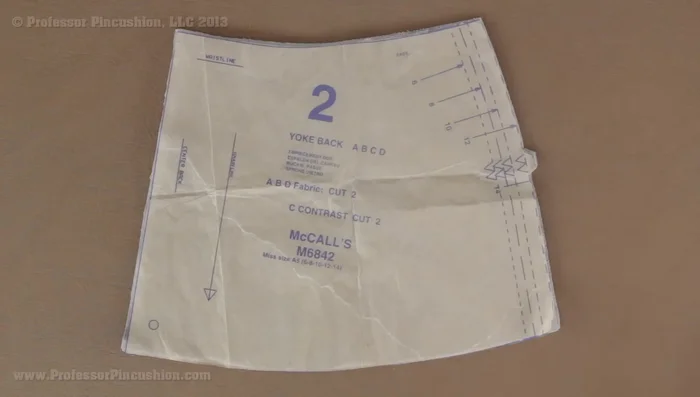
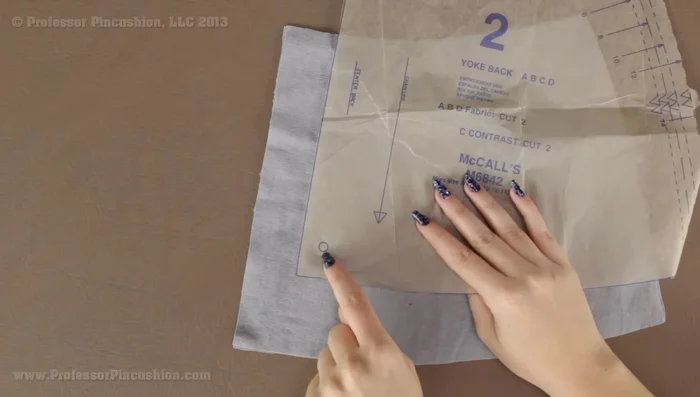
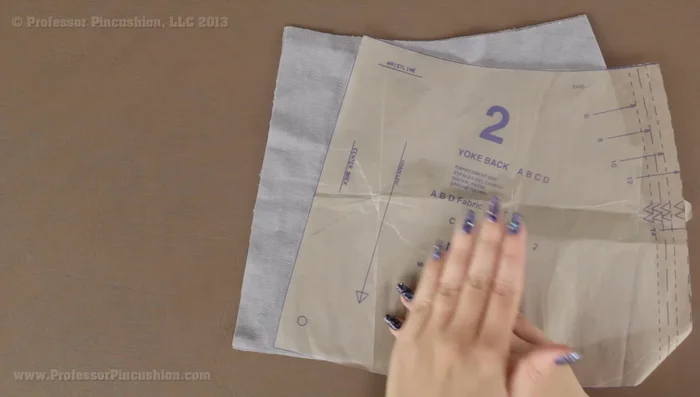
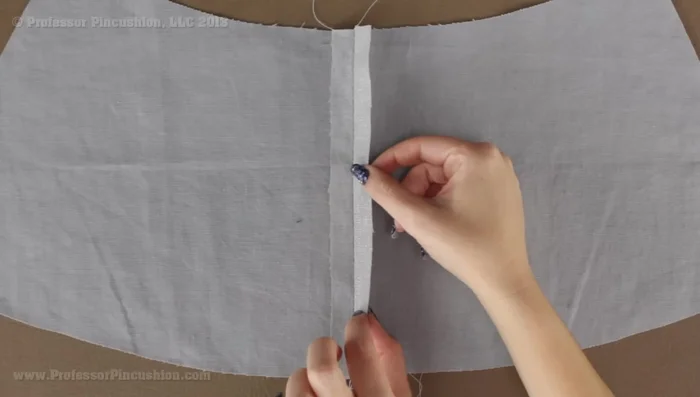
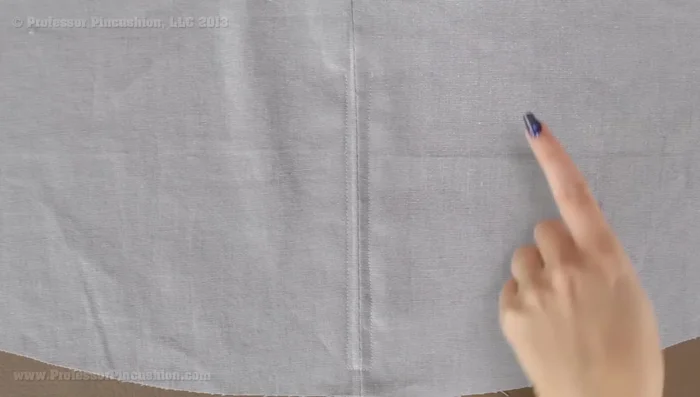
- Prepare your skirt pieces. Identify the center back seam where the zipper will be placed. This is usually indicated on your pattern.
- Sew the center back seam from the bottom of the skirt up to the designated zipper point (usually marked with a circle or notch on the pattern). Use a normal seam allowance (5/8 inch is common) and backstitch at the beginning and end.
- Above the zipper point, use a basting stitch (longest stitch on your machine) to sew the seam. Do not backstitch.
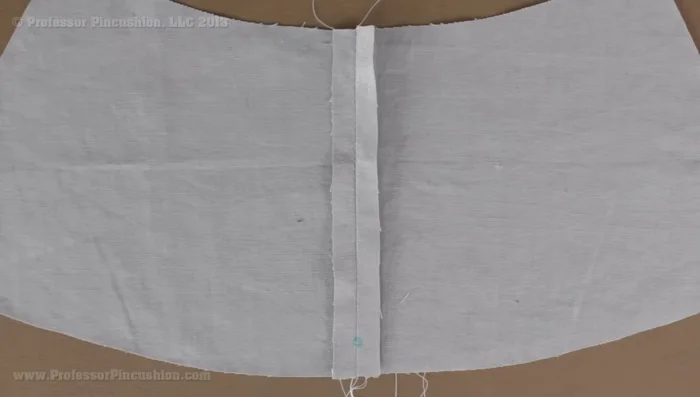
- Press the seam open to make it flat.

Prepare the Skirt Prepare for Zipper Installation
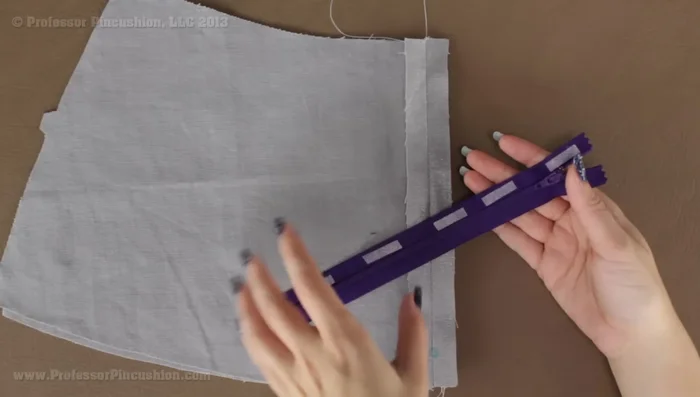
- Flip the seam allowances to one side, exposing the wrong side of the fabric. This prepares for zipper placement.
Prepare for Zipper Installation Attach the Zipper (Basting)
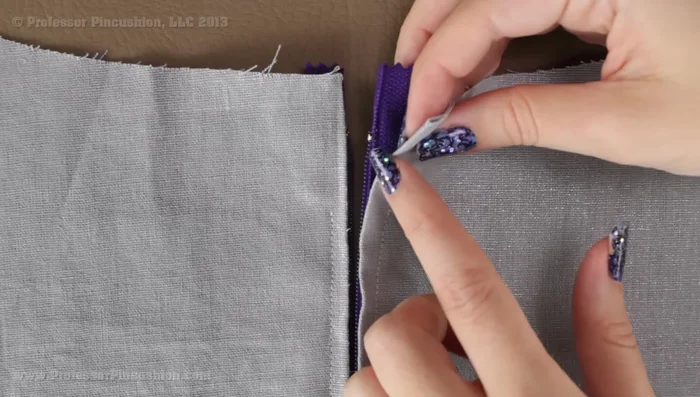
- Position the zipper (wrong side up) with its bottom edge aligned with the end of the basting stitch. If using tape, apply it to secure the fabric.
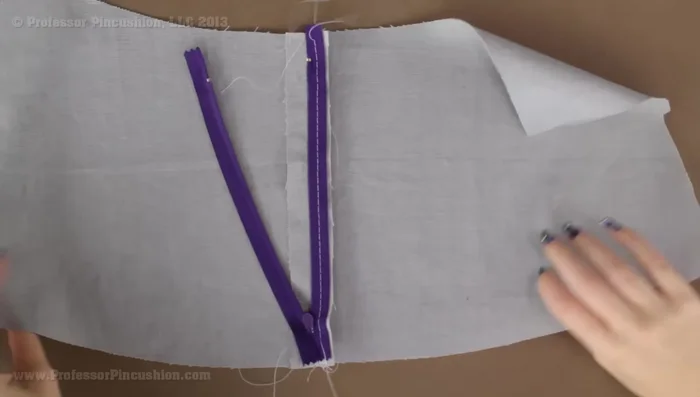
- Baste the zipper tape to the fabric using a zipper foot on your machine. Use a basting stitch. To avoid sewing over the zipper pull, temporarily lift the presser foot, zip up past the pull, then continue sewing.
Attach the Zipper (Basting) Secure the Zipper (Permanent Stitch)
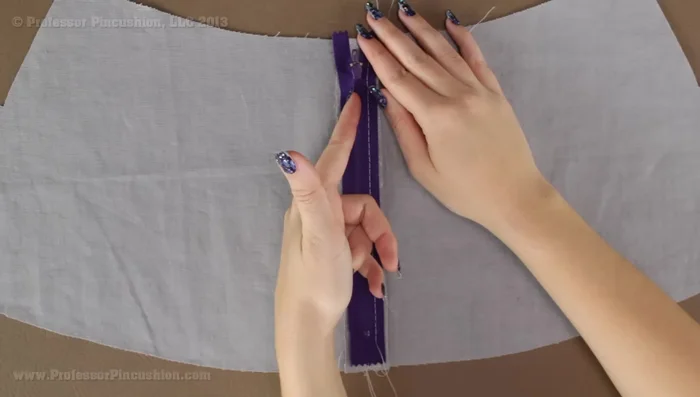
- Flip the skirt back to the right side, zip up, and remove basting threads.
- Using a matching thread and a regular stitch, stitch along the basting stitches to permanently secure the zipper tape. Aim for about a quarter-inch away from the zipper teeth.
Secure the Zipper (Permanent Stitch) Finish the Zipper
- Remove the basting stitches with a seam ripper. This allows for easy opening and closing of the zipper.
- Unzip the zipper. Neatly fold the fabric at the zipper top, aligning the zipper teeth with the fold, and pin. Stitch to connect the top of the zipper to the fabric on both sides.
Finish the Zipper

Read more: Raglan Sleeve Sewing Tutorial: A Step-by-Step Guide
Tips
- Use double-sided sewing tape for easier zipper placement. However, ensure the fabric is compatible with the tape’s water-soluble nature.
- Use a contrasting thread for the initial basting stitch to make it easier to see and remove the stitches later.
- When sewing the zipper, do not stitch directly on the basting stitches; stitch alongside them.
- To create neat corners at the top of the zipper, lift the presser foot, rotate the fabric to maintain a sharp corner, and continue sewing.