Ever dreamt of rocking a super cute skater dress without breaking the bank? Forget expensive boutiques and frustrating online searches – you can create your own adorable, perfectly fitting skater dress with this easy DIY tutorial! Whether you're a complete beginner or looking for a fun, quick project, this guide will walk you through the process from start to finish, utilizing simple sewing techniques and readily available materials. Prepare to unleash your inner fashion designer and craft a garment you'll be proud to wear.
This tutorial focuses on creating a classic skater dress silhouette known for its flattering A-line shape and playful vibe. We'll cover everything from choosing the right fabric and taking accurate measurements to assembling the dress and adding finishing touches. Ready to get started on creating your dream skater dress? Let's dive into the step-by-step instructions below!
Preparation and Safety Guidelines
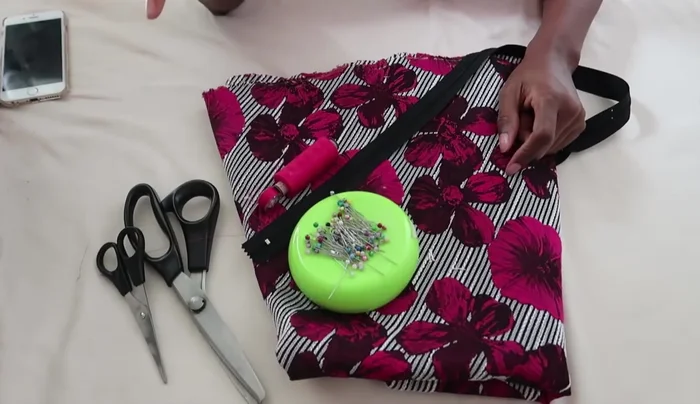
- 2.5 yards of fabric
- Scissors (fabric and paper)
- Pins
- Matching thread
- Zipper
- Always use sharp, well-maintained scissors to prevent fabric slippage and ensure clean cuts. Dull scissors can lead to injury.
- When using a sewing machine, keep your fingers clear of the needle at all times. Use a seam ripper to remove stitches instead of trying to pull the fabric.
- If working with pins, always point them downwards away from you to avoid accidental pricks. Be mindful of where you place pins and needles, to avoid stepping on them.
Step-by-Step Instructions
Prepare Bralette
- Cut out four pieces of main fabric and four pieces of lining fabric for the bust area, and one piece each of main fabric and lining fabric for the straps (50cm long).

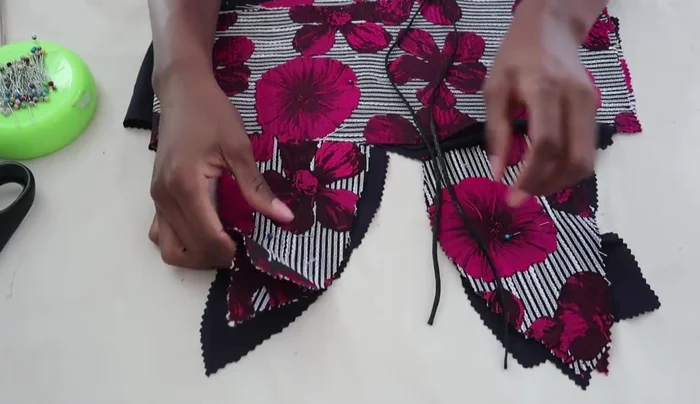
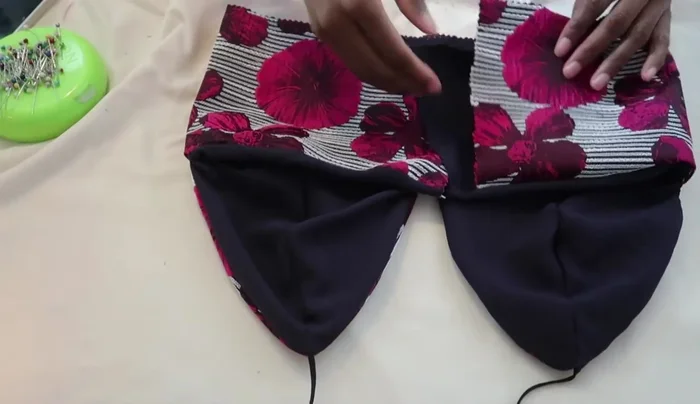
Prepare Bralette Construct Bralette Cups
- Place right sides of the main fabric and lining fabric together, pin, and sew from the top to the bottom curve of the cup. Repeat for all four cups.
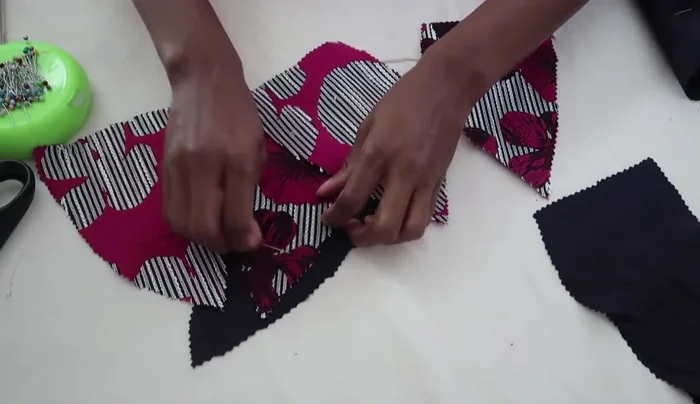
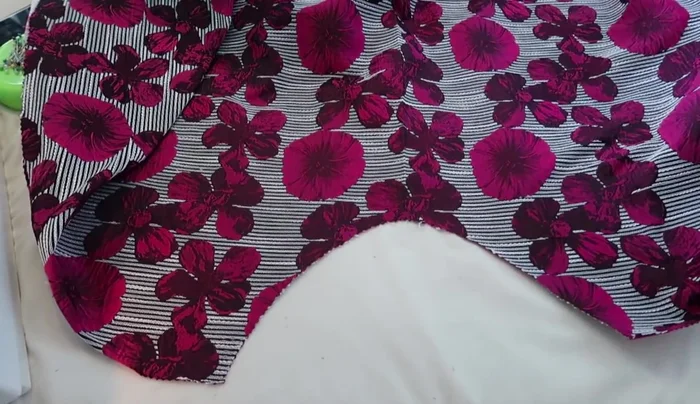
Construct Bralette Cups Attach Cups to Underbust Band
- Fold the underbust piece in half (mine is 80cm long). Place the bralette cups on top, pin, and sew.
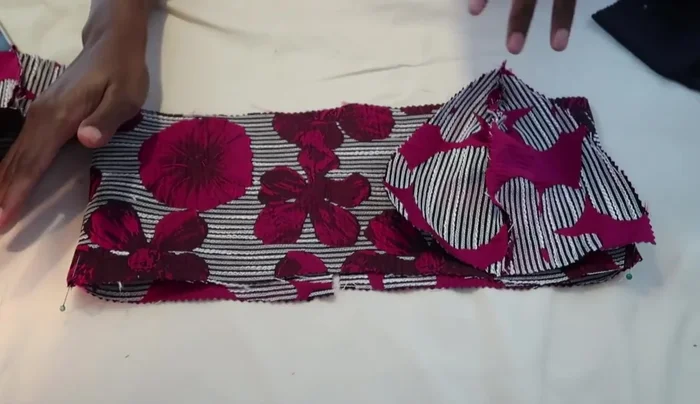
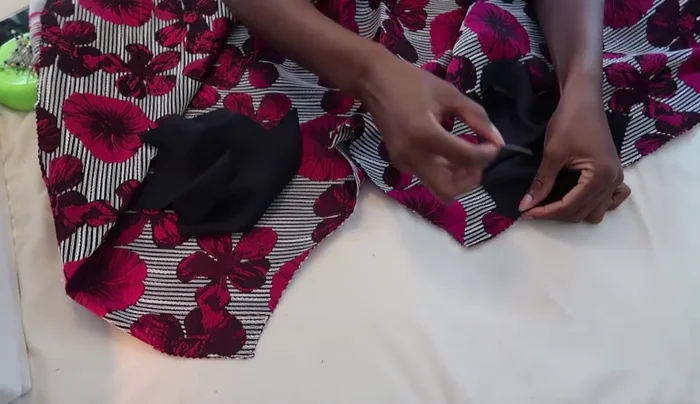
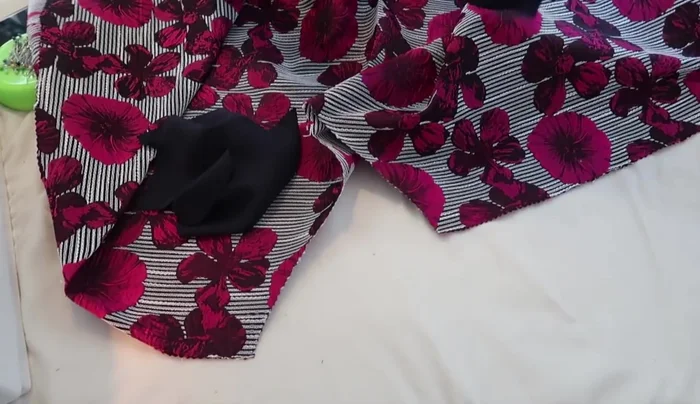
Attach Cups to Underbust Band Assemble Bralette Front and Back
- Place the lining fabric and main fabric together, right sides facing. Insert the straps between the layers, pin, and sew all around, leaving the sides open for the zipper.
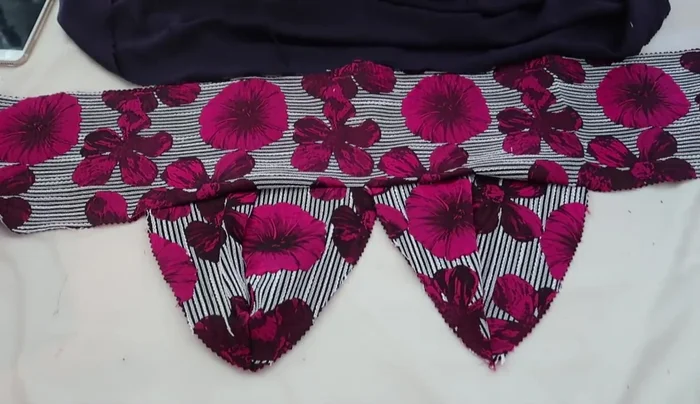
Assemble Bralette Front and Back Attach Straps to Bralette Back
- Create small openings at the back to insert the straps and sew them securely.
Attach Straps to Bralette Back Prepare Skirt Pieces
- Cut out three pieces for the skirt (front, two back pieces). Add pockets to the back pieces (refer to the linked tutorial).
Prepare Skirt Pieces Sew Skirt Pockets and Side Seams
- Sew the pockets onto the back pieces, then close the side seams from top to bottom, including the pockets.
Sew Skirt Pockets and Side Seams Attach Skirt to Bralette
- Pin the top of the skirt to the bottom of the bralette, right sides facing, and sew all the way around.
Attach Skirt to Bralette Insert Zipper
- Add zipper (refer to linked tutorial).
Insert Zipper
Read more: Raglan Sleeve Sewing Tutorial: A Step-by-Step Guide
Tips
- Remember to add seam allowance when cutting fabric pieces.
- Use a zipper tutorial if needed (linked in the description).
- Refer to the linked tutorials for the skirt and bralette patterns.