Sewing a crisp, perfectly fitting shirt is a rewarding accomplishment, a testament to skill and attention to detail. While the task might seem daunting to the novice, with careful planning and methodical execution, even the most intricate shirt designs are achievable. The seemingly simple act of stitching fabric together transforms into a precise art form when creating a garment as structured and tailored as a shirt. From the meticulous cutting of the pattern pieces to the careful application of the final button, each step requires precision and understanding of basic sewing techniques.
This guide will equip you with the knowledge and confidence to tackle this challenging yet immensely satisfying project. We'll delve into every stage of the process, breaking down complex techniques into manageable, easily-followed steps, ensuring that your finished shirt is a perfect fit, beautifully crafted, and a source of considerable pride. Let's begin with a step-by-step guide to precise shirt sewing.
Preparation and Safety Guidelines
- Sewing machine
- Scissors
- Measuring tape
- Pins
- Fabric
- Always use sharp sewing machine needles and sharp shears to prevent fabric from stretching or fraying, ensuring clean, precise cuts and stitches.
- Test your stitch settings on a scrap fabric of the same type before sewing your shirt to avoid unwanted results like skipped stitches or broken needles.
- Handle your fabric carefully to avoid stretching or distorting it, especially delicate materials. Use pins to secure your fabric pieces accurately before sewing.
Step-by-Step Instructions
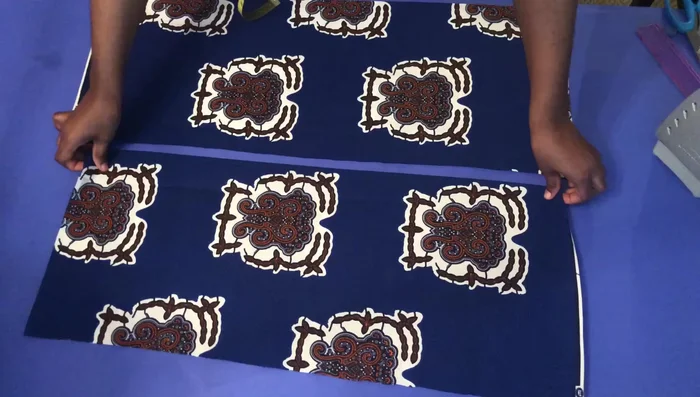
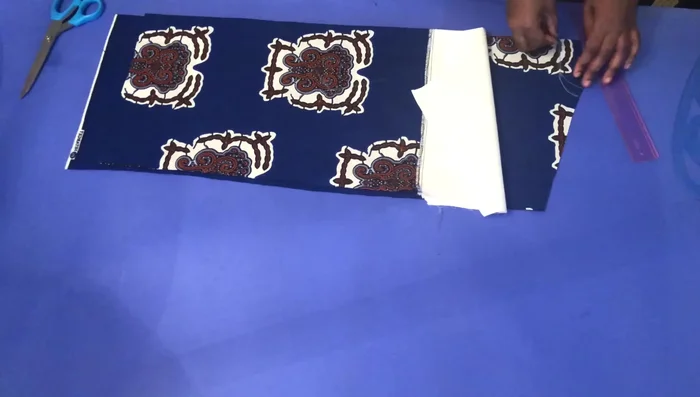
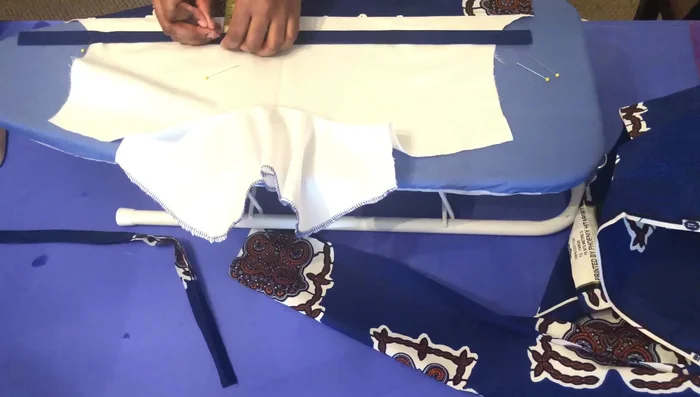
Prepare Fabric and Pattern
- Ensure the back piece is 2 inches longer than the front piece (back: 32 inches, front: 30 inches).
- Fold the back piece aside and work on the front piece.
- Lay the front piece on the back piece.
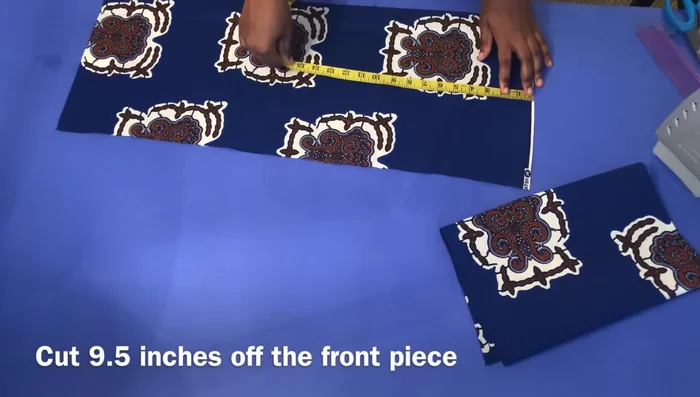
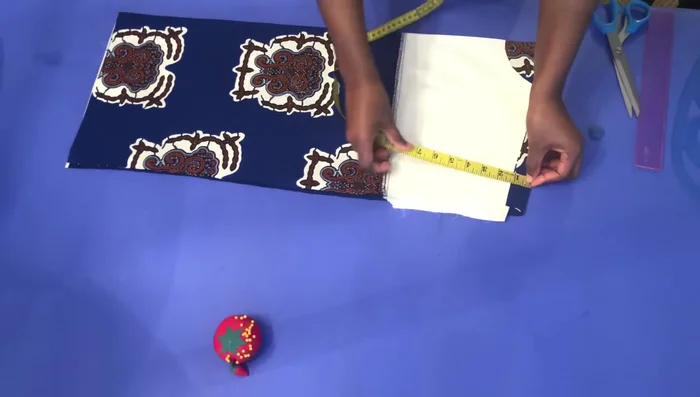
- Create a small slit on the back piece, pull the front back, and measure 1 1/4 inches at the back before cutting.

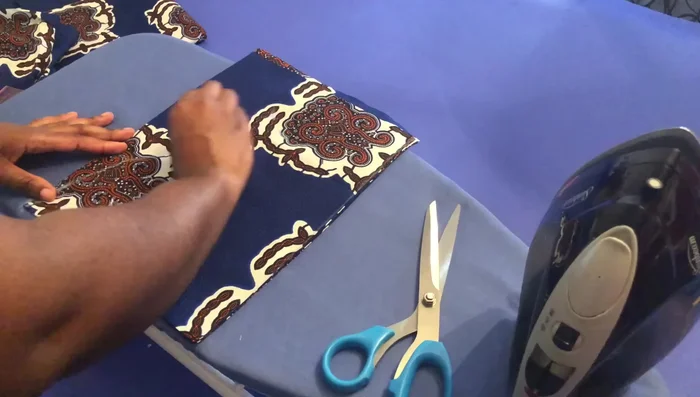
Prepare Fabric and Pattern - Cut out the back piece.
- Pull the front piece back to the back, fold the back, and pin it down.
Prepare Fabric and Pattern Cut Neckline and Armholes
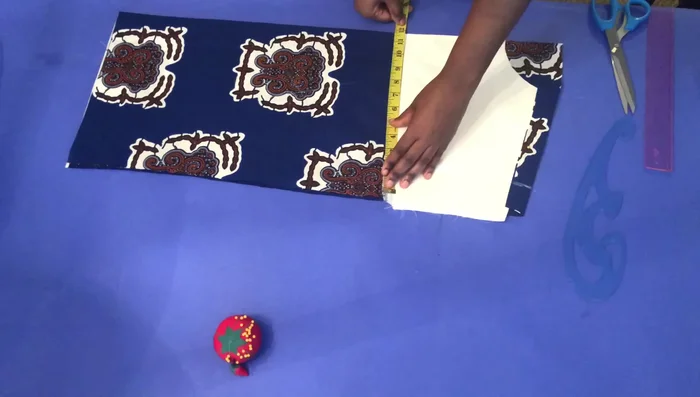
- Cut the armholes. Divide your desired armhole size by two and subtract 2 inches from the result before cutting.
- Divide the chest measurement by four, add seam allowance (e.g., 10.5 inches), and draw a straight line to the bottom before cutting.
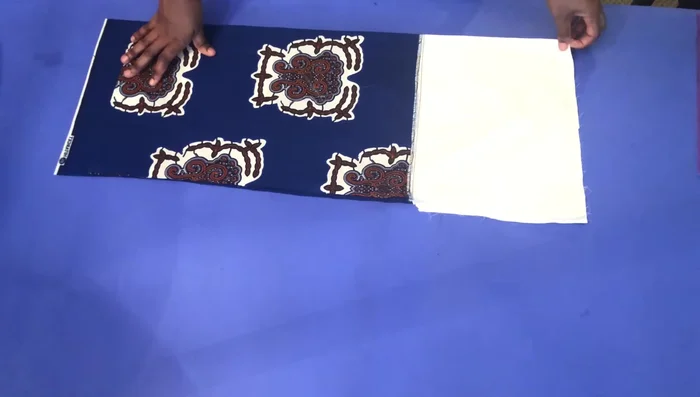
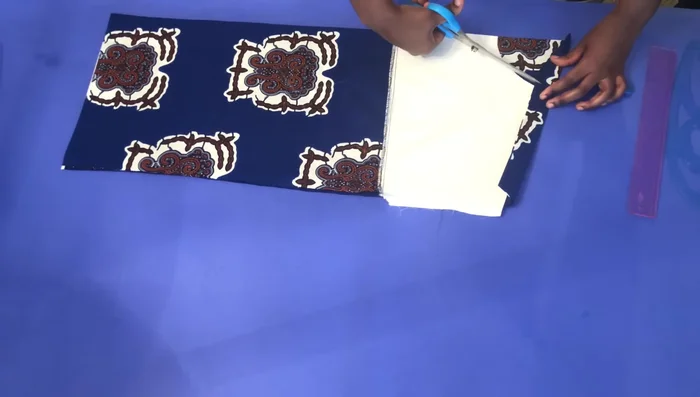
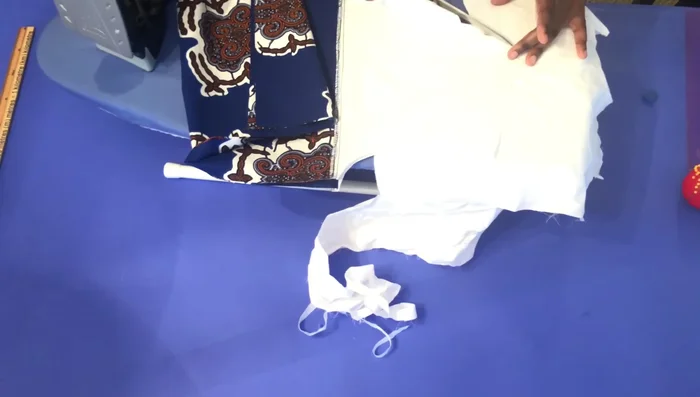
Cut Neckline and Armholes Attach Facing
- Place the front piece on the right side of the facing, wrong side of the back piece. Right side of facing should face the wrong side of the shirt.
- Sew and fold the back, cut the facing for the front.
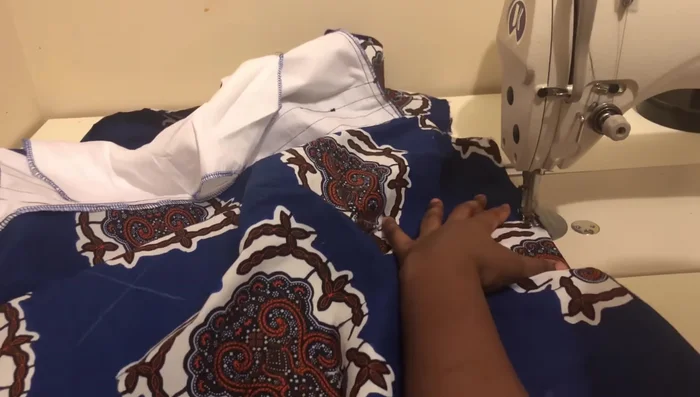
Attach Facing Sew Shirt Panels
- Sew the stripes (1-inch spacing or adjusted spacing as desired).
- Join the right shoulders of the back pieces, leaving the left side for the zipper.
Sew Shirt Panels Finalize Construction
- Cut the armholes according to your measurements (detailed instructions may be requested in comments).
- Create the side slit (7 inches).
Finalize Construction

Read more: Raglan Sleeve Sewing Tutorial: A Step-by-Step Guide
Tips
- Precise measurements are crucial for a good fit.
- Use a white fabric for the inner facing if possible for better aesthetics.