Tired of overflowing closets and unwanted men's shirts piling up? Think beyond the donation bin and unlock the potential for a stunning, unique dress crafted entirely from repurposed fabric! This isn't your grandmother's quilting bee; we're talking about transforming ordinary button-downs into extraordinary wearable art, a testament to sustainable fashion and creative ingenuity. Imagine the compliments you'll receive wearing a garment with such a captivating backstory, a piece that embodies both style and conscious consumption.
This guide provides a practical, step-by-step approach to refashioning men's shirts into a chic and flattering dress, perfect for a casual outing or a more formal event depending on your chosen design and fabric. From carefully choosing your source material to mastering the final hem, we’ll walk you through the entire process, empowering you to create a beautiful and personalized dress from readily available resources. Let's get started!
Preparation and Safety Guidelines
- sewing machine
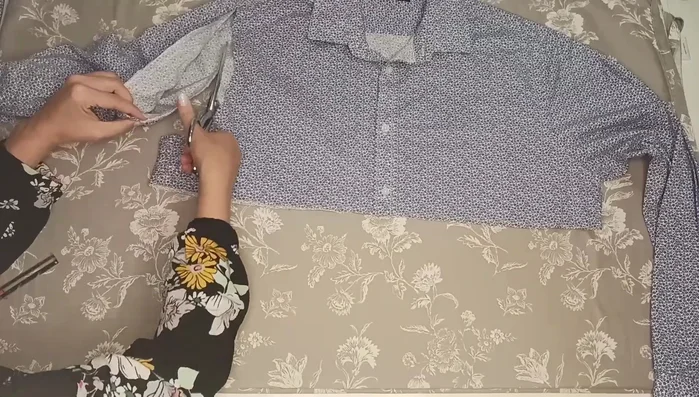
- scissors
- pins
- iron
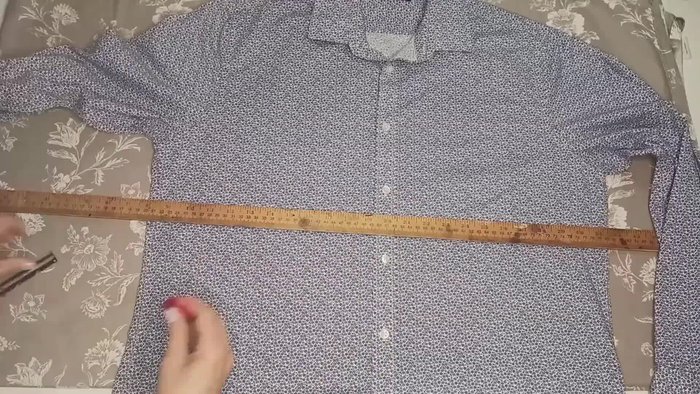
- measuring tape
- Always pre-wash the shirt to avoid shrinkage after the dress is completed.
- Use sharp fabric shears for clean cuts to prevent fraying. Consider using pinking shears for raw edges that won't be hemmed.
- If using a sewing machine, ensure you are familiar with its operation and take necessary safety precautions to prevent injury (e.g., using a seam ripper carefully).
Step-by-Step Instructions
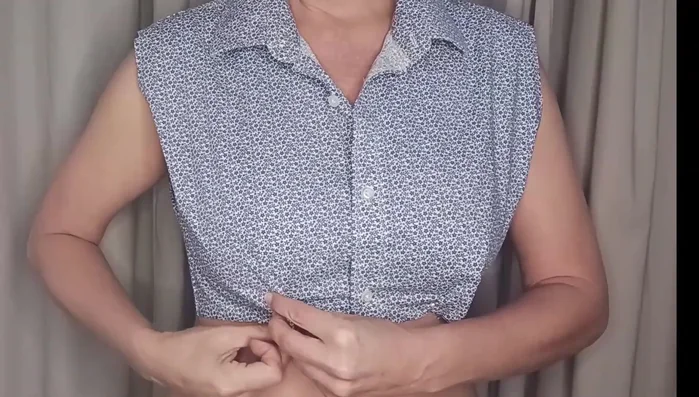
Prepare the Bodice
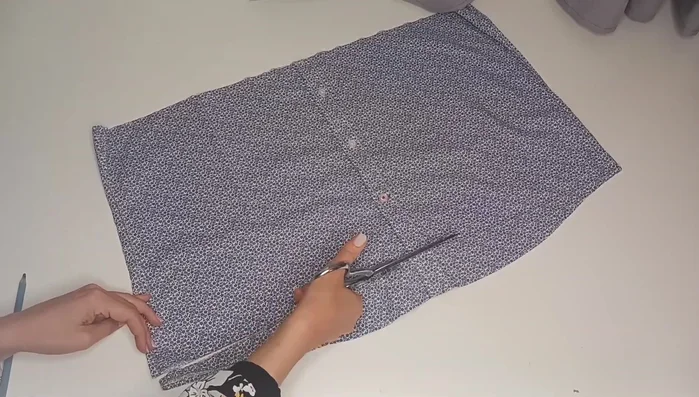
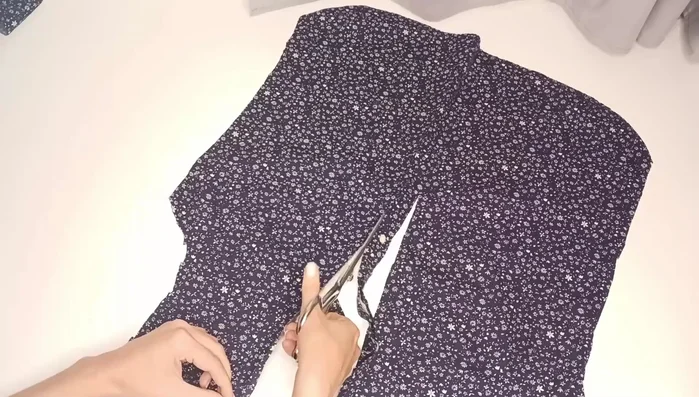
- Try on a shirt to determine waistline and cut along that line, adding seam allowance. Save the bottom part.
- Cut off sleeves, saving them for later.
- Fold the bodice in half, lining up seams. Use a well-fitting shirt as a pattern, tracing around it with seam allowance. Don't worry about precisely tracing armholes; they'll be added later.
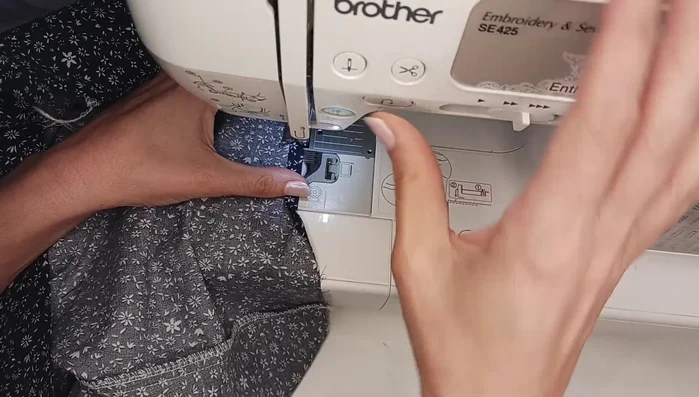
- Pin and sew the side seams of the bodice.

Prepare the Bodice - Try on the bodice and add darts as needed, sewing them in. Take in side seams for a better fit.
Prepare the Bodice Attach the Sleeves
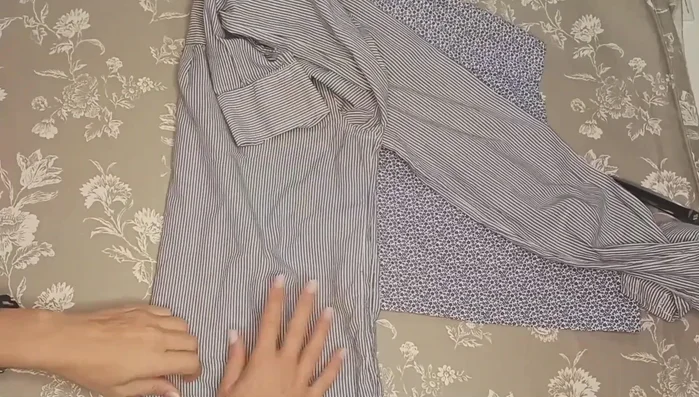
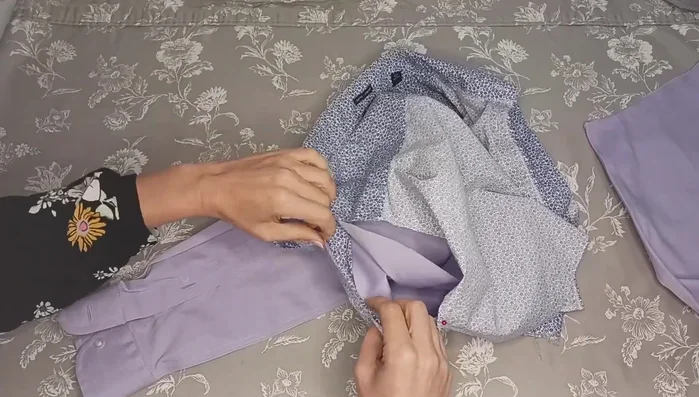
- Cut sleeves from a second shirt carefully. Mark notches on both sleeves and bodice to align shoulder and side seams.
- Pin and sew the sleeves to the bodice, aligning notches. Gather excess fabric at the top of the sleeve.
Attach the Sleeves Create and Attach First Tier
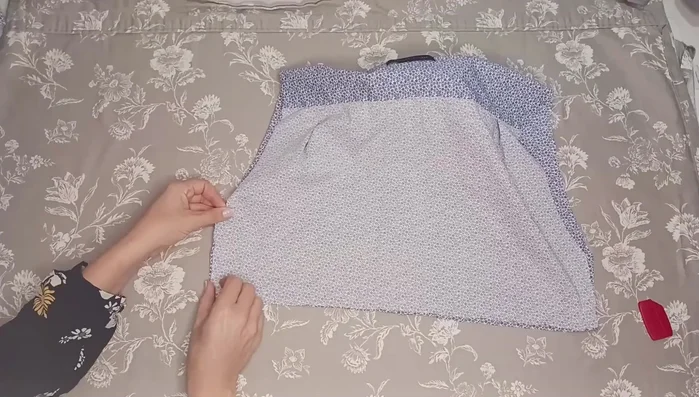
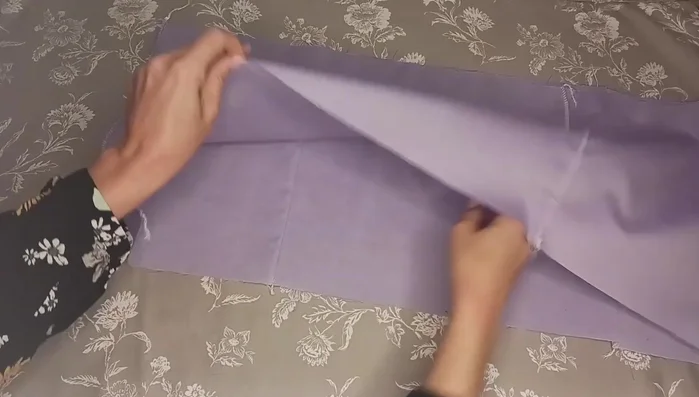
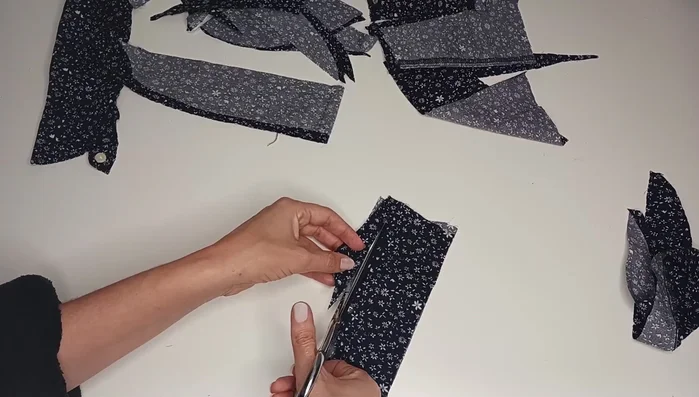
- Cut out multiple 12-inch rectangles from the remaining shirt fabric. Sew them together to create a long strip.
- Iron the seams flat, turn the strip right-side out. Make notches to match the bodice.
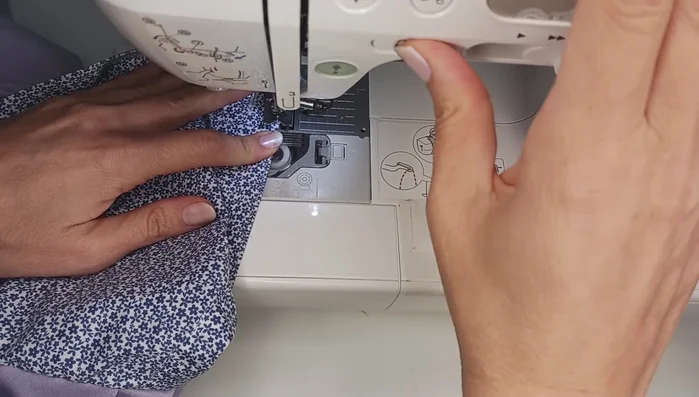
- Gather the top of the strip and pin it to the bodice, matching notches. Sew, working in sections for even gathers.
Create and Attach First Tier Create and Attach Second Tier
- Repeat steps 8-10 to create and attach a second tier using fabric from the first shirt.
Create and Attach Second Tier Create and Attach Third Tier
- Repeat steps 8-10 again for a third tier using the third shirt (ladies' shirt), using smaller 10-inch rectangles.
Create and Attach Third Tier Finish Sleeves and Cuffs
- Determine sleeve length and cut, subtracting an inch. Cut cuffs from the third shirt and sew to the sleeves, adding gathers if necessary.
Finish Sleeves and Cuffs Hem and Add Belt
- Hem the bottom of the dress.
- Create a belt from fabric scraps, sewing strips together. Fold, iron, and sew edges to create a finished belt with loops.
Hem and Add Belt Refashion the Collar
- Remove and resew the collar.
Refashion the Collar


Read more: Raglan Sleeve Sewing Tutorial: A Step-by-Step Guide
Tips
- Working with one quarter section at a time makes attaching tiers easier.
- Use a zigzag stitch or serger to finish seams for durability.