Chiffon. The mere whisper of its name conjures images of flowing gowns, delicate blouses, and ethereal scarves. This exquisitely lightweight fabric, with its diaphanous beauty, is a dream for many sewists – but also a notorious challenge. Its tendency to slip, fray, and generally behave unpredictably can leave even experienced seamstresses feeling frustrated. But fear not! Conquering chiffon is entirely possible, and this guide will empower you to harness its unique qualities and create stunning garments you'll be proud to wear.
This comprehensive guide will equip you with the knowledge and techniques you need to master this delicate material. From choosing the right needle and thread to mastering specific stitching methods and tackling tricky details like hems and seams, we’ll walk you through each step of the process, transforming your chiffon sewing experience from daunting to delightful. Let's delve into the step-by-step process that will unlock your potential and help you create beautiful projects with chiffon.
Preparation and Safety Guidelines
- Tissue paper
- Pins
- Sharp scissors or rotary cutter
- Fabric weights
- All-purpose or silk thread
- Sharp needle (size 70/10)
- Optional: Serger, zigzag stitch, fabric sealant, tailor's tacks, organza
- Use sharp, fine needles and a walking foot (or other specialized presser foot) to prevent skipped stitches and fabric damage. Dull needles will snag and tear chiffon.
- Pre-wash your chiffon to avoid shrinkage and color bleeding after the garment is completed. Use a gentle cycle and air dry.
- Handle chiffon gently to avoid stretching or snagging. Avoid pulling or tugging on the fabric. Use pins sparingly and consider using clips instead.
Step-by-Step Instructions
Pre-treat Fabric
- Pre-treat your fabric. Check the label for washing or dry-cleaning instructions

Pre-treat Fabric Cut Pattern Pieces
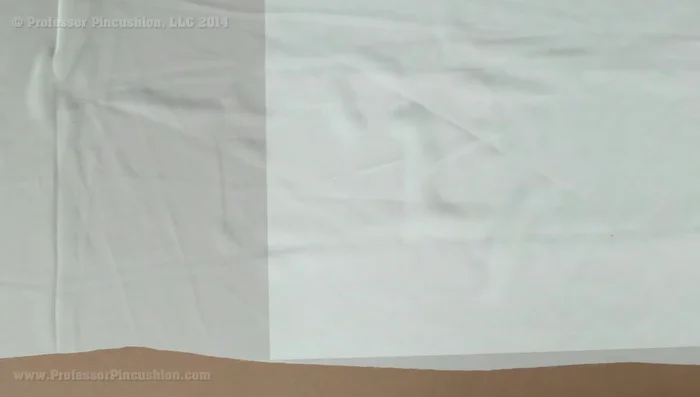
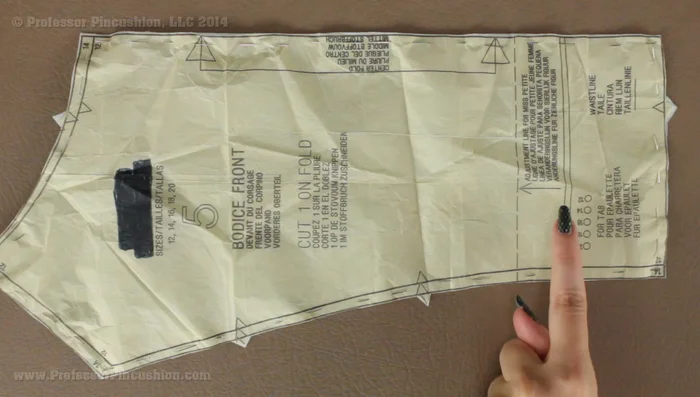
- Cut out your pattern pieces. Use tissue paper under the fabric to prevent slippage . Alternatively, use liquid stabilizer or spray starch to stiffen the fabric . Ensure a single layer of fabric when cutting . For pattern pieces on the fold, pin, outline, unpin, flip, and re-pin before cutting .
Cut Pattern Pieces Mark Pattern Pieces
- Mark your pattern pieces. Use tailor’s tacks or carefully cut notches, sealing them with fabric sealant to prevent fraying . You can also mark directly on the tissue paper underneath .
Mark Pattern Pieces Sew Garment
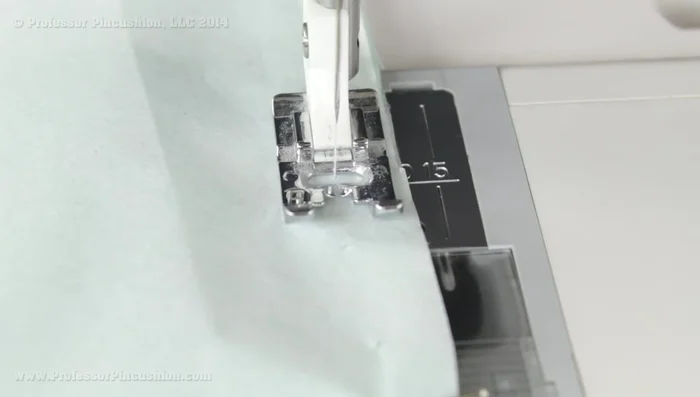
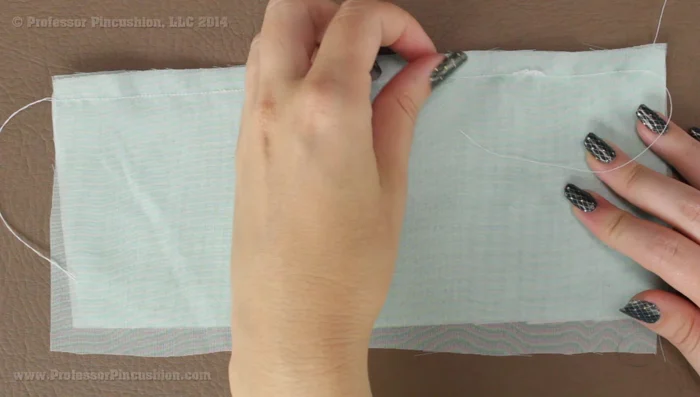
- Sew your garment. Use a sharp needle (size 70/10) and all-purpose or silk thread . Leave the tissue paper attached during sewing for easier feeding . Use short stitch lengths and tie knots by hand .
Sew Garment Finish Seams
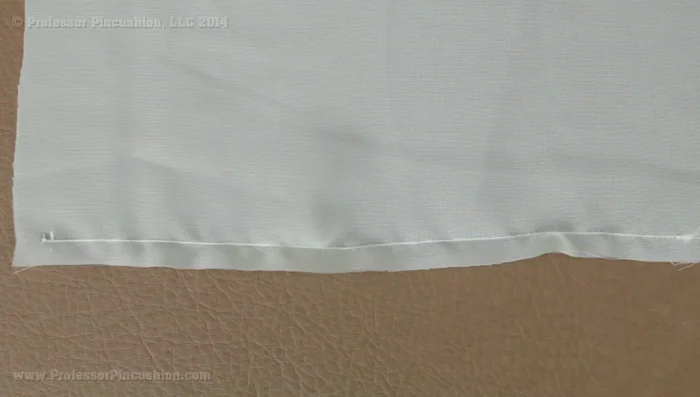
- Finish your seams. Remove the tissue paper after sewing . For chiffon, a French seam is recommended for a clean, fray-resistant finish .
Finish Seams Press Seams
- Press your seams. Press closed, then open. Use a low heat setting to prevent scorching . Finish raw edges with a serger or zigzag stitch ; fabric sealant can also be used .
Hem Garment
- Hem your garment. For a delicate hem, use a rolled hem technique . Stitch an ⅛ inch from the edge, fold to the wrong side, press, trim excess fabric, fold again, and stitch along the top.
Hem Garment Add Interfacing
- Interfacing. Use two layers of chiffon for interfacing, or use organza for added stiffness. Match colors carefully .
Add Interfacing

Read more: Raglan Sleeve Sewing Tutorial: A Step-by-Step Guide
Tips
- For cutting chiffon, use tissue paper or fabric stabilizer to prevent slippage .
- Use fine pins to avoid holes or snags .
- Use sharp scissors or a small rotary cutter for accurate cutting .
- A French seam is the best way to finish seams in chiffon .
- Hang garments overnight before hemming to allow them to relax .