Creating adorable and personalized clothing for your little one is a rewarding experience, and what better project to start with than a simple baby onesie? This DIY sewing tutorial is designed specifically for beginners, offering a straightforward guide to crafting your own custom onesies. Forget expensive store-bought options and embrace the joy of creating something unique and special, tailored perfectly to your baby's style and your own creative flair. You'll be surprised how easy it is to transform fabric into a comfortable and stylish garment. Choosing your fabrics and patterns can be half the fun!
This step-by-step guide will walk you through the entire process, from selecting the right materials to finishing those adorable little seams. We'll cover essential techniques in a clear and concise manner, ensuring even the most novice sewer can confidently sew their own baby onesie. Get ready to unleash your inner crafter and create a treasured keepsake that will be cherished for years to come. Let's get started!
Preparation and Safety Guidelines
- Fabric (baby knit, 1 yard of 60in width)
- Pattern pieces
- Snaps (3/8 inch)
- Hammer
- Straight pins
- All-purpose thread
- Fabric marker
- Scissors
- Sewing machine
- Iron
- Always supervise young children around sewing machines and needles. Keep needles and pins out of reach.
- Use fabric specifically designed for baby clothing. It should be soft, breathable, and pre-washed to prevent shrinkage after washing the onesie.
- Choose non-toxic, baby-safe buttons, snaps, or other embellishments. Avoid anything small that could pose a choking hazard.
Step-by-Step Instructions
Prepare Pattern Pieces
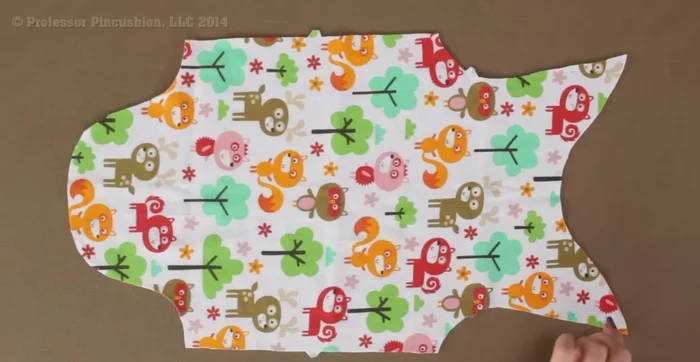
- onesie front, onesie back (2 of each), sleeves , and a bias strip (1 5/8in width x full length of fabric). Ensure directional fabrics are placed correctly.

Prepare Pattern Pieces Stay Stitch Neckline and Bottom
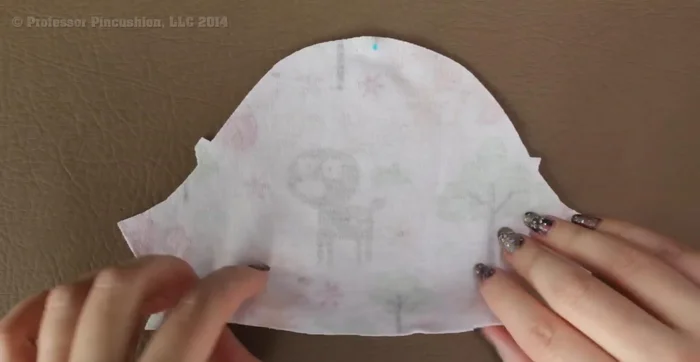
- Stitch 3/8 inch away from the raw edge around the neckline and bottom of the front and back pieces. This prevents distortion.
Stay Stitch Neckline and Bottom Apply Neckline and Bottom Binding
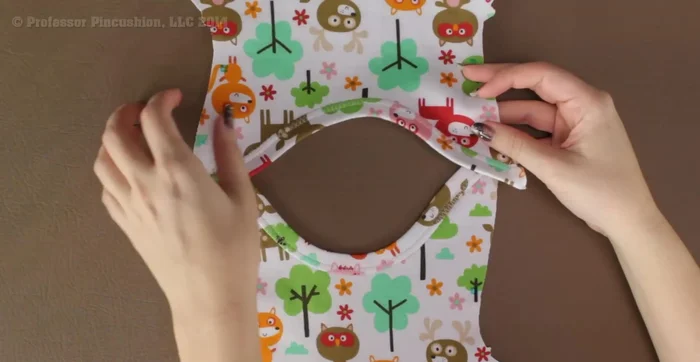
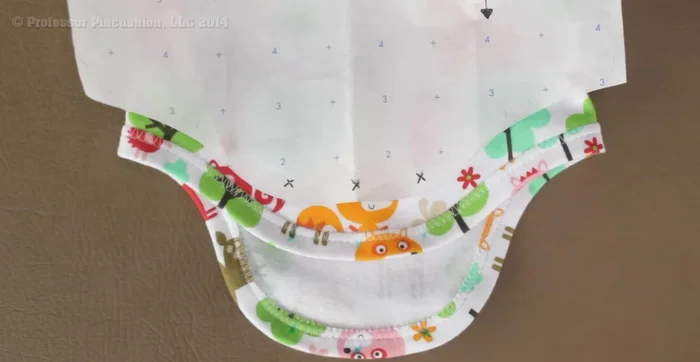
- Attach the bias strip to the neckline and bottom edges of the front and back pieces, right sides together. Sew a 1/4 inch seam allowance. Trim the binding seam allowance to 1/4 inch, leaving the garment seam allowance intact. Fold the raw edge of the binding over to the back, enclosing the raw edges. Stitch the binding in place, using a zigzag stitch to maintain stretch.
Apply Neckline and Bottom Binding Assemble Front and Back
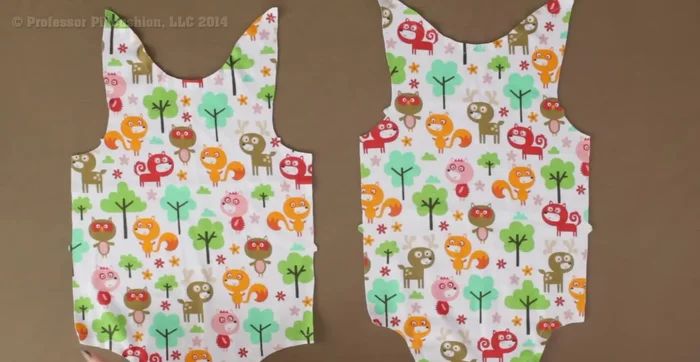
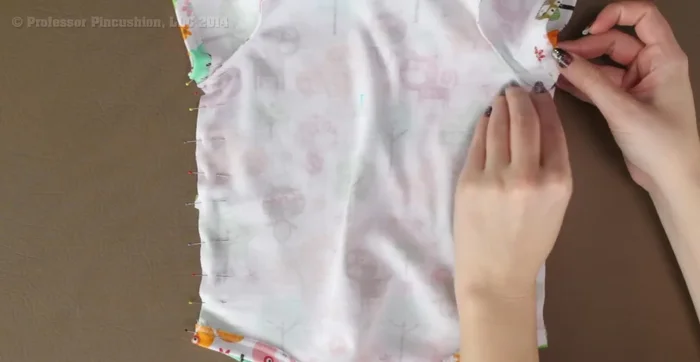
- Place the front and back pieces right sides together, matching the neckline and shoulder seams (indicated by square marks on the pattern). Pin and baste stitch to hold.
Assemble Front and Back Hem Sleeves
- Fold up the bottom edge of each sleeve 1/2 inch, creating a straight line at the hem. Pin and stitch using a zigzag stitch.
Hem Sleeves Attach Sleeves
- Attach the hemmed sleeves to the armholes, matching notches (single and double) and pinning the raw edges together. Sew with a 1/4 inch seam allowance.
Attach Sleeves Sew Side Seams
- Pin the side seams, matching notches and raw edges. Sew with a 1/4 inch seam allowance.
Sew Side Seams Attach Snaps
- Position snaps according to the marked Xs on the pattern. Use a hammer and/or snap fastener tool to attach the socket to the back and the stud to the front.
Attach Snaps


Read more: Raglan Sleeve Sewing Tutorial: A Step-by-Step Guide
Tips
- Use knit fabric for its stretch.
- Check for wrinkles and puckers while sewing the binding.
- Use a zigzag stitch on binding for flexibility.
- Use a large basting stitch for temporary seams.
- Use a snap fastener tool to avoid damaging snaps while installing.