Tote bags are wonderfully versatile, carrying everything from groceries to laptops with effortless style. But how often have you wished for a secure, easily accessible place to stash your phone, keys, or wallet within your perfectly crafted tote? Adding interior pockets elevates a simple tote bag to a truly functional and practical accessory. This seemingly small detail drastically improves organization and prevents the dreaded "bottomless pit" effect, ensuring your belongings remain safe and sound. Forget rummaging through a chaotic mess – a well-placed pocket can be a game-changer.
This ultimate guide will walk you through the process of sewing professional-looking, perfectly sized pockets into your tote bags, regardless of your skill level. From choosing the right fabric and measuring accurately to finishing techniques that ensure durability, we'll cover every step to make adding pockets a breeze. Ready to transform your tote bags from stylish carriers to impeccably organized lifesavers? Let's dive into the step-by-step instructions below.
Preparation and Safety Guidelines
- fabric
- pins
- sewing machine
- rotary cutter (optional)
- interfacing (optional)
- velcro or snaps (optional)
- chopstick or similar tool
- Use sharp sewing machine needles and appropriate thread weight for your fabric to prevent skipped stitches and fabric damage. Dull needles can cause broken threads and difficult sewing.
- Always pre-wash and iron your fabric before cutting and sewing to avoid shrinkage and ensure accurate pocket placement. This is especially crucial for natural fabrics.
- Test your stitch settings on a scrap of the same fabric before sewing your pockets to the tote bag. This helps avoid unexpected issues like puckering or tension problems.
Step-by-Step Instructions
Cut and Sew Pocket Pieces
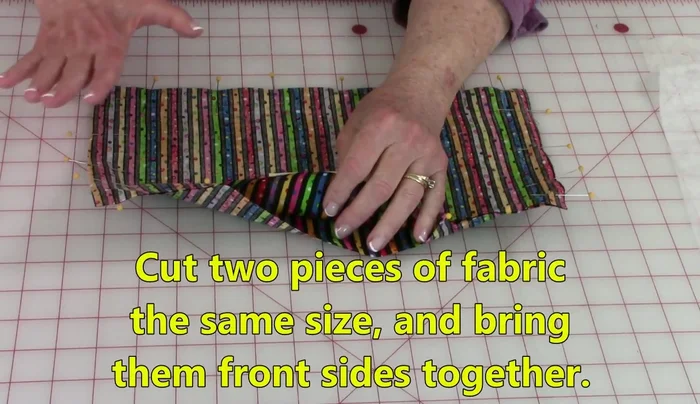
- Cut out two identical fabric pieces for your pocket.
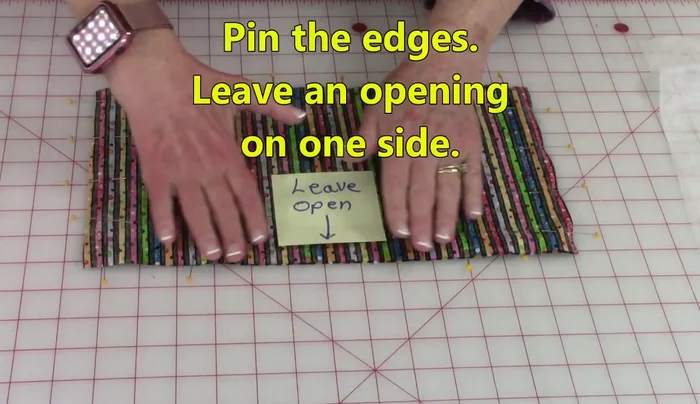
- Place the fabric pieces right sides together, pin around all edges except for one side, leaving an opening for turning.
- Stitch a 1/4 inch seam around all four edges, using the technique of leaving the needle down when turning corners to avoid losing your place.
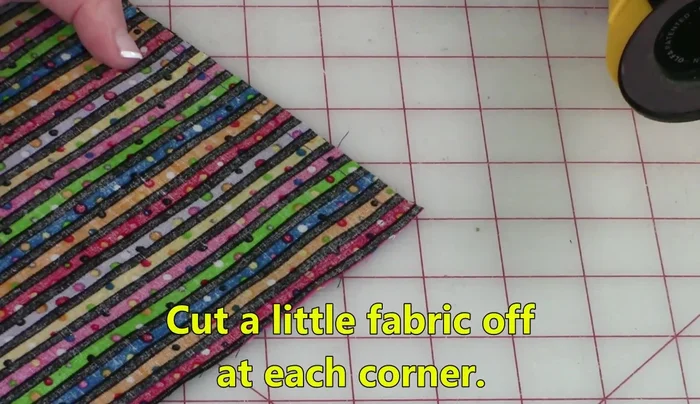
- Trim the corners to about 1/8 inch to reduce bulk.

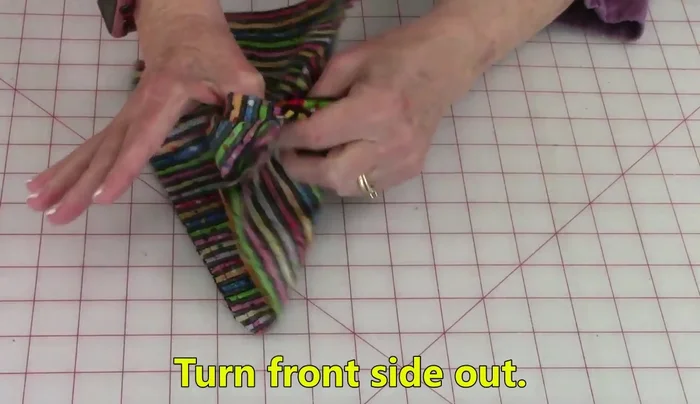
Cut and Sew Pocket Pieces - Turn the pocket right side out using a chopstick or similar tool to push out the corners.
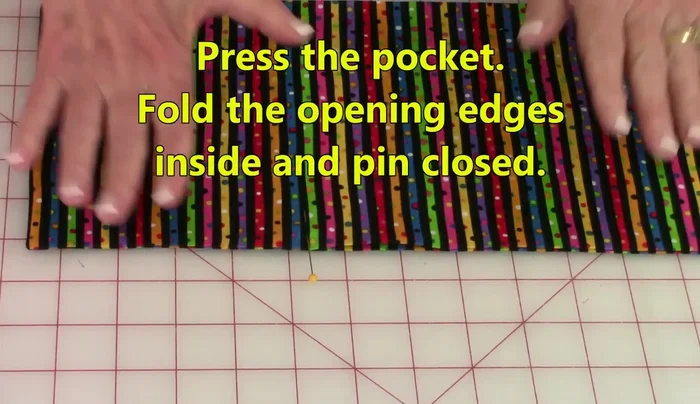
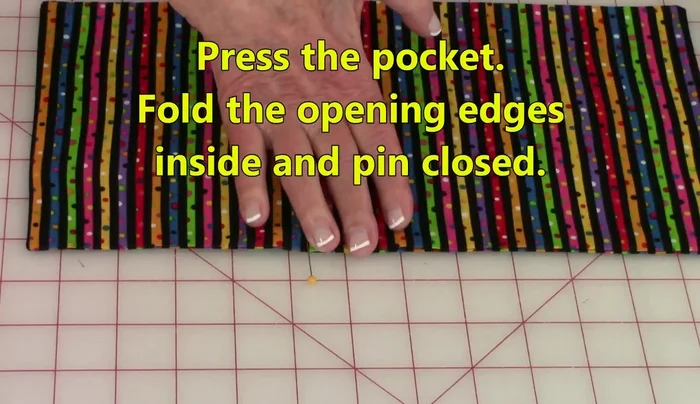
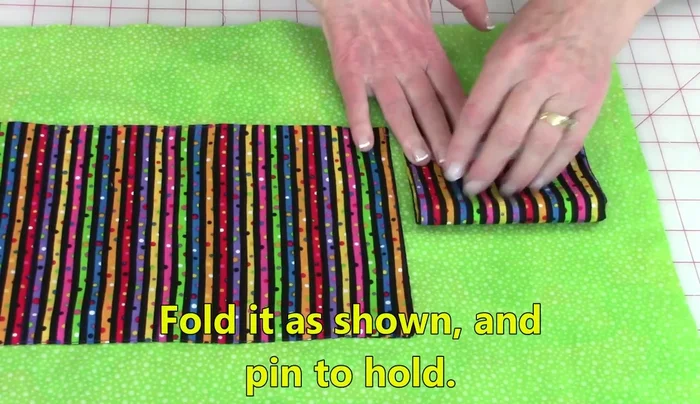
- Press the pocket flat, folding and pressing the edges of the opening in.
- Pin the opening closed and stitch close to the edge to secure it.
Cut and Sew Pocket Pieces Prepare Pocket for Attachment
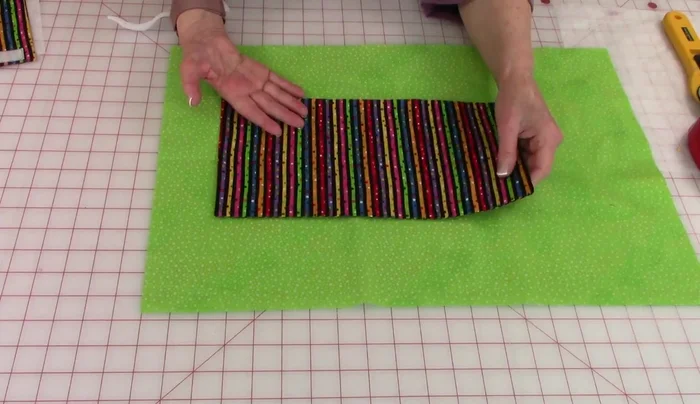
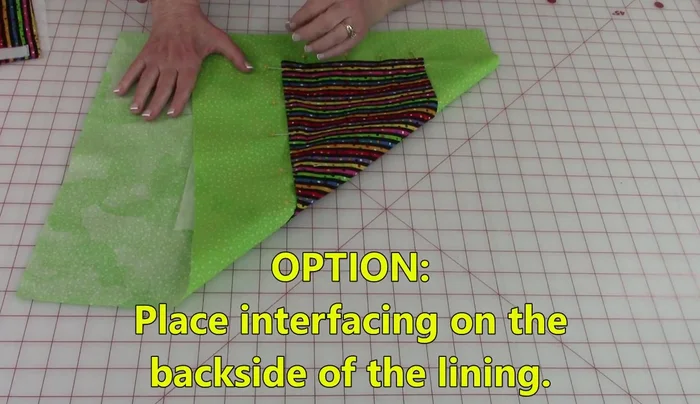
- Position the pocket onto the lining fabric, and pin it in place.
- For added strength, especially with heavy items, place interfacing over the pocket before stitching.
Prepare Pocket for Attachment Attach Pocket to Lining
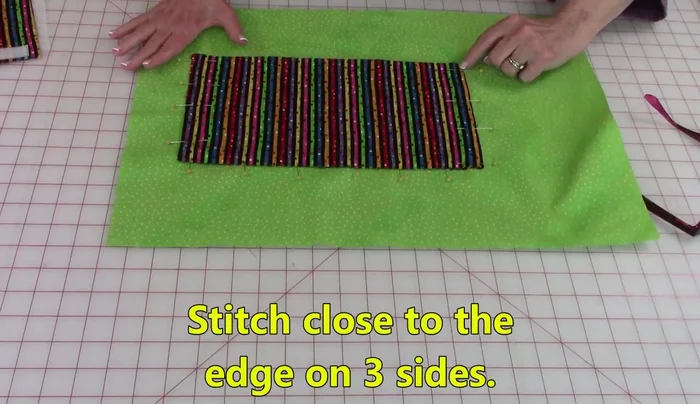
- Stitch the pocket to the lining, securing all edges.
Attach Pocket to Lining Add Optional Compartments
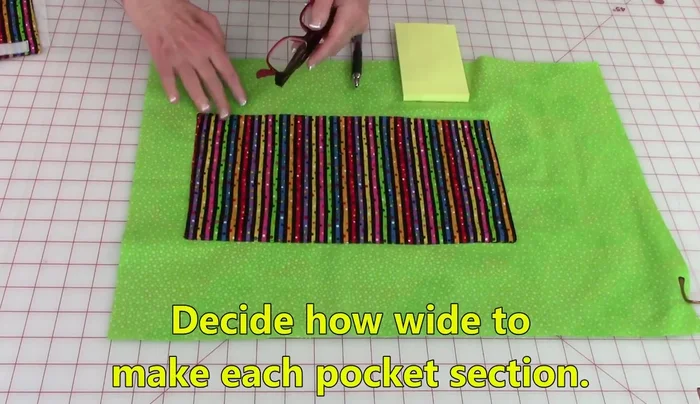
- Divide the pocket into sections by adding stitching lines as needed to create compartments for different items.
Add Optional Compartments Create and Attach Flap Pocket (Optional)
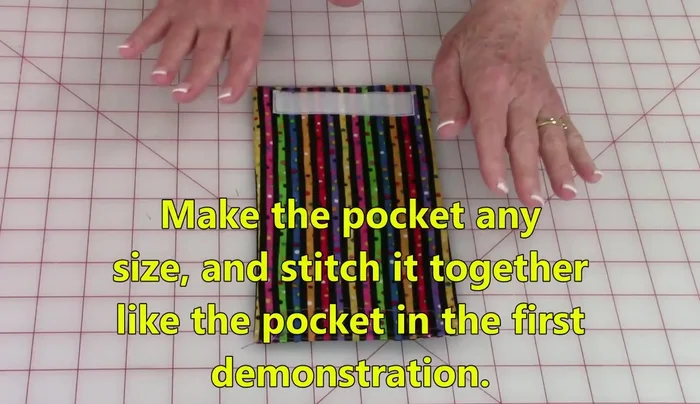
- (For Flap Pocket) Cut out two identical pieces for the flap, stitch them together leaving an opening, turn right side out, press, and attach velcro or snaps.
- (For Flap Pocket) Attach the flap to the main pocket on the lining, stitching around the edges, leaving the flap opening unstitched.
Create and Attach Flap Pocket (Optional)
Read more: DIY Quilted Makeup Pouch Tutorial: The Easiest and Fastest Method
Tips
- Leave sufficient space when creating compartments for easy access to items.
- Use interfacing for added stability and strength, particularly for heavy items.
- Pressing your pocket flat after turning it right side out makes the next steps much easier.
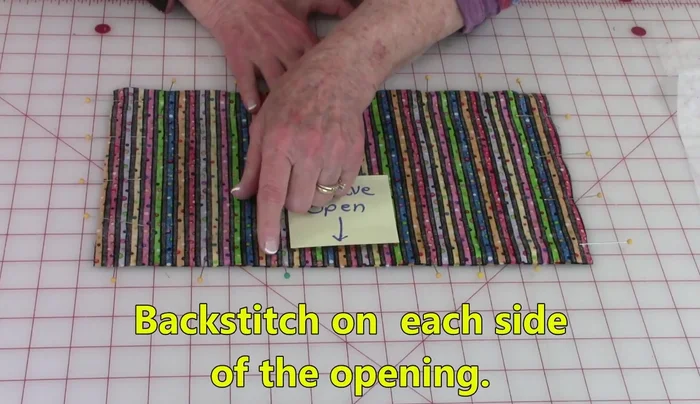
- Backstitch at the beginning and end of each seam for added strength.