Creating garments with a flattering, flowing silhouette often involves incorporating front and back drips – those elegant, slightly longer panels that add movement and visual interest to skirts and dresses. Whether you're a seasoned sewer looking to refine your technique or a beginner eager to tackle a more advanced project, mastering the art of incorporating these details will elevate your sewing skills and your wardrobe. The subtle curve and graceful drape of a well-executed drip can transform a simple design into a truly captivating piece.
This detailed guide will walk you through each step of the process, from choosing the right fabric and pattern adjustments to the final finishing touches. We'll demystify the seemingly complex task of sewing front and back drips, providing clear instructions and helpful tips along the way. Prepare to unlock the secrets to creating beautifully flowing skirts and dresses, and let's begin with the step-by-step process outlined below.
Preparation and Safety Guidelines
- Sewing machine
- Fabric
- Measuring tape
- Scissors
- Iron
- Zipper
- Always use sharp scissors or a rotary cutter to prevent fabric from stretching or fraying during cutting. Dull blades can lead to inaccurate cuts and increase the risk of injury.
- When using a sewing machine, keep your fingers away from the needle and presser foot. Use a seam guide or other marking method to ensure consistent seam allowances and prevent accidental needle pricks.
- Before starting any major sewing, test your stitching on a scrap piece of fabric identical to your project fabric to ensure the correct stitch length, tension, and needle type are used. This helps avoid mistakes on the actual garment.
Step-by-Step Instructions
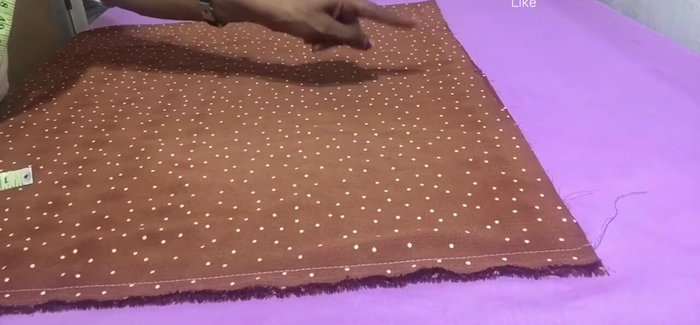
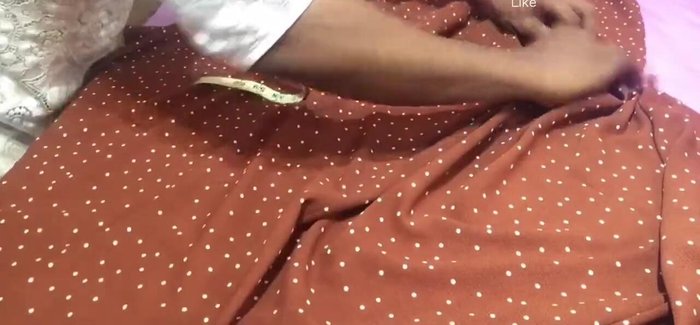
Fabric Preparation and Cutting
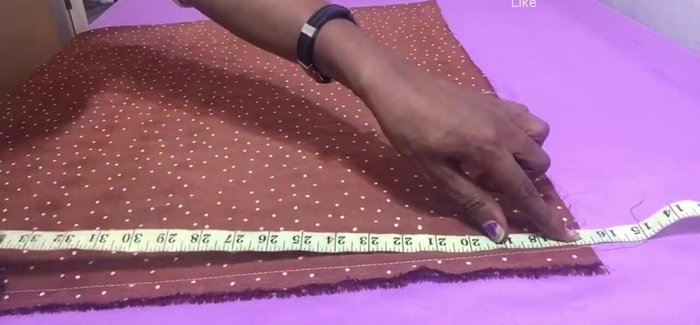
- Hip measurement + 10-15 inches (for looseness) x Length from half-waist to desired length.
- Mark waist measurement / 2 + 1 inch seam allowance on the back center fold.
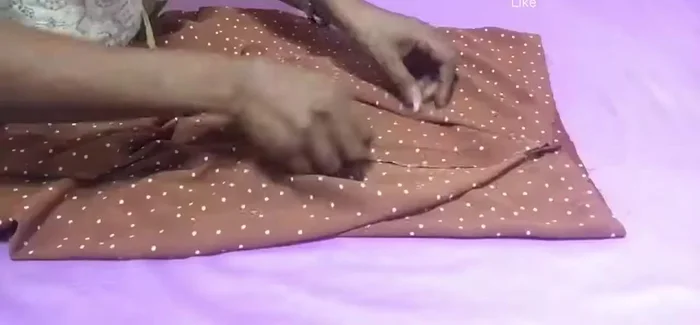
- Mark hip measurement + 4 inches from half-waist length on the front drip area and connect it to the waist marking.
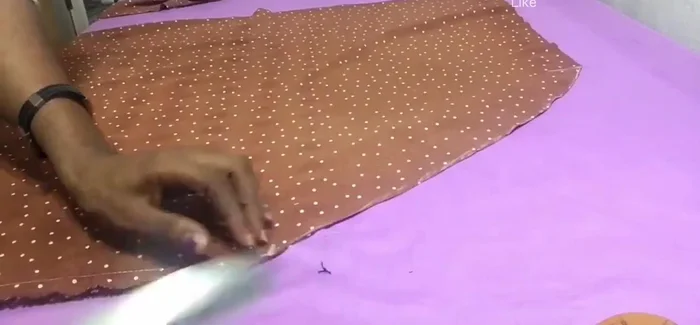
- Cut along the markings, trimming sharp edges for a smooth curve.

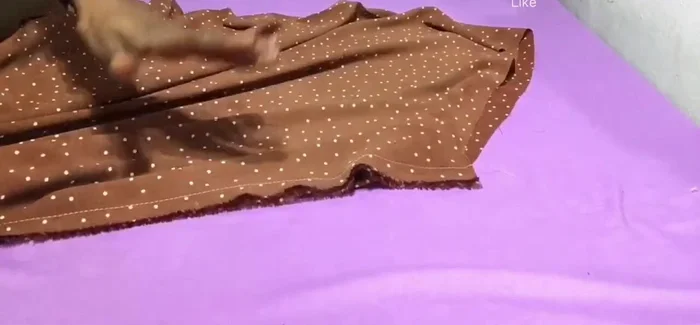
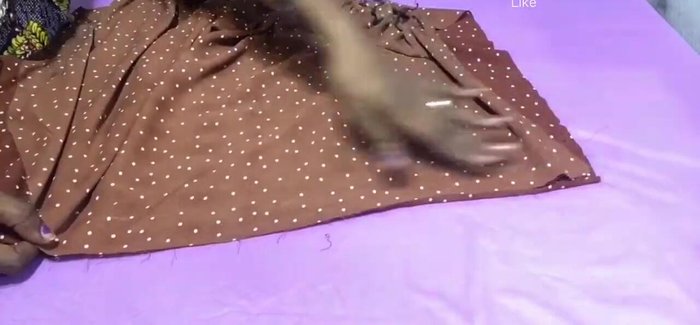
Fabric Preparation and Cutting Front Drip Preparation
- Stitch down the front drip section.
- Notch and iron the front drip area.
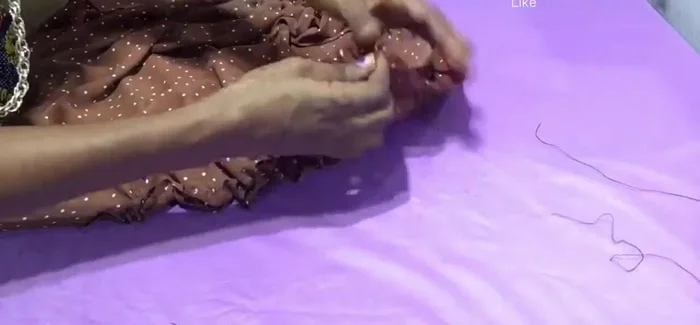
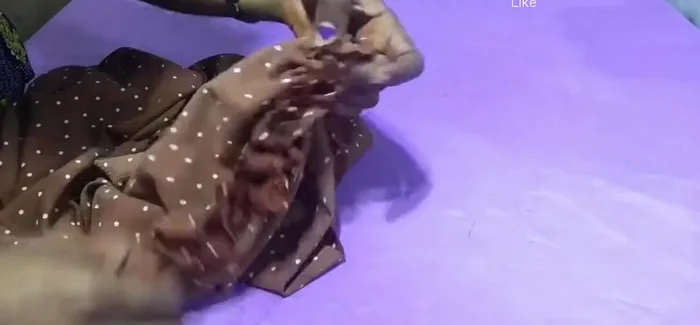
- Roughly gather the front drip section.
- Stitch down the gathered front drip.
Front Drip Preparation Back Drip Preparation and Zipper Allowance
- Position the front drip on the desired side (left side in this example) and mark the new center back fold for zipper allowance.
- Notch, iron, and cut along the new center back fold for zipper allowance.
- Gather and stitch the back zipper allowance drip (less full than the front).
- Stitch along each side of the zipper allowance to secure the drips.
Back Drip Preparation and Zipper Allowance - Remove the initial gathering stitch used to hold the zipper allowance together.
Back Drip Preparation and Zipper Allowance Final Assembly
- Finish the upper part of the dress and attach the zipper.
Final Assembly


Read more: Raglan Sleeve Sewing Tutorial: A Step-by-Step Guide
Tips
- Adjust the extra inches added to the hip measurement to control the skirt's looseness.
- The length of the front drip is adjustable based on preference.