Simplicity 4149 is a popular sewing pattern known for its versatile and flattering top design, perfect for both beginners and experienced sewists. Whether you envision a breezy summer top or a more structured piece for layering, this pattern offers a fantastic opportunity to create a garment tailored precisely to your style and preferences. The pattern's relatively straightforward construction makes it an ideal project for building confidence and honing your sewing skills. You’ll discover the satisfaction of creating a beautiful garment from scratch, personalized to your exact measurements and fabric choices.
This guide provides a comprehensive, step-by-step approach to sewing the Simplicity 4149 top, walking you through each stage of the process from cutting out the pattern pieces to finishing the seams. Let's dive in and begin crafting your own stylish and comfortable Simplicity 4149 top!
Preparation and Safety Guidelines
- sewing machine
- iron
- ironing board
- pins
- scissors
- measuring tape
- ribbon/trim
- seam ripper (optional)
- steam-a-seam (optional)
- Always use sharp sewing machine needles and pins appropriate for your fabric type to prevent skipped stitches and fabric damage. Dull needles can cause fabric breakage and injury.
- Before cutting into your fabric, carefully pre-wash and iron it to avoid shrinkage and ensure accurate pattern placement. Pre-washing also helps prevent any color bleeding.
- Handle your sewing machine and rotary cutter with caution. Keep fingers away from the needle and blade to avoid injury. If using a rotary cutter, always use a cutting mat.
Step-by-Step Instructions
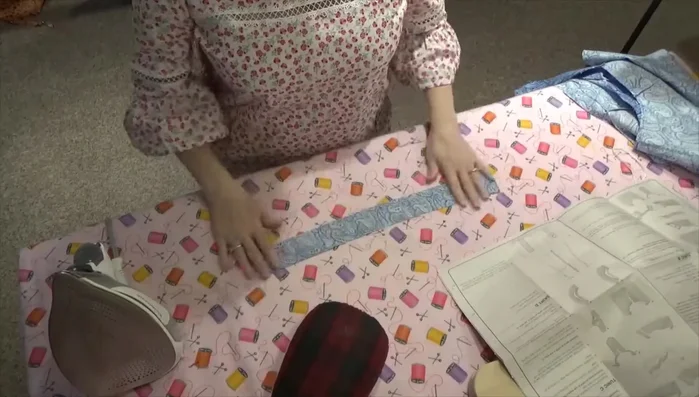
Prepare Pattern and Fabric
- Cut out pattern pieces and iron them.
- Cut out fabric pieces to the desired size.
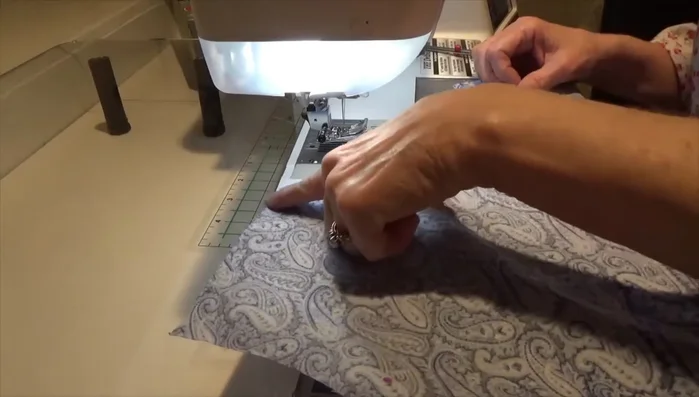
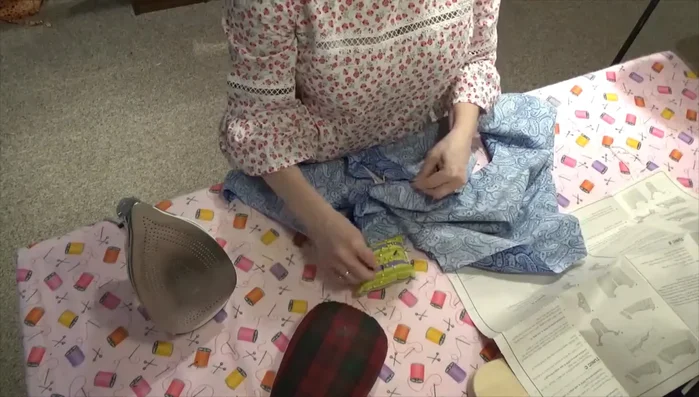
Assemble the Top Back
- Stay stitch the back neckline.
- Sew darts, preventing bubbles by not back-stitching the last few stitches and tying a knot.
- Cut and press the center back seam allowance open.

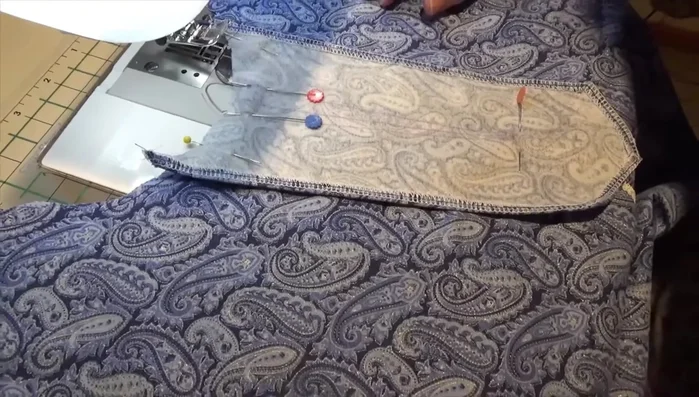
Assemble the Top Back Attach Front and Back
- Pin the front and back pieces together.
- Attach the front and back at the shoulder seams, matching notches.
- Serge or finish the shoulder seams.
Attach Front and Back Finish Neckline
- Sew around the neckline and tack it down.
- Prepare the neck facing by folding and pressing, then stitch.
- Attach the neck facing, matching notches, and press.
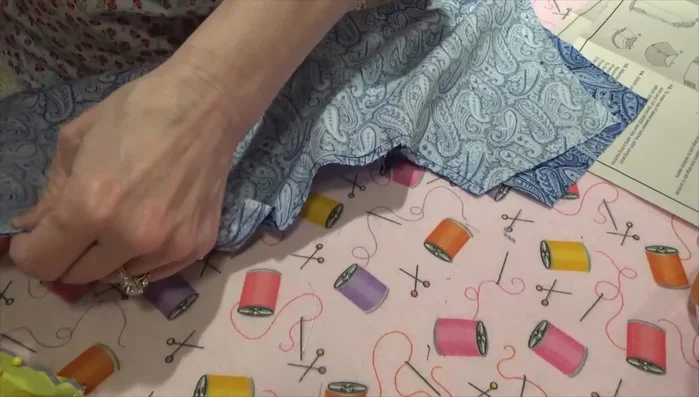
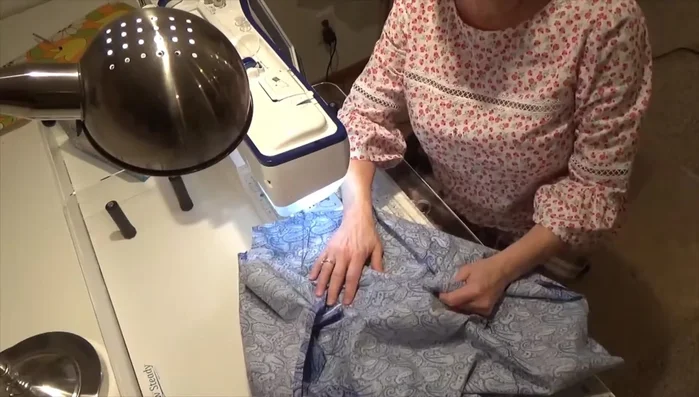
Finish Neckline Sew Side Seams
- Sew side seams.
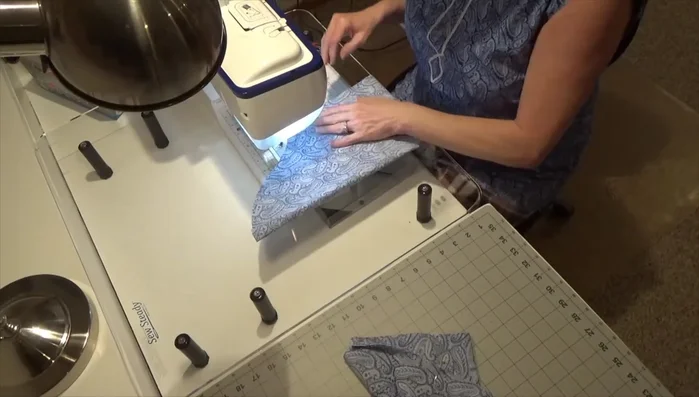
Sew Side Seams Attach and Finish Sleeves
- Pin and sew sleeves, easing them into the armholes.
- Finish the sleeves.
Attach and Finish Sleeves Hem and Finish
- Try on the garment to check fit and make adjustments.
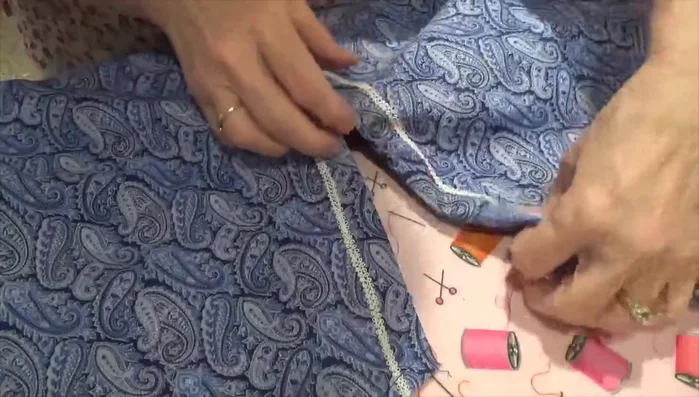
- Sew on trim or braid (optional).
- Hem the garment.
Hem and Finish


Read more: Raglan Sleeve Sewing Tutorial: A Step-by-Step Guide
Tips
- Ironing fabric before cutting ensures accurate and neat results.
- To prevent bubbles in darts, don't back stitch the last few stitches and tie a knot.
- Use a long stitch zigzag to hold trim in place.
- Use basting stitch to ease sleeves into armholes.
- When sewing sleeves, match seams and notches, and ease the sleeve cap into the armhole before pinning and sewing.