Ruched sleeves add a touch of undeniable elegance and romantic flair to any garment, instantly elevating a simple dress or blouse to a statement piece. From subtly gathered details to dramatic, voluminous puffs, the possibilities are endless, allowing you to tailor the ruched effect to your personal style and the overall design of your project. This seemingly complex detail is surprisingly achievable, even for beginner sewists, adding a professional touch without needing advanced techniques.
This tutorial will guide you through each step, from choosing the right fabric and pattern adjustments to mastering the crucial gathering and sewing techniques required to create exquisitely ruched sleeves. Get ready to learn how to sew a gorgeous ruched sleeve, and prepare to be amazed at the beautiful results you can achieve! Let's dive into the step-by-step process.
Preparation and Safety Guidelines
- Fabric
- Pattern paper
- Taylor's chalk or disappearing pen
- Pins
- Elastic
- Always use sharp sewing machine needles and pins to prevent skipped stitches and fabric damage. Dull needles can cause fabric to snag or break.
- Pay close attention to your fabric's grainlines when cutting and sewing to avoid distortion and ensure even ruching. Pre-wash your fabric to prevent shrinkage after the garment is completed.
- Take your time and carefully measure your gathers before sewing them into the sleeve. Accurate measurements are crucial for a neat and professional finish.
Step-by-Step Instructions
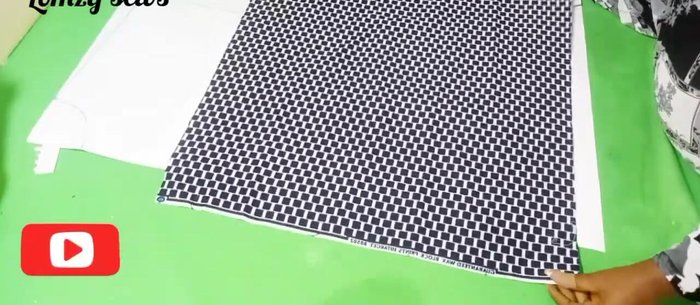
Prepare the Fabric
- Fold your fabric into four.

Prepare the Fabric Take Measurements
- Measure the circumference of your sleeve and the desired length. (Use a sample fabric to help visualize)
- 3 tiers)
Take Measurements Calculate Dimensions
- Add the total height of the ruched sections (including the space between ruches) and an extra 3 inches for the elastic hem. (Example: 8 inch sleeve + 12 inches (ruches) + 3 inches (elastic) = 23 inches).
- Divide the sleeve circumference by 3.14 (since it’s a half-circle). (Example: 18 inch circumference / 3.14 ≈ 6 inches)
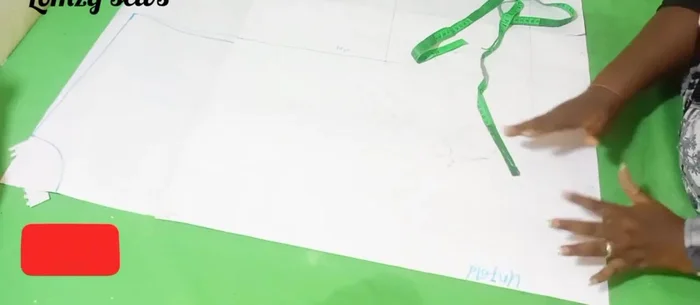
Calculate Dimensions Create Pattern
- On your pattern paper (or directly on the fabric), draw a half-circle with the calculated radius and adjusted sleeve length.
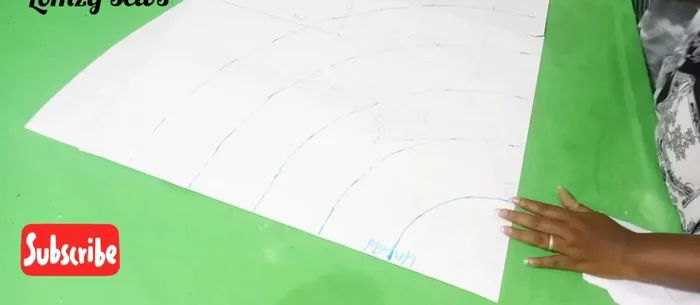
Create Pattern Mark Ruches on Pattern
- 4 inches for each ruched section and 4 inches between each section).
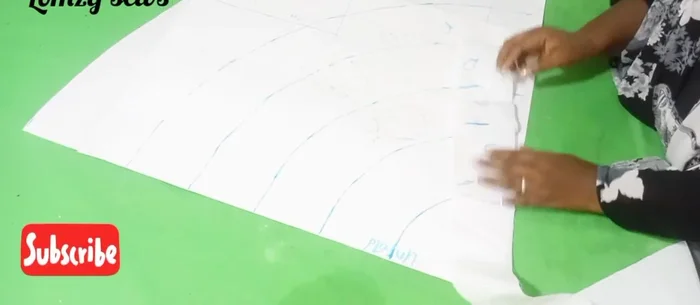
Mark Ruches on Pattern Transfer to Fabric
- Transfer the markings to your fabric using tailor’s chalk or a disappearing pen.
Transfer to Fabric Create Ruches
- Pin the marked lines on the fabric to create the ruched effect. Remember to leave space between the ruched sections.
Create Ruches Finish the Sleeve
- Add your hem and elastic to the last space.
Finish the Sleeve


Read more: Raglan Sleeve Sewing Tutorial: A Step-by-Step Guide
Tips
- Use a sample fabric to visualize the pattern and calculations before working on your final fabric.
- Ensure your markings are clearly visible on your fabric for accurate sewing.
- Carefully pin and sew to maintain the ruched effect and avoid distortion.