Creating plush animals with realistically adorable ears is a rewarding challenge for any sewing enthusiast. While achieving that perfectly natural, floppy or perky look can seem daunting, it's surprisingly achievable with the right techniques and materials. Forget those stiff, unnatural-looking ears; this guide will unlock the secrets to crafting plush animal ears that are not only charming but incredibly lifelike. We'll explore everything from choosing the perfect fabric and understanding ear anatomy to mastering essential sewing techniques that bring your creations to life.
This guide will empower you to confidently tackle any ear design, from the delicate ears of a bunny rabbit to the majestic, pointed ears of a fox. Prepare to be amazed at the transformation as your plush animal’s personality truly shines through its meticulously crafted ears. Let's dive into the step-by-step process, learning the techniques that will take your plush animal making to the next level.
Preparation and Safety Guidelines
- needle
- thread
- thread conditioner
- pins
- Gopro (optional)
- Use sharp sewing needles and pins with caution to avoid pricks and injuries. Always point needles away from yourself and others when not in use.
- Handle your fabric scissors carefully to prevent accidental cuts. Keep them sharp for clean cuts and avoid forcing the blades.
- If using a sewing machine, ensure your fingers are clear of the needle at all times. Use a finger guard if needed and never reach for anything near the needle while it's running.
Step-by-Step Instructions
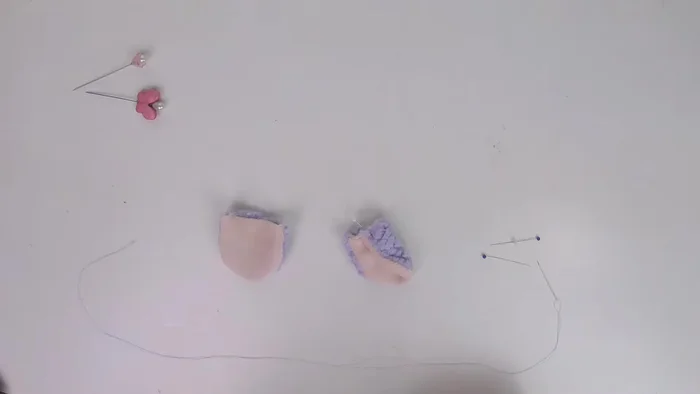
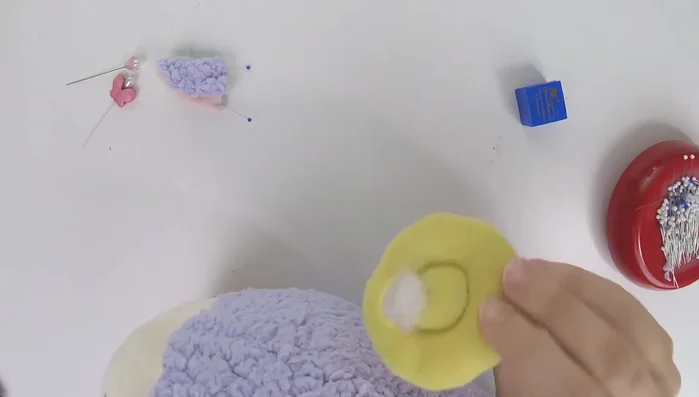
Prepare Ear Pieces
- Fold the inner and outer ear pieces together. You can fold it directly in the middle for a deer-like look, or offset the outer ear piece for a more natural, slightly asymmetrical look.

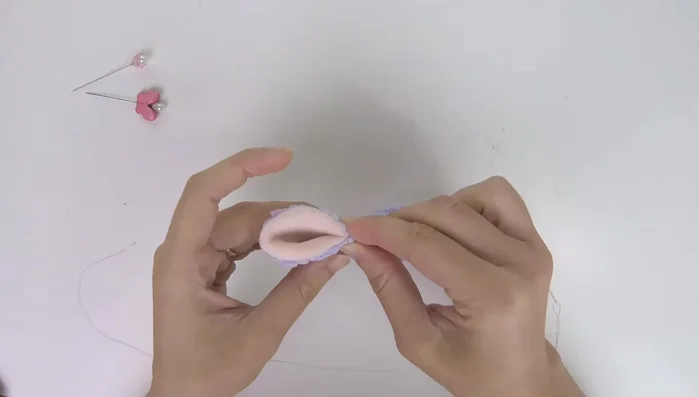
Prepare Ear Pieces Adjust Ear Angle and Secure
- Compare both ears to ensure symmetry. Pin the ears closed, adjusting the angle until you achieve your desired look.
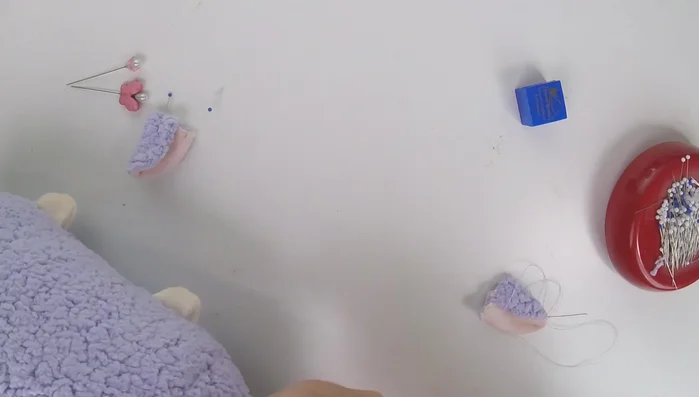
Adjust Ear Angle and Secure Whip Stitch Ears Together
- Use a whip stitch to close the ears, securing the inner ear to the outer ear. Start with the knot inside. Use thread conditioner for easier sewing.
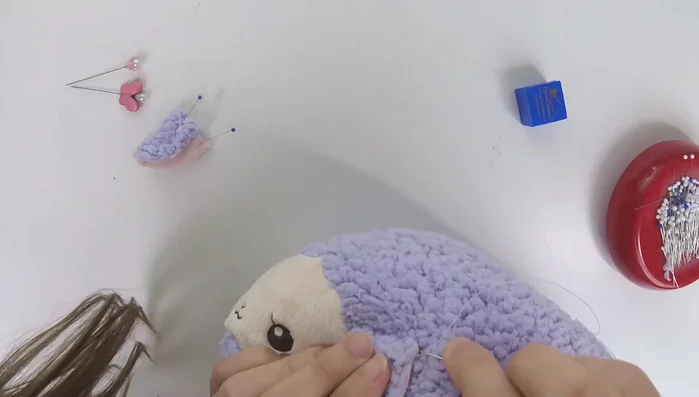
Whip Stitch Ears Together Pin Ears to Plush Head
- Pin the ears to the plush head in the desired location, ensuring symmetry using a mirror if necessary.
Pin Ears to Plush Head Attach Ears to Plush Head
- Sew the ears to the plush head using either a whip stitch or a ladder stitch. Remove pins just before sewing to avoid catching them.
Attach Ears to Plush Head Secure Ear Attachment
- Pull the thread tightly to prevent loops and ensure the ear stays securely attached. Sew twice around the ear for extra security.
Secure Ear Attachment Add Horns (Optional)
- Add horns. If using horns, pin them to the desired location on the head, ensuring symmetry. Use a ladder stitch to sew the horns in a circle to the plush, securing the ears as well.
Add Horns (Optional)


Read more: DIY Fluffy Duck Plushie Tutorial: A Step-by-Step Guide
Tips
- Use thread conditioner to make hand sewing easier.
- Whip stitching the raw ends of the ears before attaching them prevents the inner ear fabric from coming loose later.
- Use a mirror to check for ear symmetry.
- Remove pins just before sewing to avoid catching them in the stitches.
- Pull the thread tightly after each stitch to prevent loops and ensure the ear stays secure.