Flutter sleeves, with their delicate, flowing movement, add a touch of effortless elegance to any garment. But the seemingly simple curved hemline can often present a sewing challenge, leaving even experienced sewists feeling frustrated. Perfectly finishing this detail is key to achieving that professional, polished look, and thankfully, it doesn't have to be complicated. This charming detail elevates a simple design, transforming a basic dress or blouse into a stylish statement piece.
Mastering the art of sewing a flawless curved hem on flutter sleeves is easier than you might think. This guide will demystify the process, providing clear instructions and helpful tips to ensure a beautifully finished garment. Ready to transform your sewing skills and create stunning flutter sleeves? Let's dive into the step-by-step process to achieve that perfect curved hem.
Preparation and Safety Guidelines
- Ruler
- Sewing machine
- Chalk
- Woven knit stay tape
- Iron
- Pins
- Taylor's Ham (optional)
- Silk kimono thread (optional)
- Always use sharp scissors or rotary cutter for clean cuts, especially on curved hems. Dull blades can cause fraying and inaccurate cutting.
- Pinning is crucial! Securely pin the hem allowance to prevent shifting and ensure an even curve during stitching. Use plenty of pins, especially in areas with a tight curve.
- Test your stitch length on scrap fabric first. A shorter stitch length is recommended for curved seams to prevent stretching and distortion. Too long a stitch might cause the hem to pucker.
Step-by-Step Instructions
Marking and Stitching the Hem Allowance
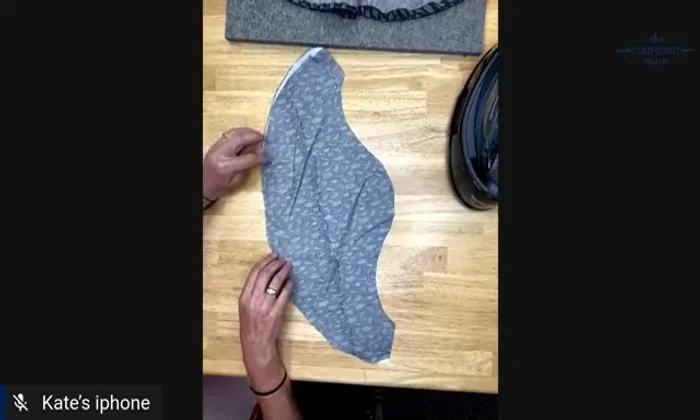
- Mark a half-inch hem allowance along the curved edge of the flutter sleeve using a ruler and chalk.
- Stitch along the chalk line using a short stitch length to create a guide for turning the hem.

Marking and Stitching the Hem Allowance Applying Stay Tape
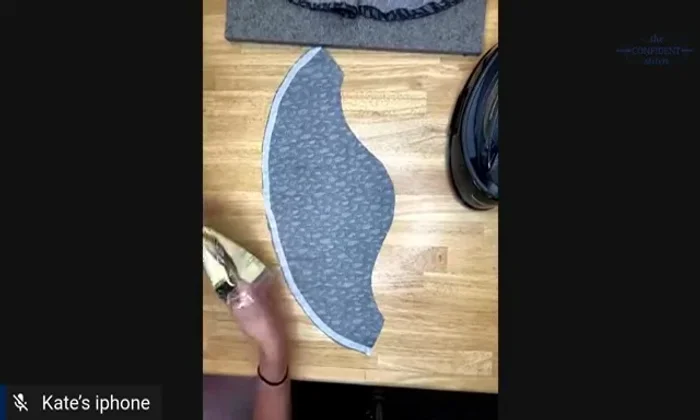
- Apply woven knit stay tape to the raw edge of the hem, using an iron to fuse it in place. This adds stability and helps the curve hold its shape.
Applying Stay Tape First Hem Fold and Pressing
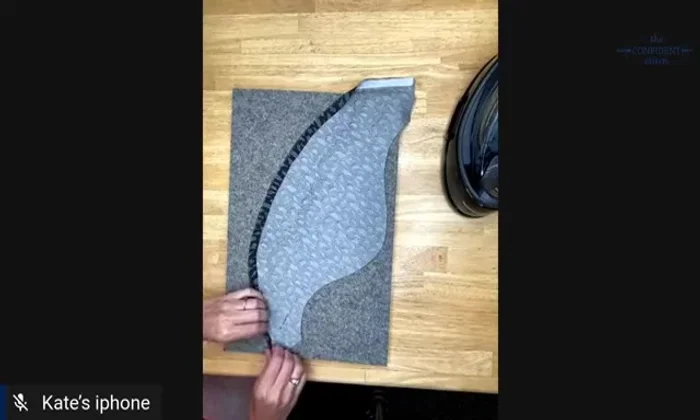
- Turn the hem up to the stitched line, pinning it to your ironing surface for easy pressing. Press the hem in place.
First Hem Fold and Pressing Second Hem Fold and Pressing
- Turn the hem under again by another quarter inch, tucking it into the previous fold. Pin and press again.
Second Hem Fold and Pressing Basting the Hem
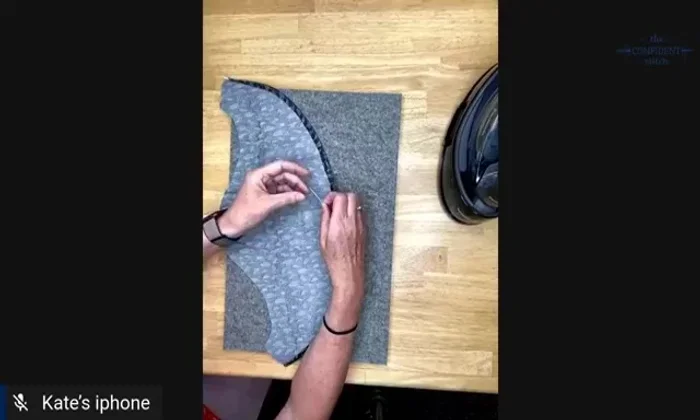
- Baste the hem in place using a long running stitch from the wrong side. This secures the hem and provides a clear guide for the final stitch.
Basting the Hem Final Stitching of the Hem
- Sew the hem using a sewing machine following the basting stitch line.
Final Stitching of the Hem


Read more: Raglan Sleeve Sewing Tutorial: A Step-by-Step Guide
Tips
- To prevent bias edges from stretching, use woven stay tape immediately after cutting pattern pieces. Steam and press the fabric back to its original size if stretching occurs.
- Pinning the hem to the ironing board prevents chasing fabric with a hot iron.
- Use glass-head pins that can withstand heat while pressing.
- When attaching flutter sleeves to the armhole, adjust the placement of the sleeve cap to account for differences in the front and back armhole lengths. Use the feed dogs on your sewing machine to ease the sleeve cap into the armhole, pulling the sleeve cap fabric slightly faster than the armhole fabric.
- Sew slowly to avoid puckers when attaching the sleeve cap to the armhole.