Throw pillows add a touch of personality and comfort to any room, but what happens when those beloved buttons start to pop off? A loose button can instantly diminish the aesthetic appeal of your favorite pillow, turning a cozy accent into a slightly frustrating detail. Fortunately, fixing this common issue is easier than you might think! Reattaching buttons is a simple sewing project, perfect for beginners and a great way to refresh your home décor without breaking the bank. Even if you consider yourself a sewing novice, don't worry—this task is manageable with just a few basic supplies.
This guide provides a clear and concise step-by-step process for securely sewing buttons onto your throw pillow, ensuring a professional-looking finish. Whether you need to replace a missing button or reinforce a wobbly one, get ready to learn the techniques you need to restore your throw pillow to its former glory. Let's dive into the straightforward steps that will have your pillow looking perfectly put together in no time.
Preparation and Safety Guidelines
- Throw pillow
- Heavy-duty needle
- Heavy-duty button thread
- Button(s) with various shank types (e.g., four-hole, two-hole, shank with hook)
- Always use a needle appropriate for your fabric and thread. Avoid using needles that are too thick or sharp, which can damage your pillow cover.
- Before sewing, test your stitch on a scrap of fabric to ensure you're happy with the tension and appearance. This prevents mistakes on your finished pillow.
- If working with a delicate fabric or using very fine thread, consider using a thimble to protect your fingers from needle pricks.
Step-by-Step Instructions
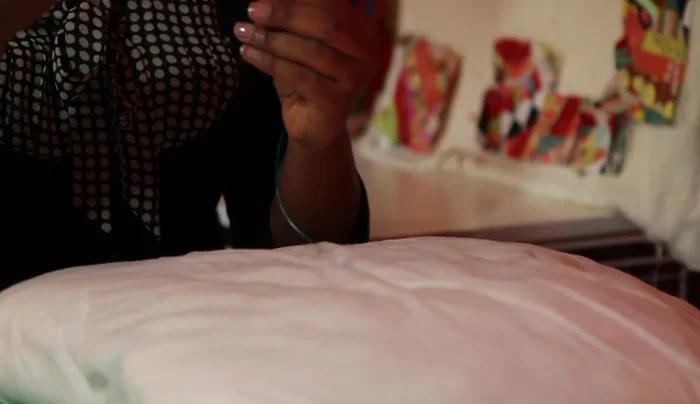
Prepare and Secure Starting Point
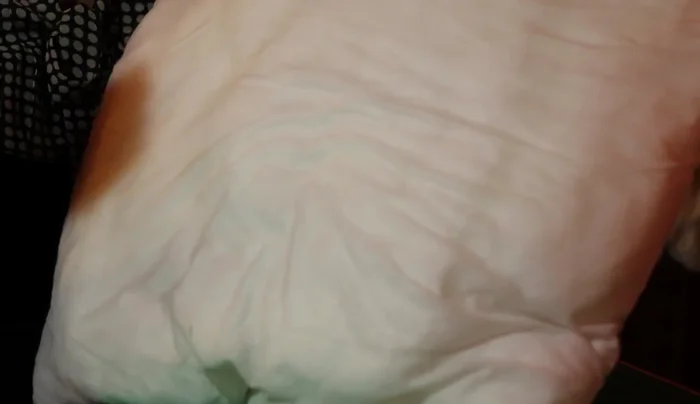
- Find the center point of your pillow, pinch it towards the back, and push your needle through. Secure the thread on the back to prevent it from pulling through.

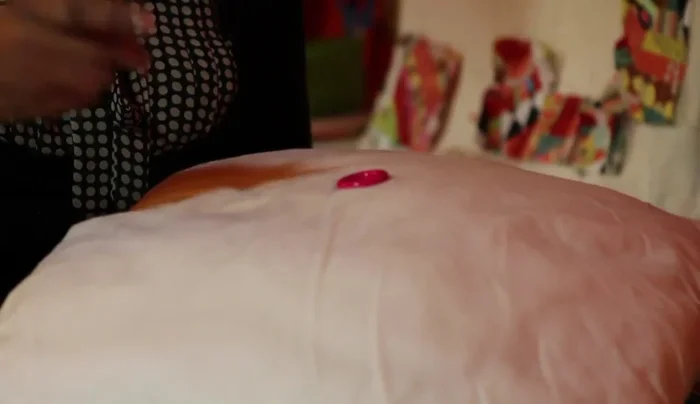
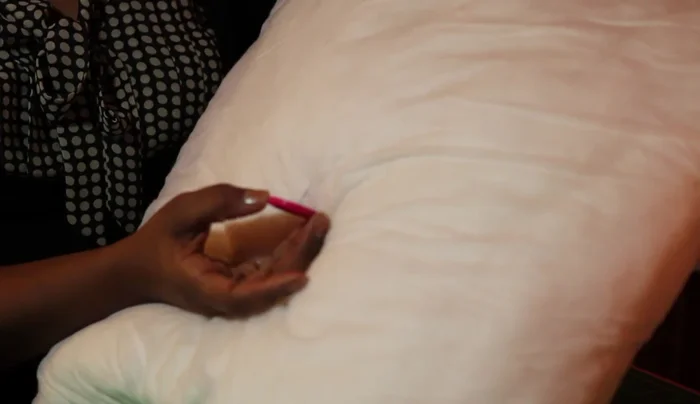
Prepare and Secure Starting Point Attach the First Button
- Add your button (using a four-hole shank button as an example). Go through the first hole, pull it down, and ensure you're still at the center point.
- Go through another hole of the button, ensuring you go back down into the same location you started from. Use a thimble to protect your finger.
- Pull the needle up through the back, securing the thread. Knot your thread to ensure a firm grip. Push the needle through again up through the back side.
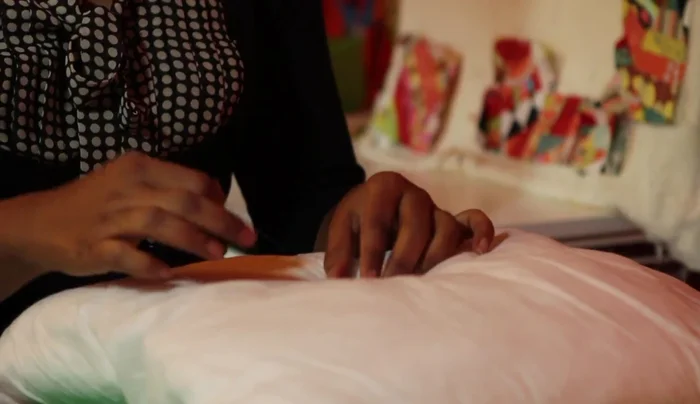
- Go into one of the other button holes. Push the needle through to the other side, repeating this a couple of times to secure the loop.
Attach the First Button - Wrap the thread around the thread legs to secure the button better. Repeat this process for the other side of the button.
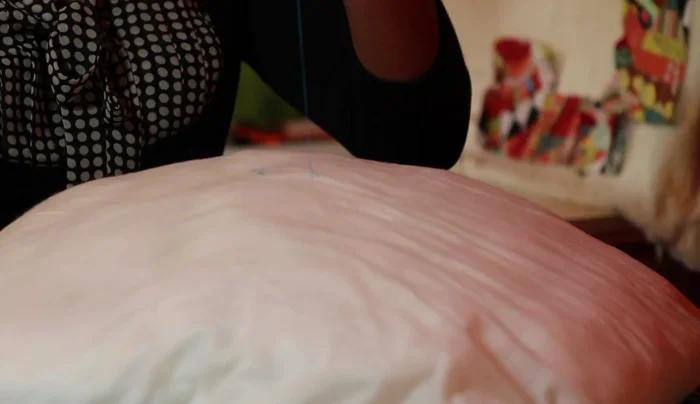
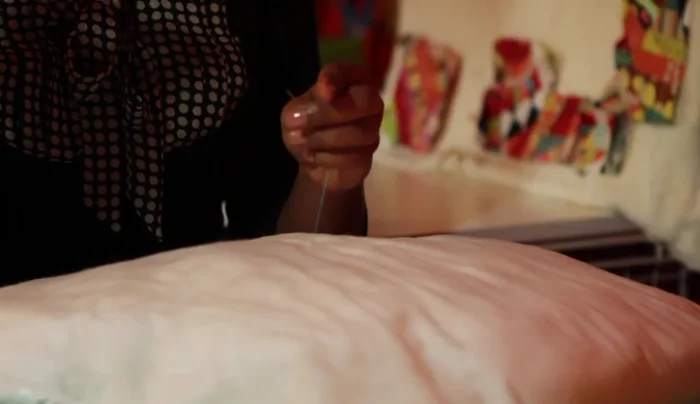
Attach the First Button Attach a Second Button (Optional)
- For a more decorative look, add another button on the opposite side of the pillow, repeating the process of going through each hole and wrapping the thread around the legs.
Attach a Second Button (Optional)
Read more: DIY Super Cute Whale Shower Curtain: A Step-by-Step Tutorial
Tips
- Use a heavy-duty needle and thread to easily pierce the pillow filling.
- Secure your thread on the back side to prevent it from pulling through the front.
- Use a thimble to prevent poking yourself with the needle.
- Wrapping the thread around the legs of the thread creates a more secure and decorative finish.
- Adding buttons on both sides creates a more symmetrical and aesthetically pleasing look.