Unicorns, those majestic creatures of myth and legend, are captivating to both children and adults. Their ethereal beauty and whimsical nature make them a perfect subject for a charming handmade project. This guide will show you how to craft your very own delightful unicorn, sewn entirely from scratch, using simple techniques and readily available materials. Forget expensive store-bought toys; you'll create a unique and cherished keepsake, imbued with your own personal touch.
Whether you’re a seasoned seamstress or a beginner just picking up a needle, this project is perfectly achievable. We'll walk you through every stage, from selecting your fabrics to adding the final, magical details. Get ready to unleash your creativity and dive into the enchanting world of unicorn crafting; let's begin with the step-by-step guide below.
Preparation and Safety Guidelines
- Fabric (main body, fur, Halloween fabric), Sewing machine, Ballpoint needle, Scissors, Pins, Stuffing (pillow stuffing or hollow fiber), Children's safety eyes, Tapestry needle
- Always use sharp, well-maintained scissors and needles to prevent accidents. Keep them away from children.
- Be mindful of your fingers when using the sewing machine. Use a seam guide and finger guard if available.
- If working with small parts like beads or sequins for decoration, supervise young children to avoid choking hazards.
Step-by-Step Instructions
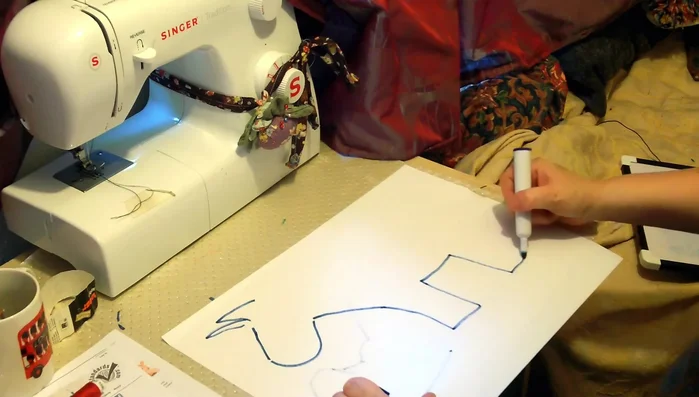
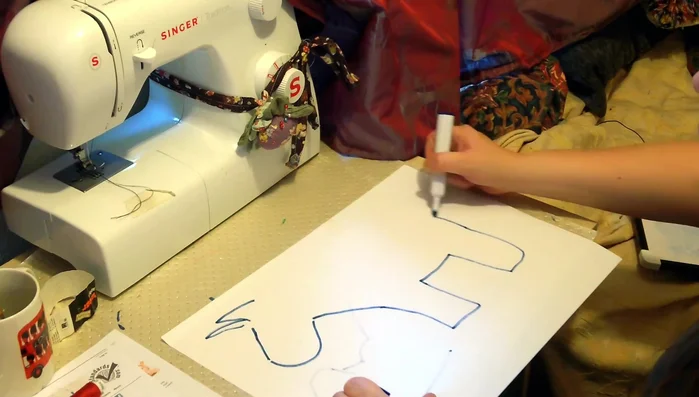
Cut Fabric Pieces
- Cut out the unicorn's body, head, ears, horn, legs, and tail pieces. Consider using simple shapes like rectangles and V-shapes as a base.

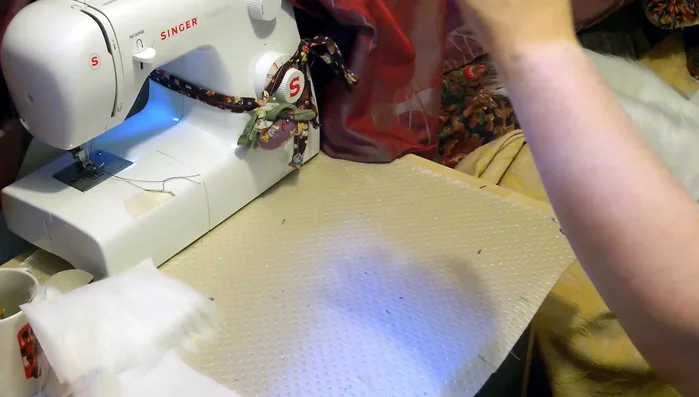
Cut Fabric Pieces Assemble Smaller Parts
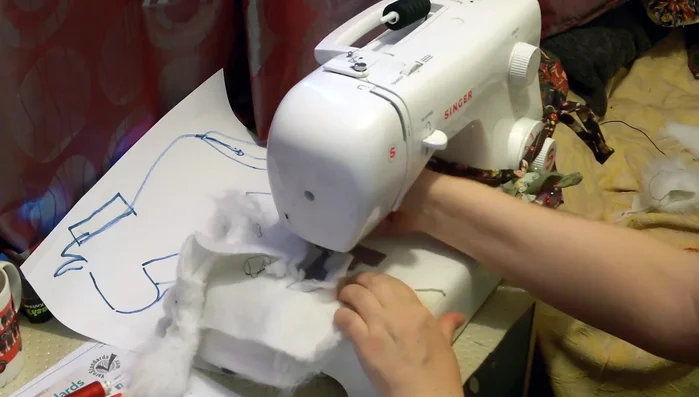
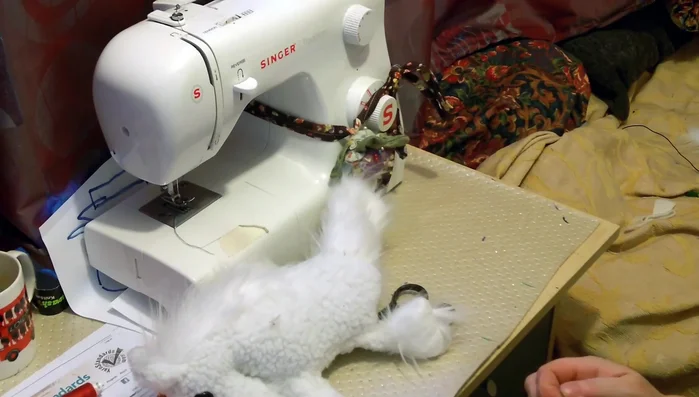
- Sew together the pieces that need to be joined before attaching to the main body (ears, legs, tail). Use a ballpoint needle to avoid damaging the fur.
- Turn the individual pieces (ears, legs, tail) inside out and press seams flat for a clean finish.
Assemble Smaller Parts Attach Smaller Parts to Body
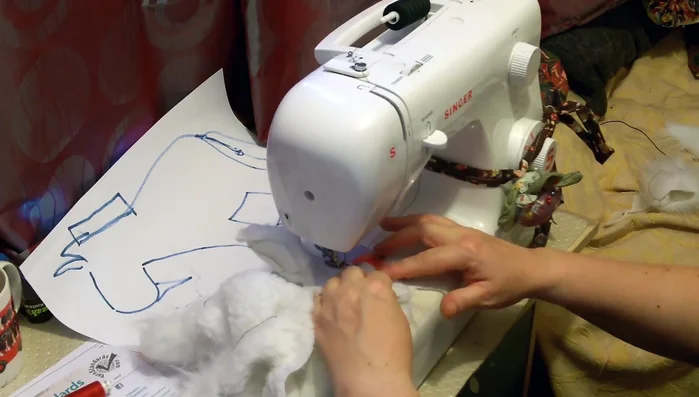
- Attach the completed pieces (ears, legs, tail, mane) to the main body of the unicorn, beginning with one side.
Attach Smaller Parts to Body Assemble and Stuff the Head
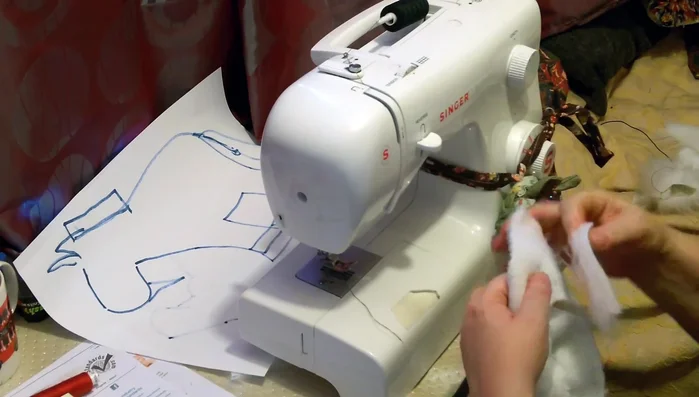
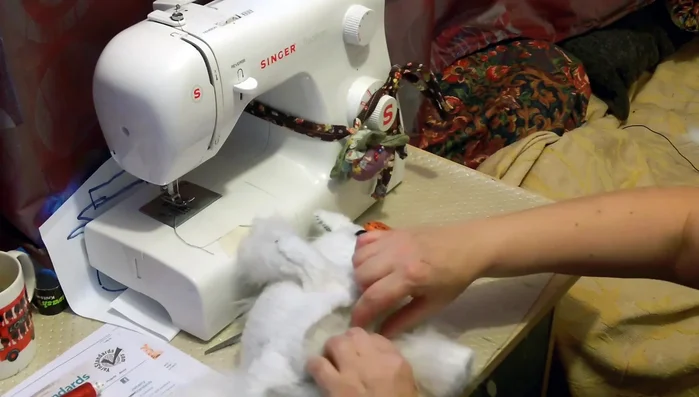
- Sew together the head pieces, leaving a small opening for stuffing. Consider shaping the mane and tail into a V-shape before attachment for a more natural look.
- Stuff the unicorn using pillow stuffing or hollow fiber. Don't overstuff; a slightly floppy appearance is desirable.
Assemble and Stuff the Head Add Facial Features
- Attach the eyes using children's safety eyes or similar. Securely attach with a few stitches.
Add Facial Features Close Head Opening
- Close the opening in the unicorn's head, carefully securing the seam and incorporating any loose hair or fur. Hand stitch or use a sewing machine.
Close Head Opening Final Shaping and Styling
- Shape the unicorn's tail and mane for desired final look.
Final Shaping and Styling
Read more: DIY Fluffy Duck Plushie Tutorial: A Step-by-Step Guide
Tips
- When cutting long fur fabric, slide your scissors underneath to avoid cutting the fluff.
- Use a ballpoint needle to sew through thick fabrics such as fur.
- For a more distinctive look, slightly pucker the fabric when sewing to create texture and visual interest.
- When sewing thick layers of fabric, push the fabric in as much as possible before sewing to create a smoother seam and avoid bulkiness.
- Use a tapestry needle for cleaning up and shaping the fur after stuffing.