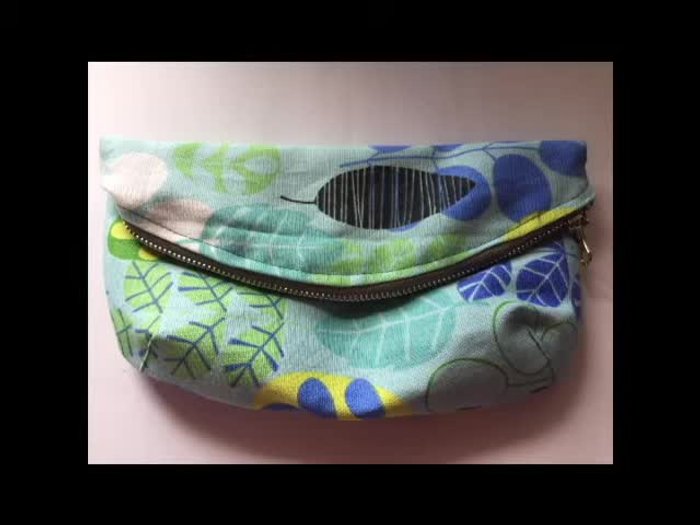
Are you ready to elevate your accessory game with a stunning, handmade Sonia clutch? This elegant bag, known for its clean lines and sophisticated style, is surprisingly achievable even for intermediate sewists. Forget overpriced department store finds; this guide empowers you to craft your own perfect outer clutch, tailored precisely to your taste and featuring high-quality materials you hand-select. Imagine the compliments you'll receive carrying a unique, beautifully constructed bag that reflects your personal style.
This comprehensive tutorial will walk you through each stage of creating your own Sonia clutch, from choosing the perfect fabrics and hardware to mastering essential sewing techniques. We’ll cover everything from precise cutting and interfacing to the professional finishing touches that truly set your creation apart. Ready to get started? Let's dive into the step-by-step process and begin crafting your dream Sonia clutch!
Preparation and Safety Guidelines
- PDF pattern (Ida clutch pattern)
- Fabric (linen, cotton canvas, or similar)
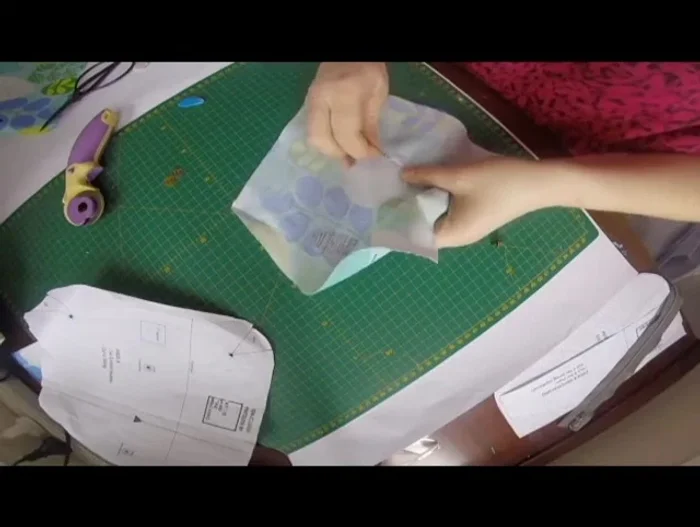
- Apparel lining fabric
- 25cm zipper
- Snaps (magnetic snaps recommended)
- Rotary cutter (optional)
- Scissors
- Iron
- Chalk
- Seam ripper
- Interfacing (optional)
- Always use sharp sewing machine needles and appropriate thread weight for your fabric to prevent breakage and ensure clean stitches. Dull needles can cause skipped stitches and damage your fabric.
- Handle your fabric carefully to avoid snags and tears. Pre-wash your fabric if necessary to prevent shrinkage after the bag is completed.
- Use caution when working with sharp tools like scissors and rotary cutters. Always cut away from yourself and keep your fingers clear of the blades.
Step-by-Step Instructions
Prepare Materials and Pattern
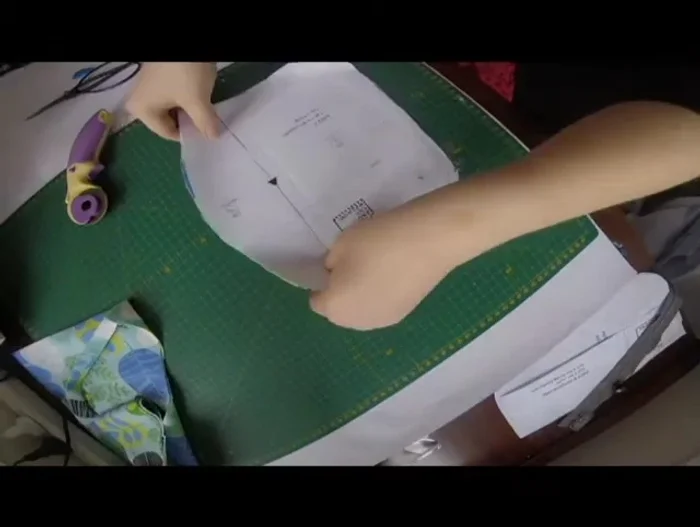
- Review the pattern and gather materials.

Prepare Materials and Pattern Prepare Fabrics
- Iron your fabrics.
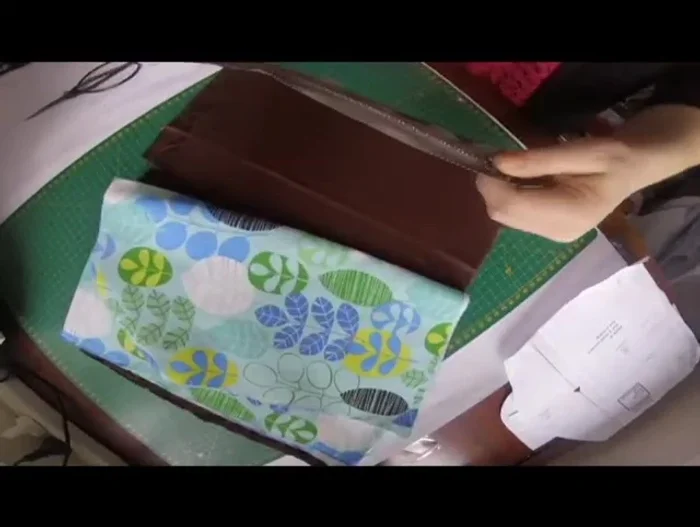
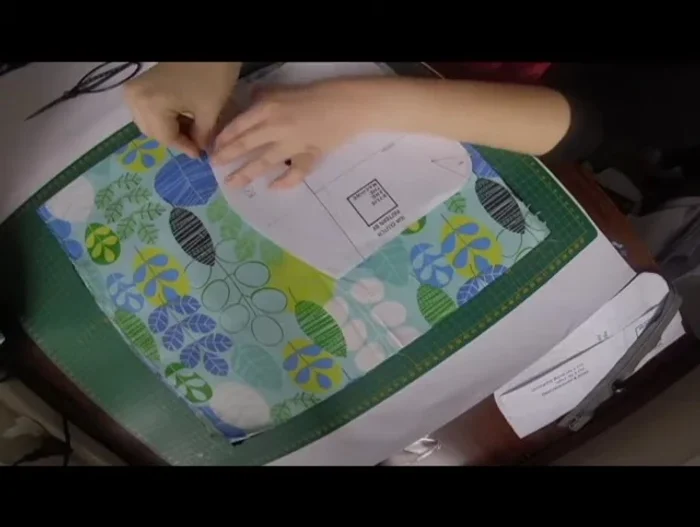
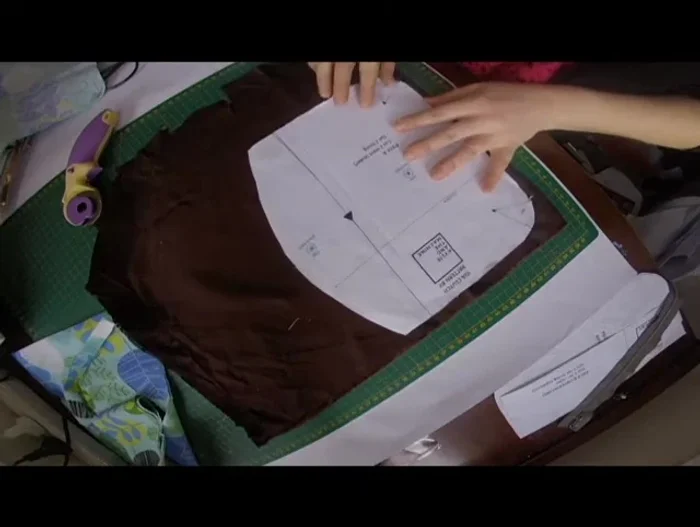
Prepare Fabrics Cut Outer Fabric
- Cut the outer fabric (double layer).
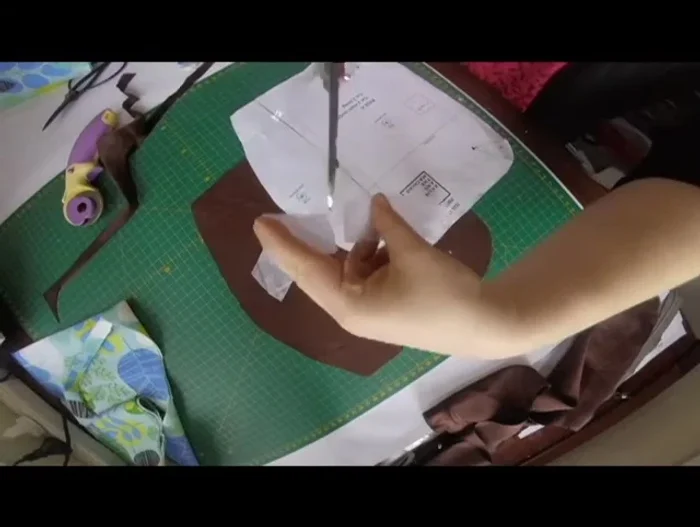
- Mark notches and dart points on the outer fabric.
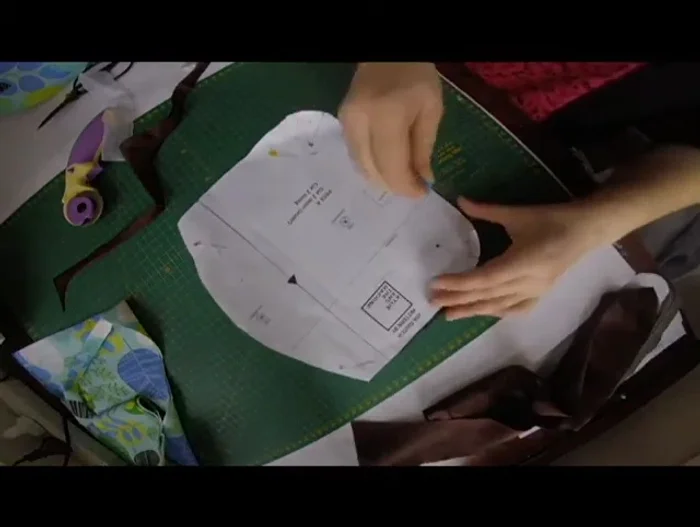
Cut Outer Fabric Cut Lining Fabric
- Cut the lining fabric (double layer).
- Mark dart points on the lining fabric.
Cut Lining Fabric Prepare for Snaps
- Iron interfacing onto the back of the outer fabric where snaps will be placed.
Prepare for Snaps Attach Snaps
- Attach snaps (magnetic snaps are the most efficient).
Attach Snaps
Read more: DIY Quilted Makeup Pouch Tutorial: The Easiest and Fastest Method
Tips
- Use a rotary cutter for efficient fabric cutting, but scissors are also fine.
- Make small snips at the end of the dart legs to help with matching later.
- Use chalk marks to pinpoint dart apexes and snap placements for accurate sewing.
- Create snap holes from the back for easier placement.
- Use a seam ripper to carefully create holes for snaps.