Silk. The very word evokes images of shimmering luxury and effortless elegance. Sewing a silk blouse, however, can seem daunting, a project reserved for experienced seamstresses. But with the right techniques and a little patience, crafting your own exquisite silk top is entirely achievable. This guide demystifies the process, walking you through each step from choosing the perfect fabric to achieving a professional-looking finish. Forget the frustrating hours spent wrestling with slippery silk; we'll equip you with time-saving strategies and expert advice to make this luxurious project surprisingly manageable.
This comprehensive guide offers a detailed, step-by-step approach to sewing a stunning silk blouse, ensuring even beginners can achieve professional results. From pre-washing your silk to mastering delicate seams and finishing touches, we'll cover every essential technique, along with invaluable tips to streamline your workflow and avoid common pitfalls. Prepare to transform your sewing skills and create a truly special garment you’ll cherish for years to come.
Preparation and Safety Guidelines
- Liberty crepe de sheen fabric
- Fusible lightweight interfacing
- Harmony Woven Top pattern by Style Arc
- Sewing machine
- Serger
- Microtex needle
- Serrated scissors (or rotary cutter)
- Loop turner
- Chalk
- Pressing cloth
- Silk organza pressing cloth
- Pins
- Button
- Use sharp, fine needles and appropriate silk thread to prevent snags and tears in the delicate fabric. A size 70/10 or 80/12 needle is generally recommended.
- Handle silk gently to avoid stretching or damaging the fibers. Avoid pulling or tugging on the fabric during stitching. Press with a low heat setting or use a pressing cloth to prevent scorching.
- Pre-wash your silk fabric before cutting and sewing to prevent shrinkage and color bleeding after the garment is completed. Follow the fabric care instructions carefully.
Step-by-Step Instructions
Preparation
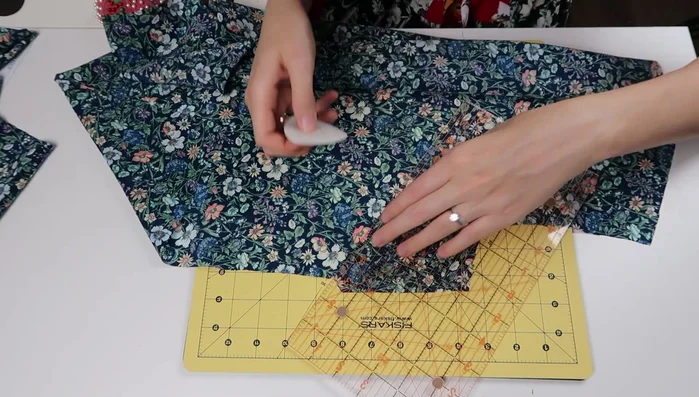
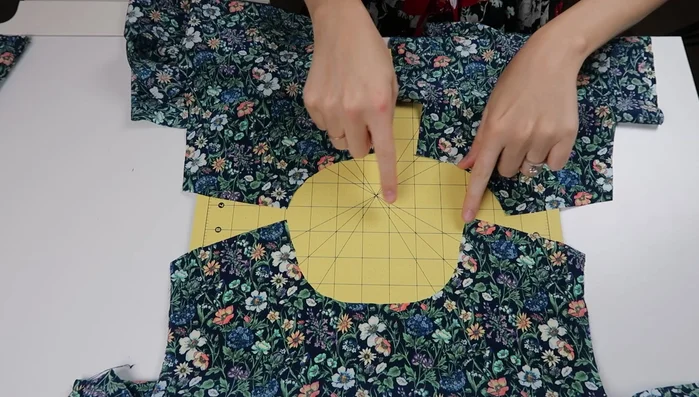
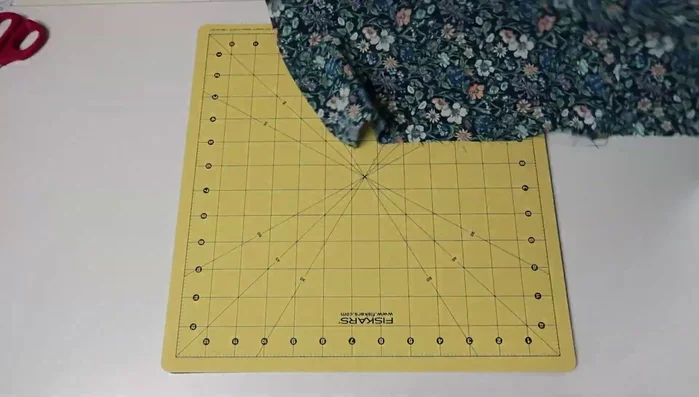
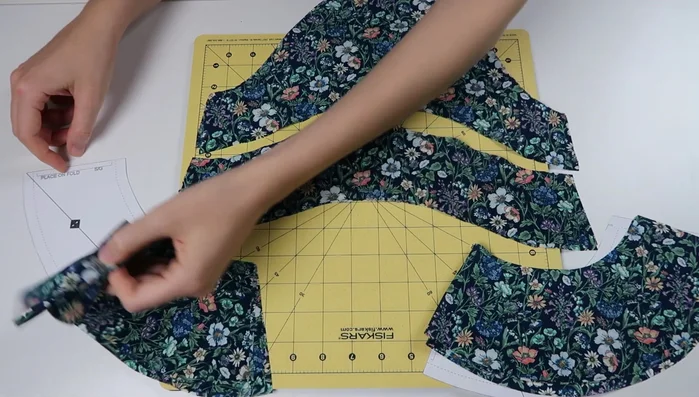
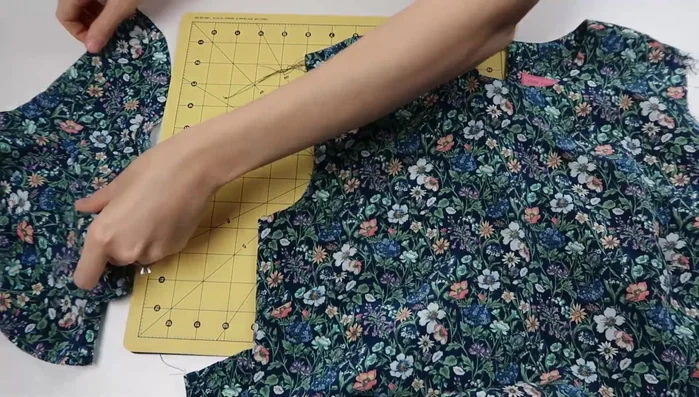
- Lay out fabric and pattern pieces. Ensure fabric is straight along the fold.
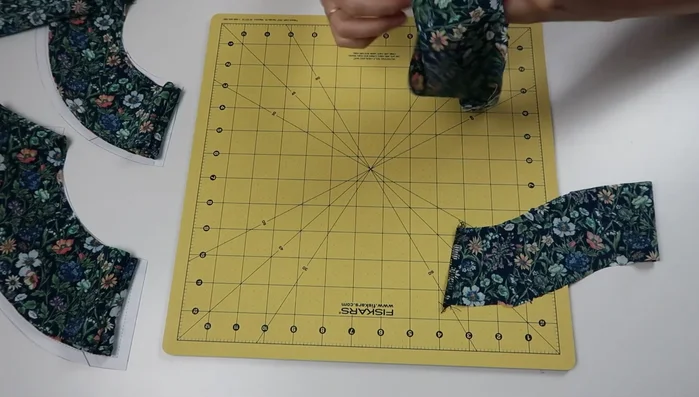
- Cut out fabric and interfacing pieces using serrated scissors or rotary cutter.
- Mark match points with chalk.
- Test stitch tension on scrap fabric for both sewing machine and serger.
- Apply interfacing using pressing cloth to protect silk and iron.
- Finish raw edges with serger.

Preparation Constructing the Blouse Body
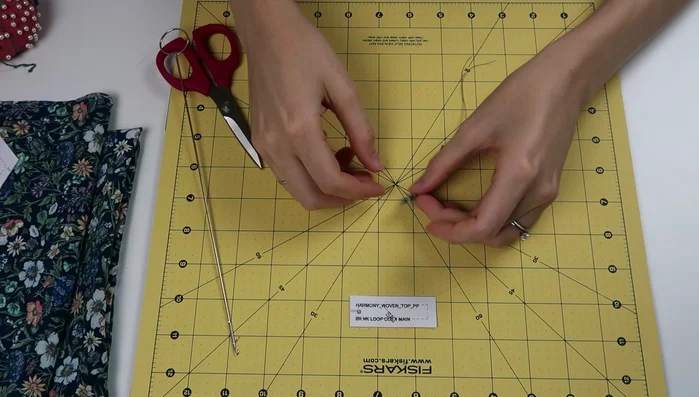
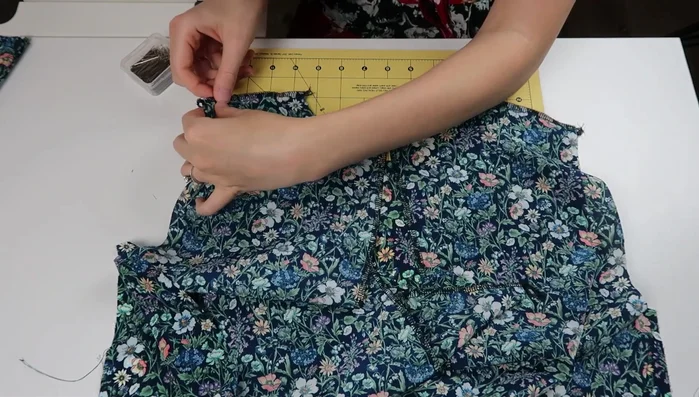
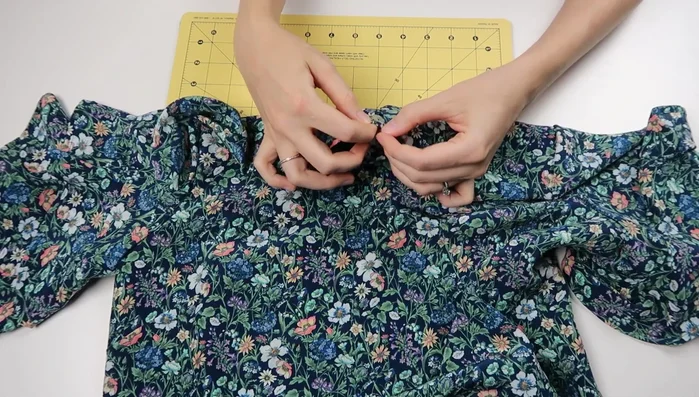
- Create a small loop for the button.
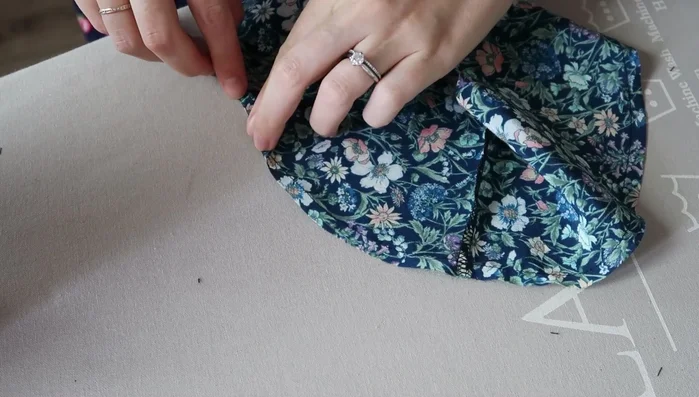
- Mark and stitch darts, pressing them down with silk organza pressing cloth.
- Finish raw edges of shoulders and center back with serger.
- Pin and stitch shoulder seams, pressing seam open.
Constructing the Blouse Body - Align and pin back, marking and stitching up to the keyhole opening.
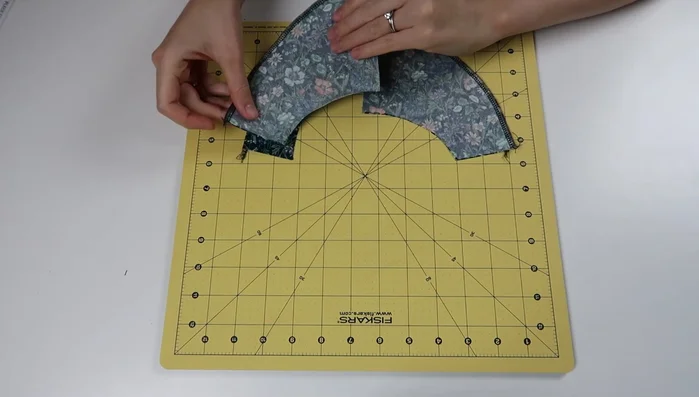
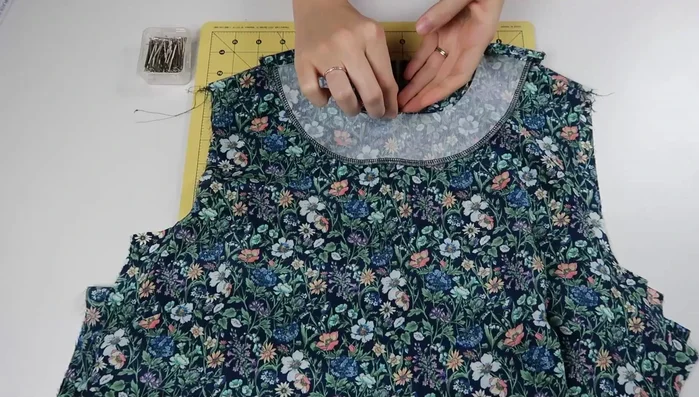
- Sew facing pieces to the shoulder seam up to the keyhole opening, press seams open.
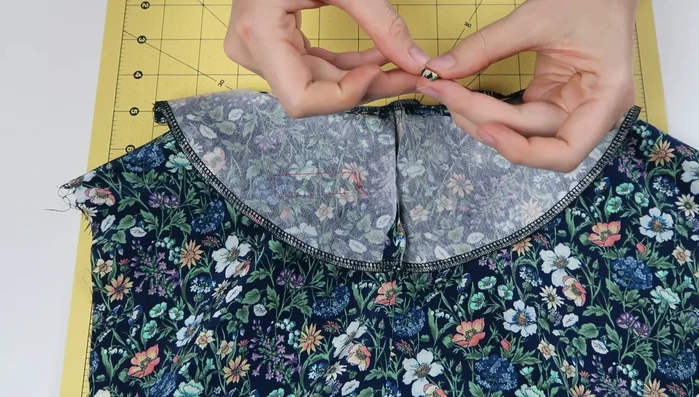
- Pin and stitch facing to neckline, understitch, clip seam allowance.
- Insert loop into keyhole opening, pin and stitch closed.
Constructing the Blouse Body - Stitch side seams, finishing seam allowances with serger.
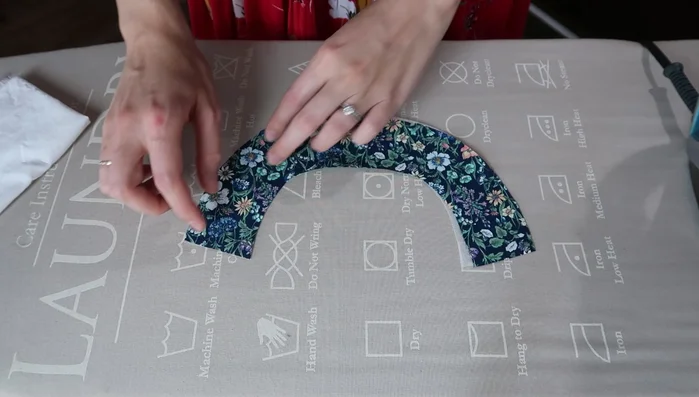
Constructing the Blouse Body Creating and Attaching Sleeves
- Prepare flounces by stitching together and finishing edges efficiently using chain piecing (sewing multiple pieces together in a chain before cutting apart).
- Create narrow hems on flounces by basting, pressing, and stitching.
- Attach flounces to sleeves.
- Set sleeves into armholes.
Creating and Attaching Sleeves Finishing Touches
- Sew on button and finish hem.
Finishing Touches

Read more: Raglan Sleeve Sewing Tutorial: A Step-by-Step Guide
Tips
- Use a microtex needle for sewing delicate silk.
- Use a rotary cutter for faster and cleaner fabric cutting.
- Always test stitch tension before starting the project.
- Use a pressing cloth to protect silk from the iron and glue.
- Chain piece flounces to speed up the process.