The perfectly set-in sleeve: a hallmark of professional-looking garments, often the source of frustration for even seasoned sewists. That satisfyingly smooth curve where sleeve and bodice meet transforms a homemade garment from amateurish to exquisitely crafted. Getting that perfect fit, however, requires precision and understanding of a few key techniques. Many find this seemingly simple step surprisingly challenging, with puckers, wrinkles, and ill-fitting seams a common result of rushed or improperly executed methods. This often leads to frustration and discarded projects.
But fear not! Mastering the art of the set-in sleeve is more achievable than you think. This comprehensive guide will equip you with the knowledge and confidence to sew perfectly fitted sleeves every time, banishing those frustrating sewing woes. Let's dive into a clear, step-by-step process that will guide you from cutting to stitching, revealing the secrets to achieving that professional finish you've always desired.
Preparation and Safety Guidelines
- Fabric
- Tape measure
- Scissors
- Sewing machine
- Pins
- Iron
- Interfacing (optional)
- Always use sharp sewing machine needles and pins to prevent skipped stitches and fabric damage. Dull needles can cause fabric to break or snag.
- Take your time and carefully match notches and markings on both the sleeve and armhole to ensure a smooth, even fit. Rushing can lead to puckers and ill-fitting sleeves.
- Before sewing the sleeve completely, baste it in place to check the fit and make any necessary adjustments. Basting allows for easy removal and correction of errors before permanent stitching.
Step-by-Step Instructions
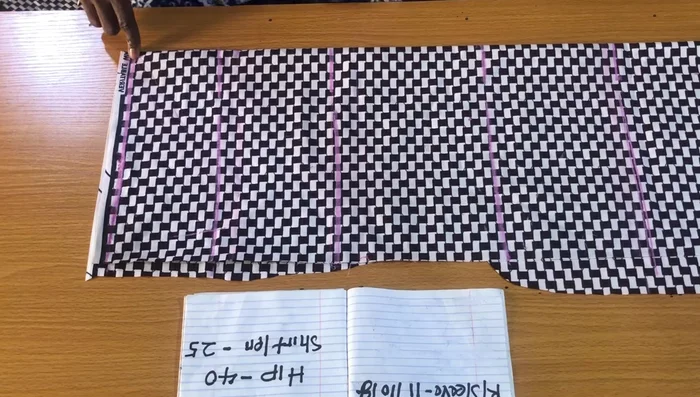
Marking the Sleeve Pattern
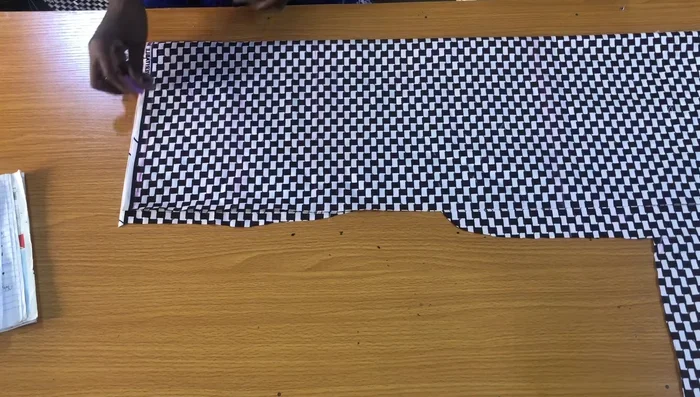
- Fold fabric in half. Mark the starting line of the sleeve.
- Mark cap sleeve line (4 inches in this example).
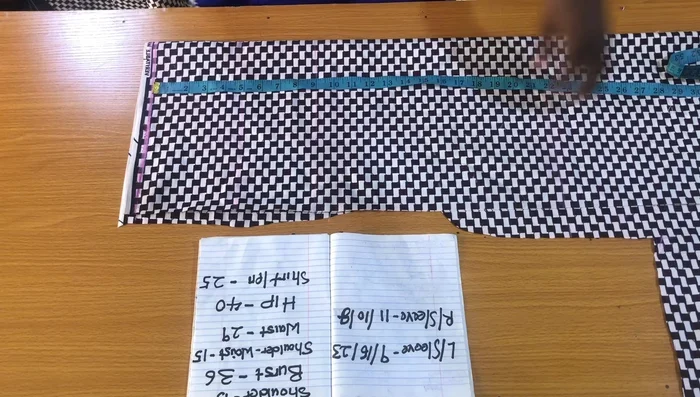
- 9 inches, 16 inches, and adjust the 23-inch mark (subtracting 2 inches for a 2-inch band and adding 1 inch allowance, resulting in 22 inches).
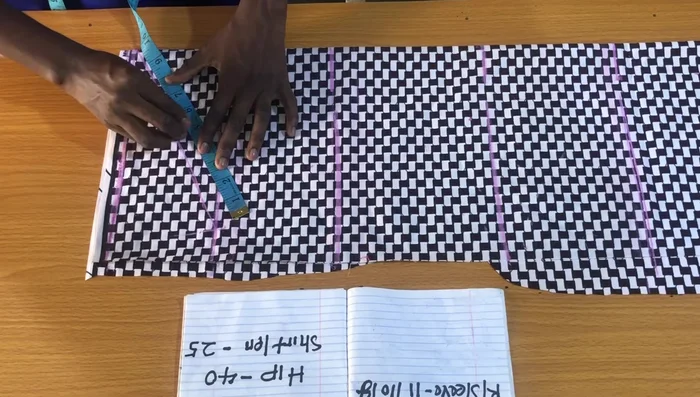
- Measure and mark the armhole circumference (9 inches in this example) on the cap sleeve line.

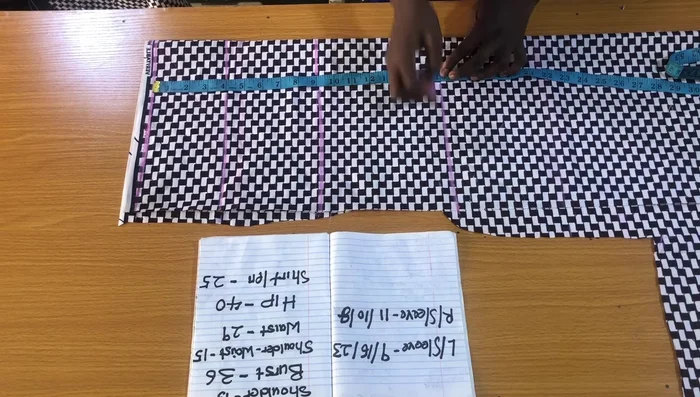
Marking the Sleeve Pattern - Connect the armhole markings to the starting line tip.
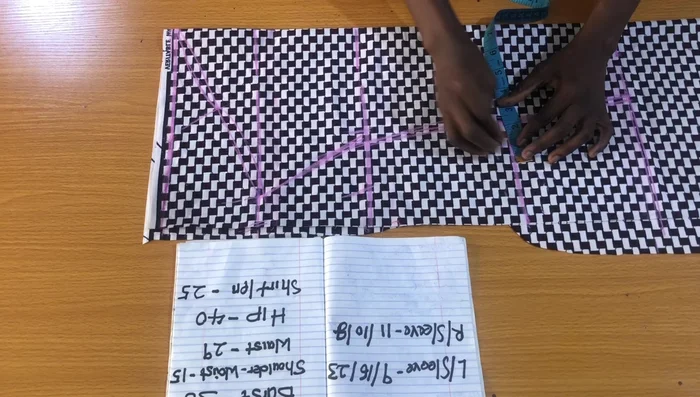
- Find the midpoint of the slant line (10 inches) and connect it to the starting line tip, raising it 0.25 inches above the slant line. Connect the midpoint to the armhole markings, going 0.25 inches below the slant line.
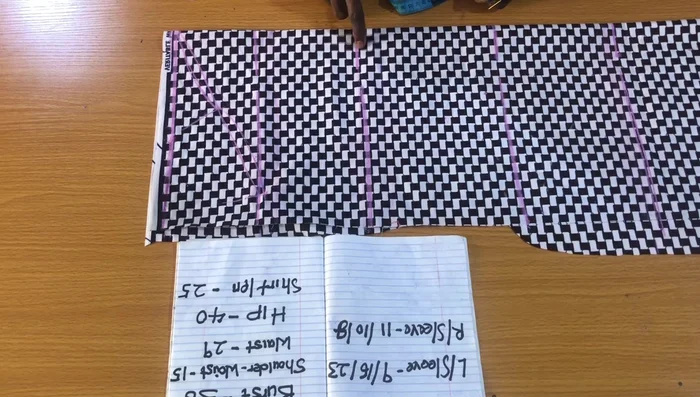
- Mark the round sleeve measurements (11 inches for 9-inch sleeve length, 10 inches for 16-inch sleeve length, 8 inches for 23-inch sleeve length). Divide these measurements by two.
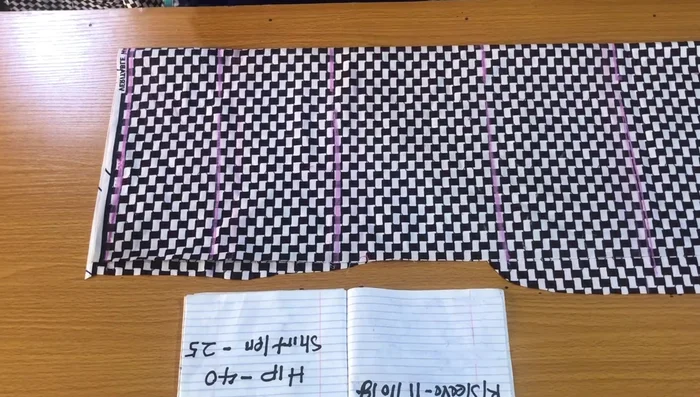
- Mark 2-inch (or 1.5-inch) seam allowances at the sleeve side.
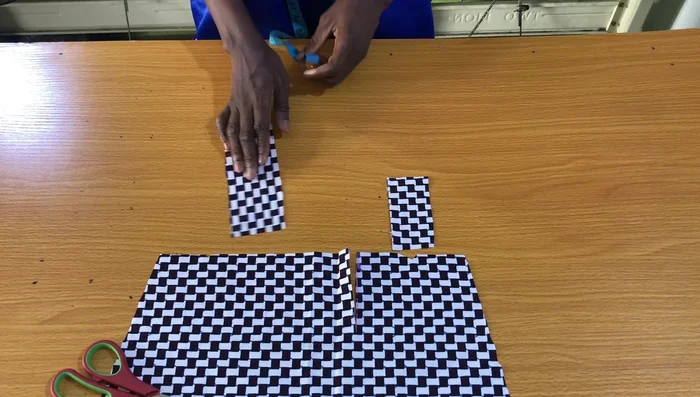
Marking the Sleeve Pattern Cutting and Notching the Sleeves
- Cut one sleeve, then use it as a pattern to cut the second sleeve. Notch the sleeve openings.
Cutting and Notching the Sleeves Creating the Slit and Placket
- Mark and cut the sleeve slits (2.5 inches from the notch, 4 inches long). Create a slit placket for the second sleeve, placing the slit on the opposite side. Note the difference in slit placement between the sleeves.
- Create a 6-inch-long placket (2 inches longer than the slit), 2.5 inches wide. Prepare a 5-inch-long by 2-inch-wide band.
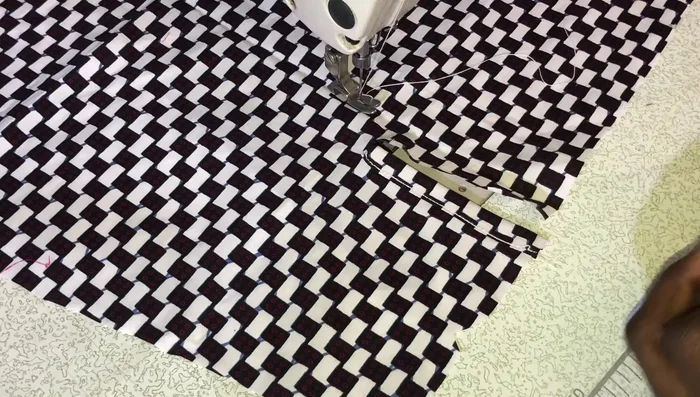
- Attach the band to the smaller side of the slit, inserting the slit between the band and securing with a stitch.
- Attach the placket to the larger side of the slit, aligning the bottom with the sleeve bottom, and stitch.
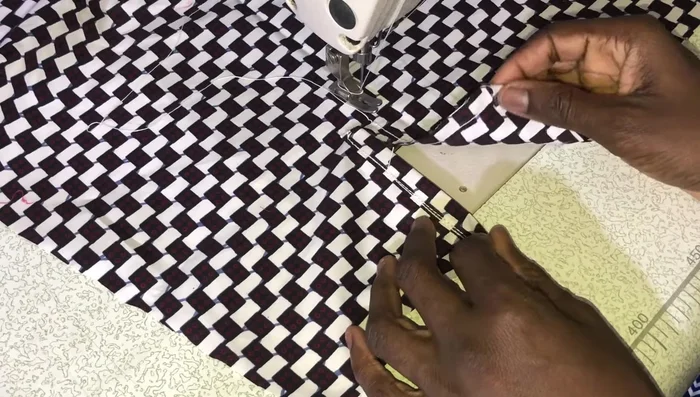
Creating the Slit and Placket - Turn the sleeve right side out and fold the placket edge over, covering the seam and band, and stitch.
Creating the Slit and Placket Attaching the Sleeve Band
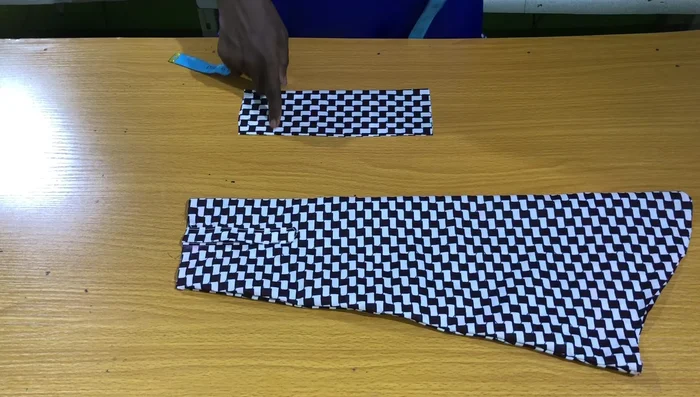
- Create the sleeve band (2 inches high, 9 inches long including seam allowance) Attach to the sleeve opening, matching the measurements, and stitch.
- Make small pleats on the sleeve opening to help it fit into the band if needed.
- Close the band opening. Attach buttons and buttonholes (buttons on the band, buttonholes on the placket). Attach sleeves to the armholes.
Attaching the Sleeve Band


Read more: Raglan Sleeve Sewing Tutorial: A Step-by-Step Guide
Tips
- Pay close attention to the fabric markings and notch placements.
- Use interfacing for a more professional finish (optional).
- Ensure the placket is aligned correctly with the sleeve’s bottom.
- Use a stretch stitch for attaching the band and placket to ensure elasticity.