Autumn's crisp air calls for cozy layers, and what better way to embrace the season than with a handmade cardigan? This tutorial will guide you through the creation of a wonderfully warm and stylish Lisa cardigan, using the popular Seamwork pattern. Imagine sinking into the soft fabric of your own self-made sweater, perfect for chilly evenings spent curled up with a good book or a warm beverage. The Lisa pattern, with its classic design and versatile construction, is ideal for knitters of intermediate skill levels looking to expand their wardrobe with a timeless piece.
This step-by-step guide will walk you through each stage of constructing your Lisa cardigan, from preparing your fabric and cutting out the pattern pieces to sewing the intricate details and finishing touches. We'll cover essential techniques, offer helpful tips and tricks, and ensure you have everything you need to create a beautiful, high-quality garment you'll be proud to wear all autumn long. Let's get started!
Preparation and Safety Guidelines
- Sewing machine
- Serger (optional)
- Interfacing
- Clear elastic
- Buttons
- Cover stitch machine or twin needle
- Always use sharp sewing machine needles appropriate for your fabric to prevent skipped stitches and broken needles. Dull needles can cause fabric damage and injury.
- Exercise caution when using pins and needles. Keep them away from children and store them safely when not in use to prevent accidental pricks or injuries.
- Before cutting into your fabric, double-check your pattern pieces and markings to ensure accurate placement. Mistakes made in cutting are difficult to correct.
Step-by-Step Instructions
Prepare Buttonholes
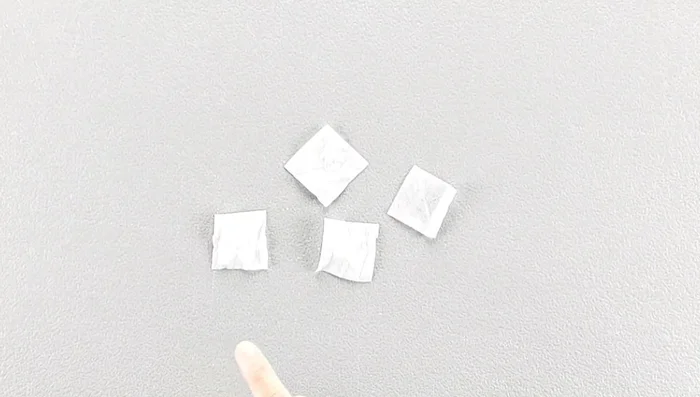
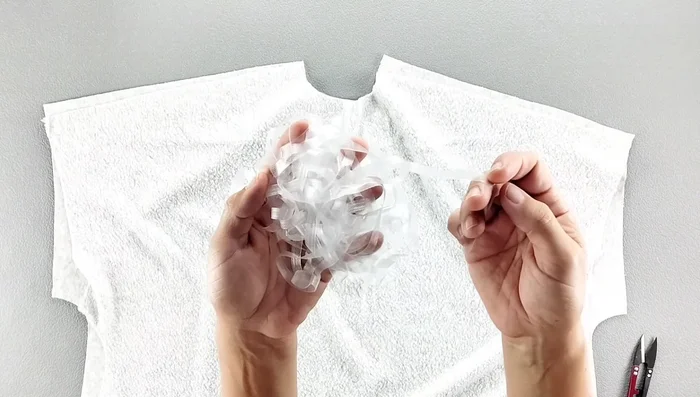
- Cut and fuse interfacing to the buttonhole areas on both front bodice pieces.

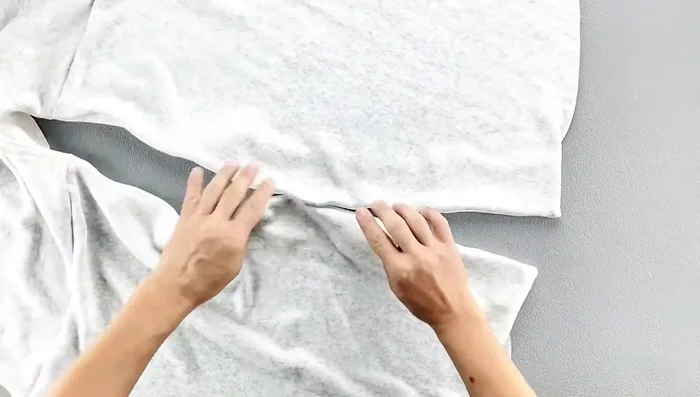
Prepare Buttonholes Construct Bodice
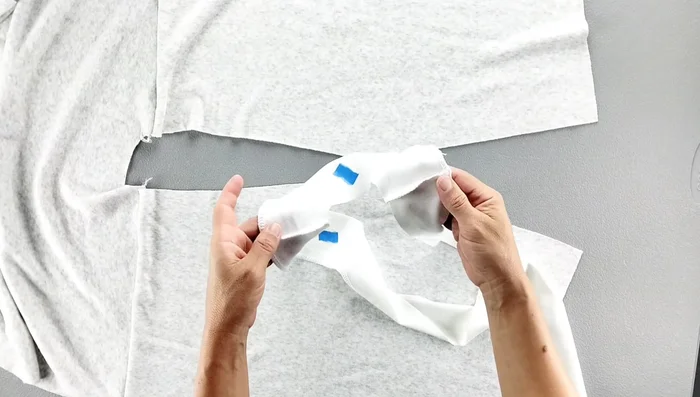
- Align and sew the shoulder seams of the front and back bodice pieces, incorporating clear elastic for added stretch.
- Sew the shoulder seams of the facing pieces and press seam allowances towards the front.
Construct Bodice Attach Neckline Facing
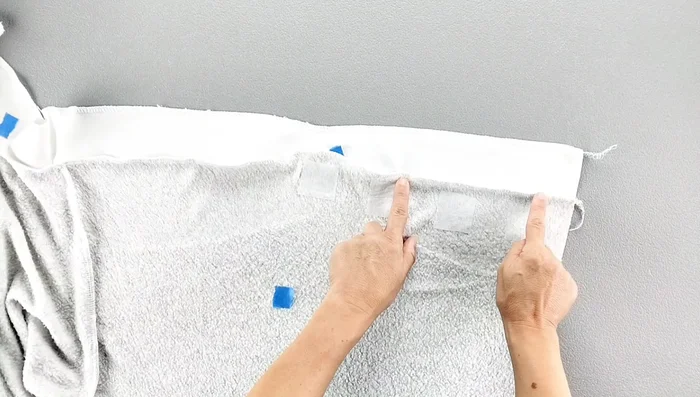
- Attach the neckline facing to the bodice, right sides together, aligning notches and pressing seam allowances in opposite directions to minimize bulk. Serge the neckline seam.
- Press the facing seam allowance away from the garment and topstitch the seam allowance to the facing, about ⅛ inch from the original seam.
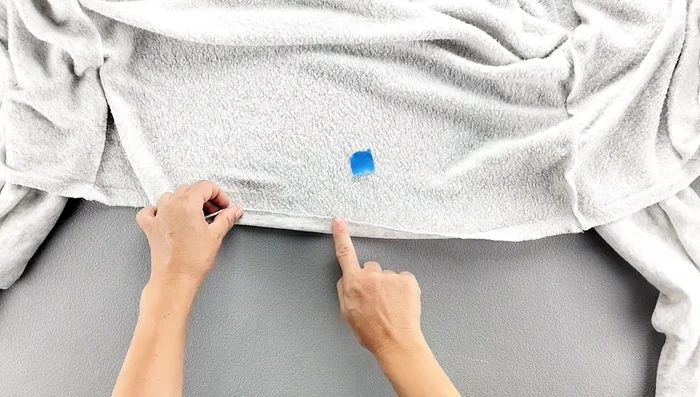
Attach Neckline Facing Attach Bottom Facing
- Secure the facing to the bottom of the bodice, right sides together, and sew.
Attach Bottom Facing Attach Sleeves and Side Seams
- Turn the facing to the inside, press, and attach sleeves to bodice.
- Sew side seams and underarm seams in one continuous stitch.
Attach Sleeves and Side Seams Attach Cuffs
- Prepare and attach cuffs to sleeves using basting stitches for gathering.
Topstitch and Hem
- Topstitch the neckline and center front of the bodice using a cover stitch machine, twin needle, or narrow zigzag stitch.
- Hem the bottom edge of the cardigan and topstitch close to the inner edge.
Topstitch and Hem Add Buttons and Buttonholes
- Add buttonholes to one front piece and sew buttons to the opposite piece.
Add Buttons and Buttonholes


Read more: Raglan Sleeve Sewing Tutorial: A Step-by-Step Guide
Tips
- Use interfacing for buttonhole reinforcement.
- Pressing seam allowances in opposite directions minimizes bulk.
- Use basting stitches for gathering when attaching cuffs.
- Use a cover stitch machine, twin needle, or narrow zigzag stitch for professional-looking topstitching.