Are you drowning in a sea of fabric scraps, remnants from past projects whispering promises of future creations? Don't let those precious pieces gather dust! Transform your textile treasures into delightful, unique throw pillows with this easy-to-follow tutorial on DIY scrappy patchwork. This project is perfect for beginners and seasoned sewists alike, offering a satisfying way to recycle fabric while adding a burst of vibrant personality to your home décor. The satisfying process of piecing together colorful scraps is both relaxing and rewarding, resulting in a truly personalized and one-of-a-kind accessory.
This tutorial will guide you through each step, from selecting and preparing your fabric scraps to the final stitching and finishing touches. We'll explore different techniques for creating visually appealing patchwork patterns and offer tips for ensuring your finished pillows are both beautiful and durable. Let's dive into the step-by-step instructions and unlock the creative potential hidden within your fabric scraps!
Preparation and Safety Guidelines
- Scissors
- Pens
- Rotary mat
- Rotary cutter
- Quilting square or ruler
- Scrap fabric (various sizes and colors)
- Sewing machine
- Needle and thread
- Iron
- Always use sharp scissors or a rotary cutter for precise cutting to avoid accidents and ensure clean seams.
- Handle your sewing machine needles and pins with care to prevent pricks and injuries. Store them safely when not in use.
- When using an iron, ensure the surface is heat-resistant and unplug the iron when not actively ironing to prevent burns and fire hazards.
Step-by-Step Instructions
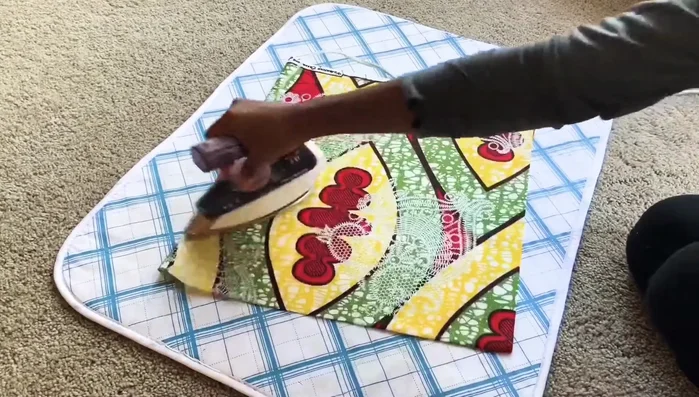
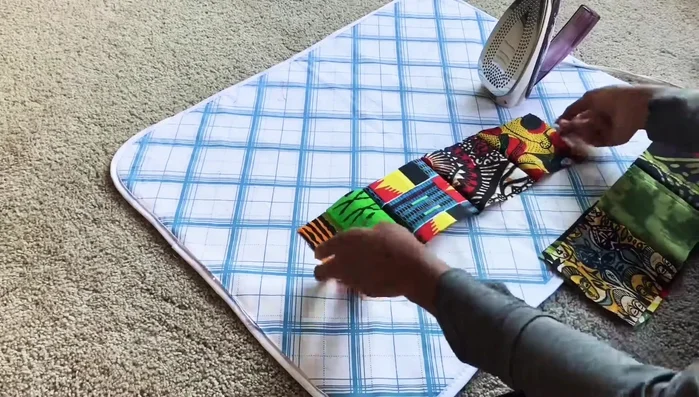
Prepare Fabrics
- Iron larger fabric pieces.
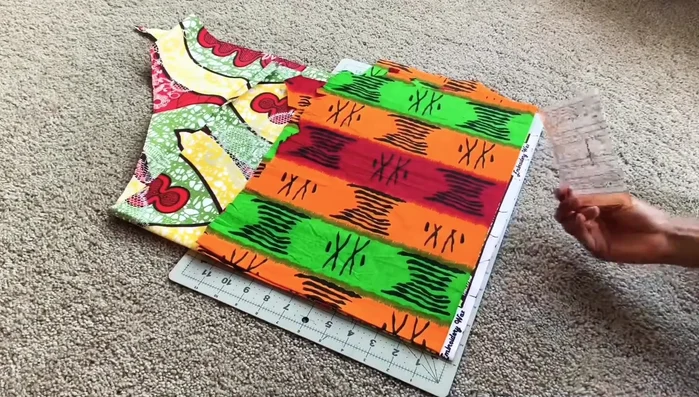
- Cut fabric into precise squares using a rotary cutter and quilting square (or ruler). Fold fabric to maximize cuts.

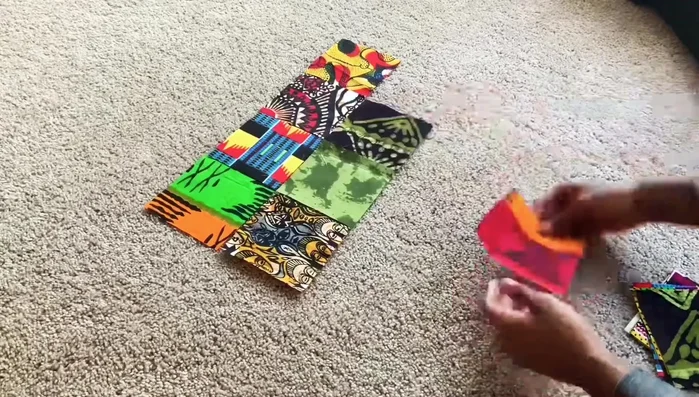
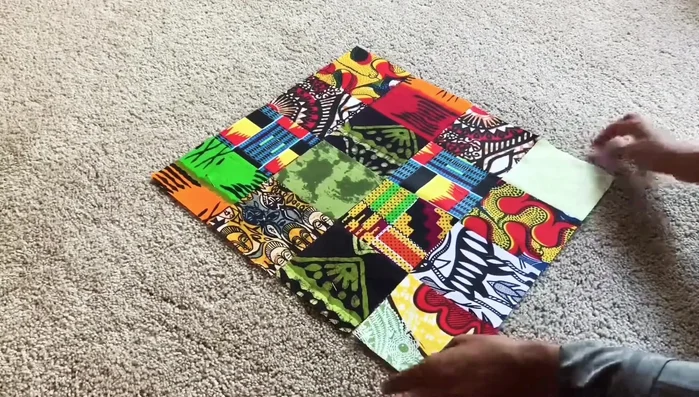
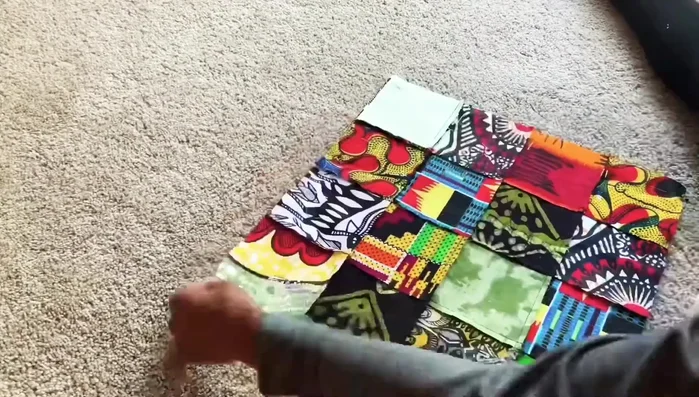
Prepare Fabrics Assemble Rows
- Arrange squares in a grid pattern, ensuring variety and avoiding similar fabrics being too close.
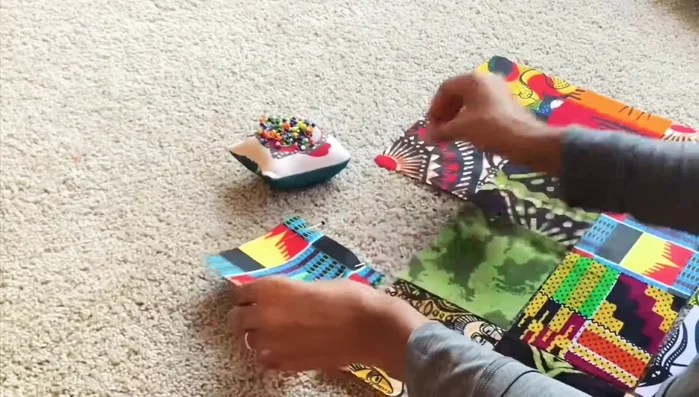
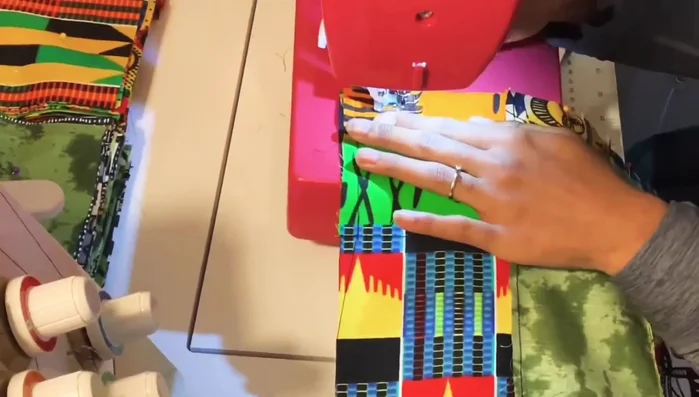
- Pin each row individually, right sides together.
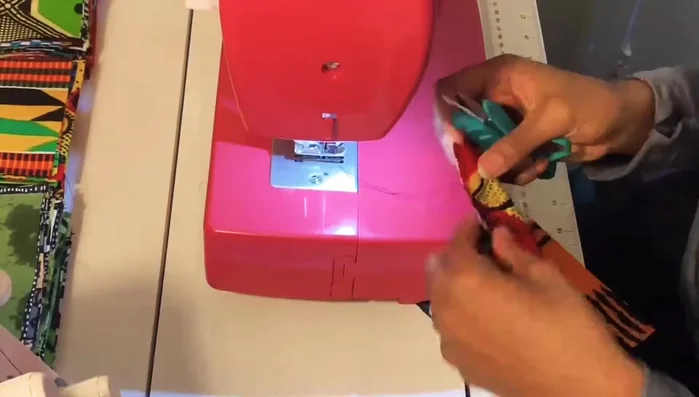
- Sew each row together using a straight stitch with back stitching at the beginning and end (1/4 inch seam allowance).
- Iron seams toward the first square of each row.
Assemble Rows Join Rows
- Pin the rows together, right sides facing, aligning squares.
- Sew the rows together (1/4 inch seam allowance).
Join Rows Create Pillow Cover
- Pin around the perimeter of the square, leaving a gap for turning.
- Sew the perimeter (1/2 inch seam allowance), leaving the gap open.
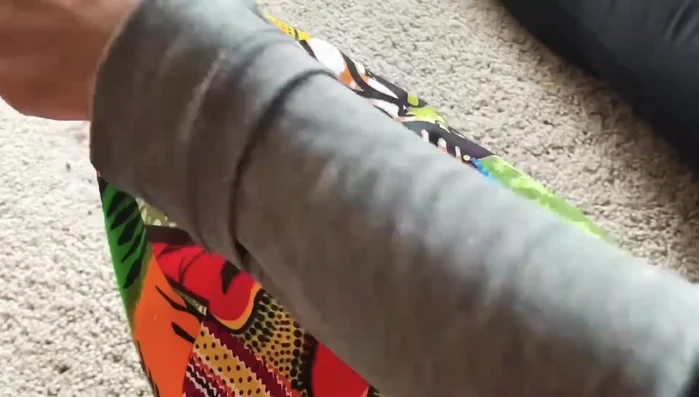
Create Pillow Cover Stuff and Finish
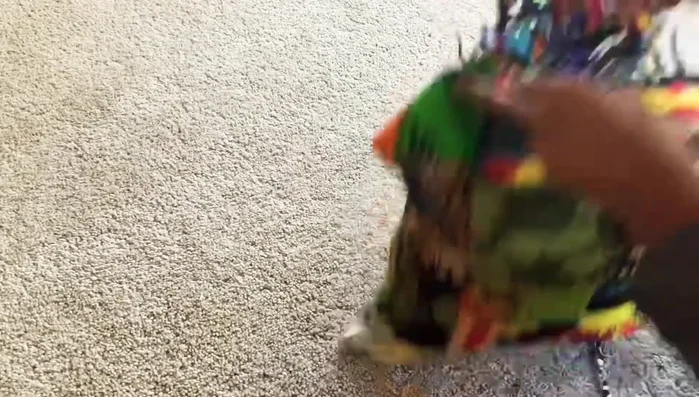
- Turn the pillow cover right side out through the gap and stuff with fabric scraps.
- Fold in the raw edges of the gap, and hand-sew it closed.
Stuff and Finish
Read more: King Size Quilt Tutorial: Efficient Chain Piecing Method
Tips
- Iron frequently – it makes for straighter seams and a crisper finished product.
- Use a rotary cutter and quilting square for precise cuts and efficient fabric usage.
- Backstitch at the beginning and end of seams to prevent unraveling.
- Remove all pins before sewing the final two pieces together to avoid damaging your sewing machine.
- Leave a large enough gap for turning and stuffing.