Tired of flimsy plastic bags and searching for the perfect reusable tote? Why not create your own stylish and durable shopping bag using your ScanNCut? This tutorial provides a fun and easy guide to crafting a personalized tote bag with unique appliqué designs, all thanks to the power of your ScanNCut machine. Forget generic designs – let your creativity shine and personalize your everyday carryall with vibrant fabrics and custom shapes. This project is perfect for crafters of all skill levels, requiring minimal sewing experience and maximizing the versatility of your ScanNCut.
This easy-to-follow tutorial will walk you through each step, from designing your appliqué in the ScanNCut Canvas software to the final stitching, creating a beautiful and functional tote bag you'll be proud to use. Get ready to unleash your inner designer and transform plain fabric into a unique, statement piece – let's get started!
Preparation and Safety Guidelines
- ScanNCut machine
- Iron
- Sewing machine
- HeatnBond (Ultra or Light)
- Fabric (main, contrast, lining, straps)
- Appliqué fabric
- Pins
- Ruler
- Optional: Quilter's ruler, erasable pen
- Always unplug your ScanNCut machine before cleaning or performing any maintenance.
- Use appropriate stabilizer for your fabric to prevent the fabric from stretching or shifting during cutting.
- Keep fingers and other body parts away from the blade area during operation. Use the provided tools to remove cut pieces.
Step-by-Step Instructions
Prepare Fabric Pieces
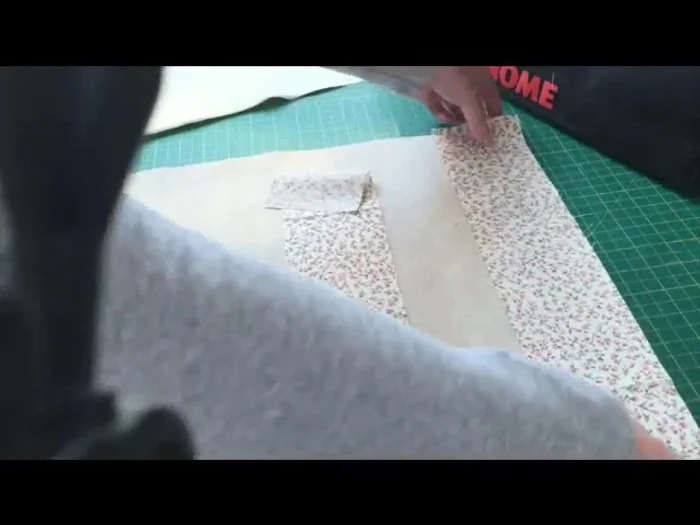
- Cut main fabric (18"x15", 2 pieces), contrast trim (3.5"x18", 2 pieces), lining fabric (18"x18", 2 pieces), and straps (4"x21", 2 pieces). Press straps.

Prepare Fabric Pieces Attach Contrast Trim
- Place contrast trim right sides together with main fabric. Sew using a 1/4" seam allowance for the top edge, then a regular straight stitch for the rest. Press seams open and top stitch on either side of the seam.
Attach Contrast Trim Apply Appliqué
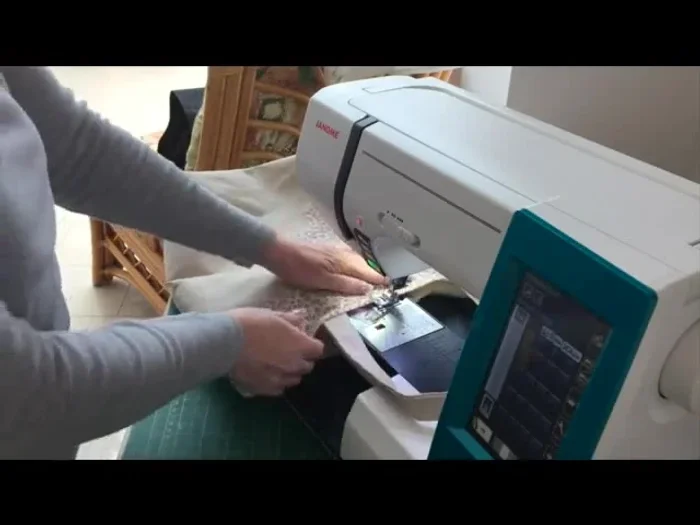
- Position and iron your pre-cut appliqué onto the front main fabric (2" down from the contrast trim). Sew around the appliqué with a decorative stitch for extra security (optional if using HeatnBond Ultra).
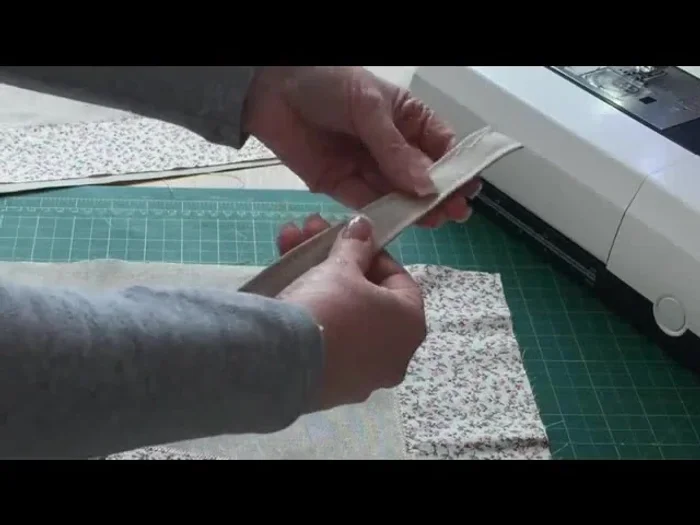
Apply Appliqué Sew Handle Seams
- Sew two lines of stitching along the length of each strap, creating a neat and durable handle.
Sew Handle Seams Attach Handles
- Position handles 3 inches from the center crease of the main fabric, with the neatly folded side facing upwards. Pin securely in place.
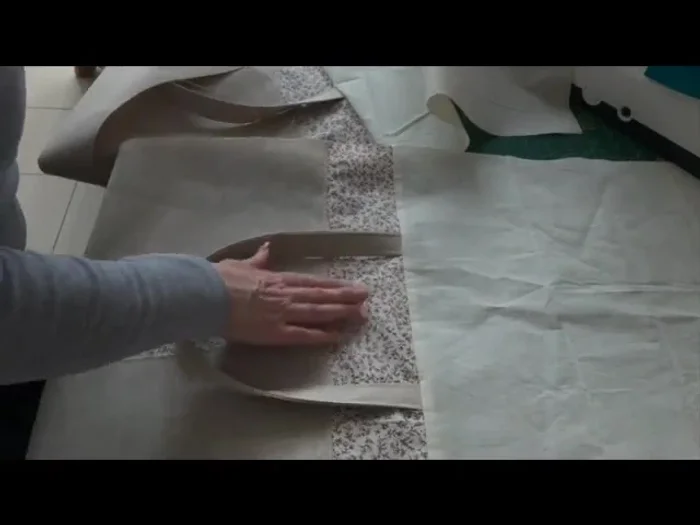
Attach Handles Assemble Bag
- Place the two main fabric pieces right sides together, aligning seams and handles. Pin carefully. Sew around the perimeter, leaving a gap in the lining for turning.
Assemble Bag Box Corners
- Cut 2.5" squares from the corners. Open up the seams, aligning edges and nesting the seams. Pin and stitch across the diagonal to create boxed corners. Repeat for all four corners.
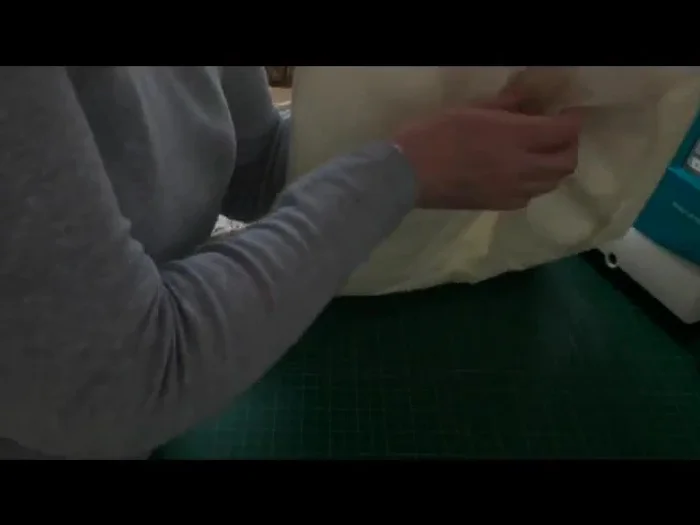
Box Corners Turn and Finish
- Turn the bag right side out through the gap in the lining. Press the seams. Close the gap in the lining by hand-sewing or using your machine.
Turn and Finish Topstitch
- Top stitch around the top edge of the bag for a professional finish and extra durability, ensuring to catch the handles in the stitching.
Topstitch


Read more: DIY Quilted Makeup Pouch Tutorial: The Easiest and Fastest Method
Tips
- Pressing your fabric pieces beforehand will save time and make sewing much easier.
- If you don't have a quarter-inch seam foot, sewing a regular stitch will still work, but you may need to trim your lining fabric to match.
- Use HeatnBond Ultra for easier appliqué application; it usually doesn't require sewing, but sewing provides extra security.
- When attaching handles, ensure the folded side is facing upwards so that the neatest side shows once assembled.
- Nesting seams during construction helps create clean and professional-looking corners.