Satin. The very word conjures images of elegance, sophistication, and effortless glamour. A satin blouse, shimmering and luxurious, can instantly elevate any outfit, transforming a simple pair of jeans into a head-turning ensemble or adding a touch of understated luxury to a skirt and heels. Learning to sew your own satin blouse, however, might seem daunting – the slippery fabric and delicate nature can pose unique challenges. But fear not! With the right techniques and a little patience, creating a stunning satin garment is entirely achievable.
This detailed tutorial will guide you through every step of the process, from choosing the perfect fabric and pattern to mastering those tricky seams and finishing touches. We'll tackle the specific challenges of working with satin, providing tips and tricks to ensure a professional finish. Get ready to unleash your inner designer and learn how to sew a beautiful, bespoke satin blouse that you'll cherish for years to come. Let's begin!
Preparation and Safety Guidelines
- sewing machine
- overlocker (serger)
- iron
- ironing board
- pins
- scissors
- measuring tape
- pattern
- satin fabric
- elastic
- button
- darning needle
- Satin is a slippery fabric. Use sharp needles and pins to prevent skipped stitches and fabric slippage. Consider using a walking foot or a roller foot on your sewing machine for better control.
- Test your stitch length and tension on a scrap of satin before starting on your garment. Satin can be easily damaged by incorrect settings.
- Handle satin gently to avoid snags and pulls. Press with a low iron setting using a pressing cloth to prevent shine marks or damage.
Step-by-Step Instructions
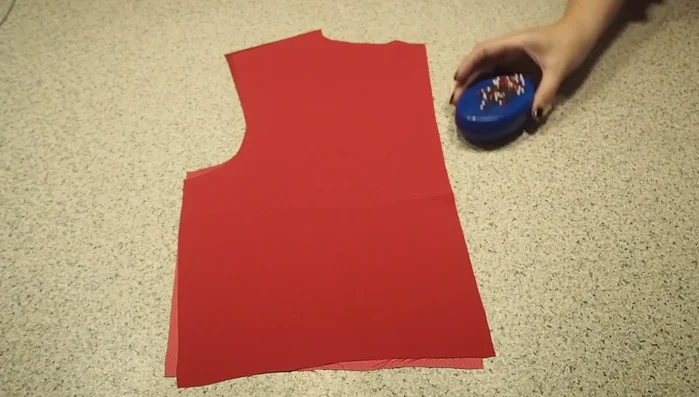
Prepare the Back Piece
- Sew the center back seam, press it open, and finish the raw edges with a neat stitch.

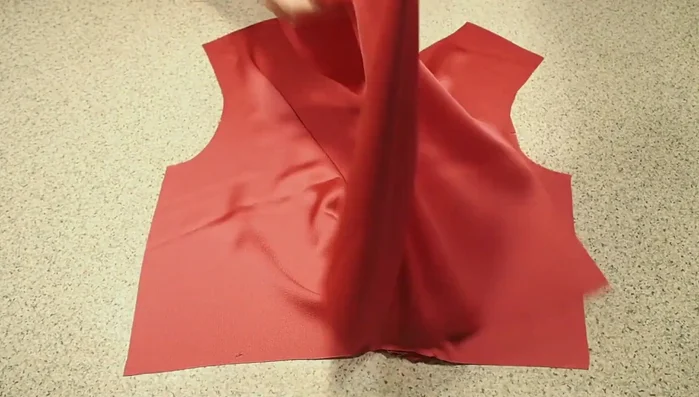
Prepare the Back Piece Prepare the Front Piece
- Create pleats along the bottom edge, pin them securely, and tack them in place with a stitching to prevent movement.
Prepare the Front Piece Join Front and Back
- Sew the shoulder seams, finish the raw edges with an overlocker, and press the seams open.
Join Front and Back Attach Sleeves
- Match the sleeve and bodice notches, pin, and sew the sleeves to the armholes.
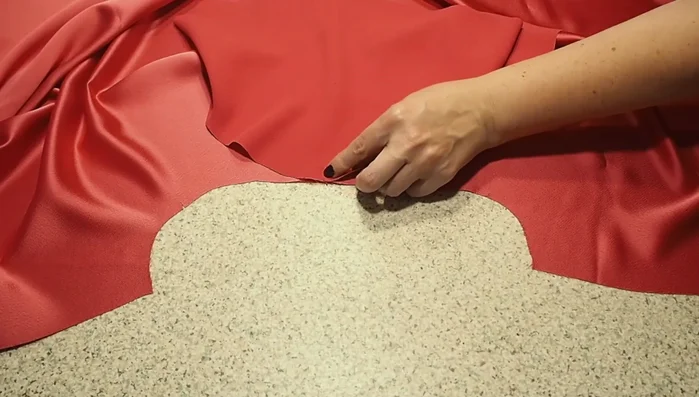
Attach Sleeves Close Side Seams
- Pin and sew the side seams, finish the edges, and press.
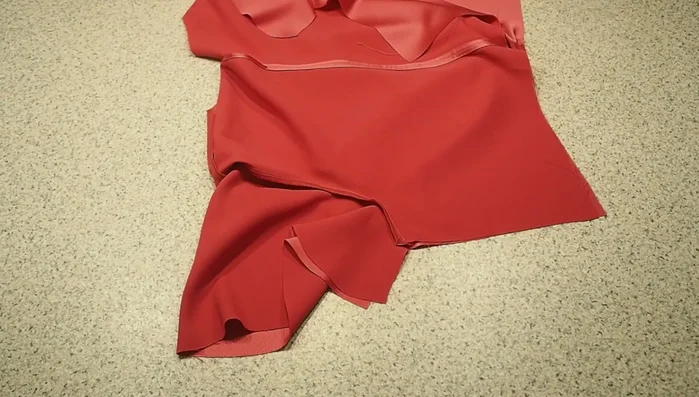
Close Side Seams Finish Neckline
- Create a bias binding finish for the neckline, sew it in place, trim the excess, and under stitch to keep it neat and flat.
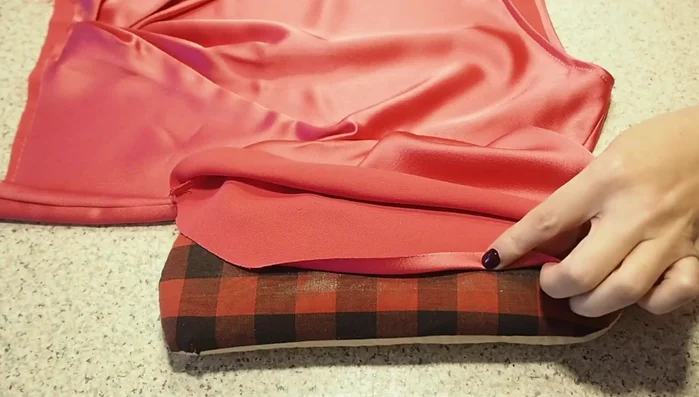
Finish Neckline Hem Sleeves
- Create a double rolled hem on the sleeves by pressing up the hem allowance twice, stitching close to the crease each time.
Hem Sleeves Prepare Peplum
- Cut out two peplum pieces, sew the side seams, and finish the hem in the same way as the sleeves.
Prepare Peplum Attach Peplum
- Pin and sew the peplum to the bodice waistline.
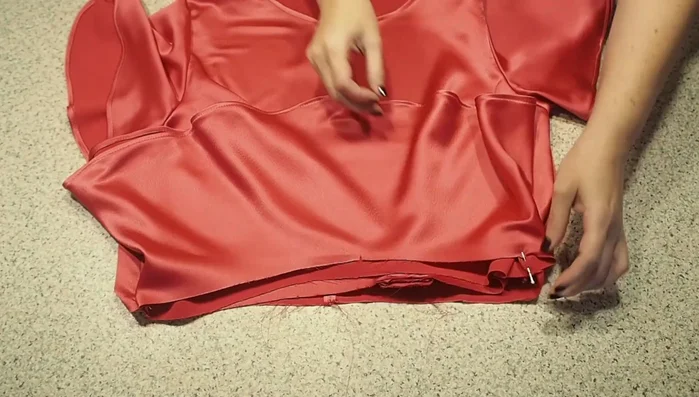
Attach Peplum Add Waist Elastic
- Create a channel for elastic at the back waistline and insert the elastic. Secure it at the side seams.
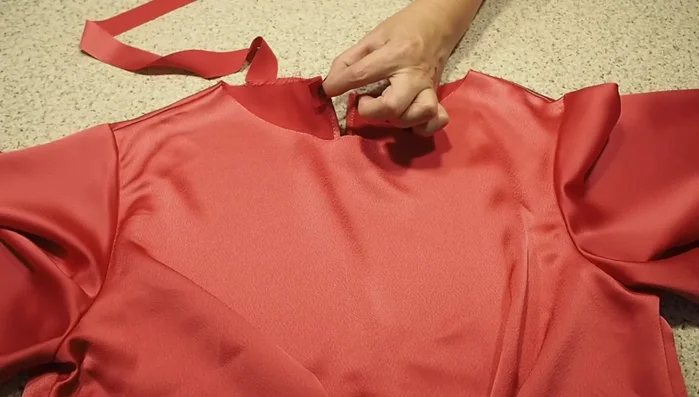
Add Waist Elastic Add Button and Loop
- Add a button and loop closure at the back neck.
Add Button and Loop


Read more: Raglan Sleeve Sewing Tutorial: A Step-by-Step Guide
Tips
- Use a longer stitch length when sewing delicate fabrics or curved seams for better control and neatness.
- Tacking stitches help to secure folds and pleats before sewing, ensuring they stay in place.
- Always back stitch at the beginning and end of seams for durability.
- Under stitching helps to keep the bias binding flat and neat against the bodice.