Feeling a little down? Need a cute and quirky companion to brighten your day? Then look no further than this adorable DIY Sad Lemon Plush Keychain! This tutorial will guide you through creating your very own miniature citrus friend, perfect for adding a touch of melancholic charm to your keys or bag. Forget expensive, mass-produced trinkets; this project is budget-friendly, using readily available materials and simple techniques. Even complete beginners can confidently tackle this project, thanks to clear instructions and helpful visuals.
We'll be transforming felt, embroidery floss, and a few other basic craft supplies into a delightfully dejected lemon with a surprisingly endearing expression. Get ready to unleash your inner crafter and embrace the quirky appeal of this little citrus cutie! Let's dive right into the step-by-step instructions so you can start stitching your own sad lemon keychain.
Preparation and Safety Guidelines
- Yellow plush fabric (Shannon Fabrics recommended)
- Pen or sewing chalk
- Scissors
- Pins
- Sewing machine (optional, hand-sewing also works)
- Toy safety eyes
- Washers
- Polyfill stuffing
- Black thread
- Needle
- Green cotton thread
- Keychain
- Adult supervision is required, especially when using needles or sharp scissors. Keep small parts away from young children to prevent choking hazards.
- Always wash your hands before and after handling crafting materials to maintain hygiene.
- Use caution when working with hot glue; allow it to cool slightly before handling to avoid burns.
Step-by-Step Instructions
Prepare Lemon Shapes
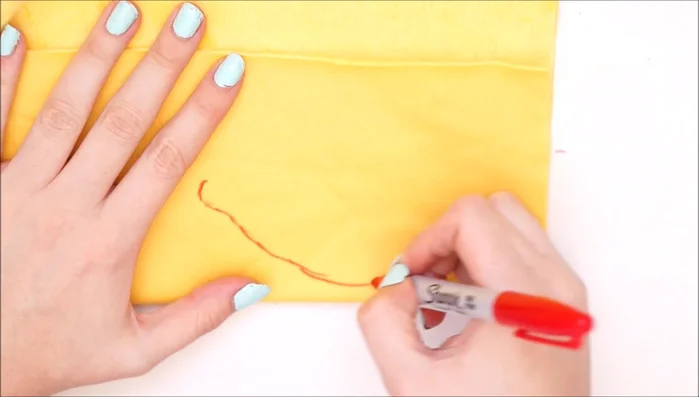
- Cut out lemon shapes from yellow plush fabric. Fold fabric in half and draw a chubby lemon shape. Cut out two identical shapes.

Prepare Lemon Shapes Sew and Turn
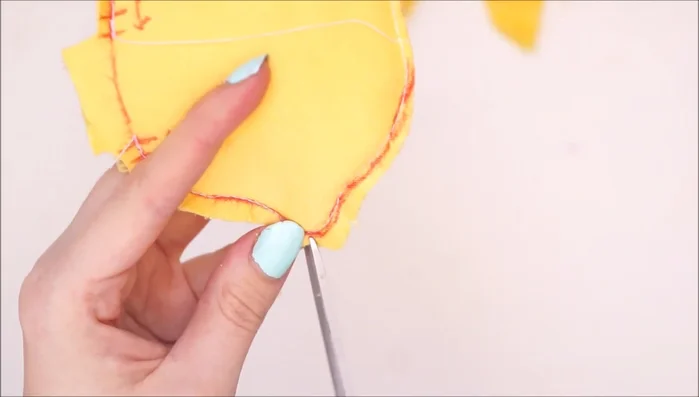
- Pin the two lemon shapes together, ensuring they align perfectly. Sew around the edges, leaving a small gap (about an inch) for turning inside out.
- Trim excess fabric and make small snips around the curved edges to facilitate turning. Turn the lemon right-side out.
Sew and Turn Add Eyes and Shape
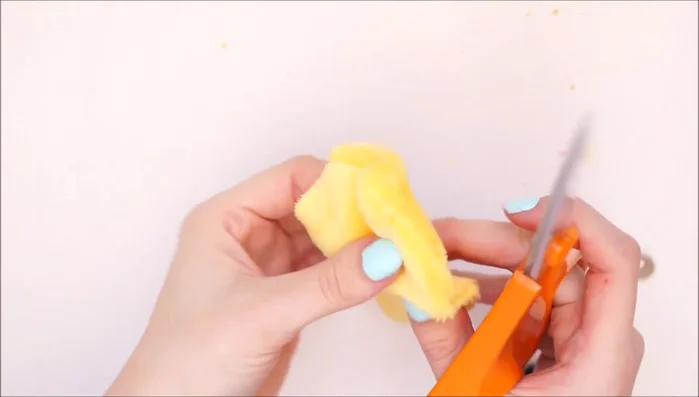
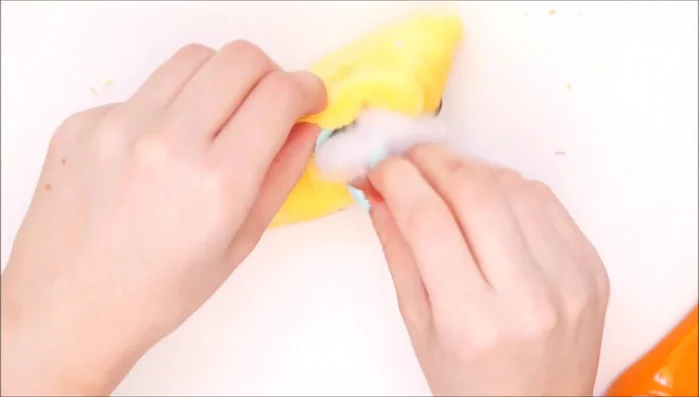
- Press out any bumps and shape the lemon. Cut small holes and attach toy safety eyes with washers on the inside to secure them.
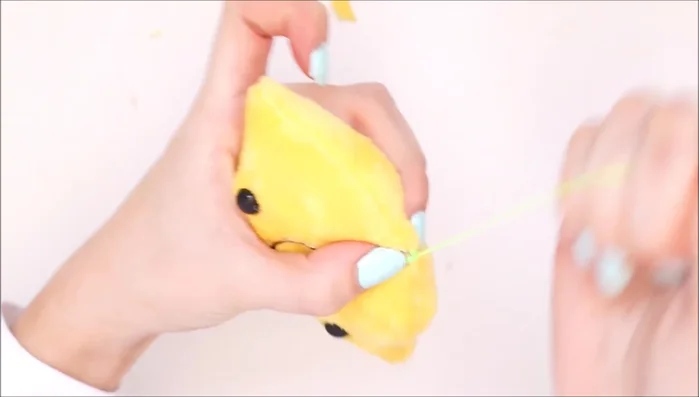
Add Eyes and Shape Stuff the Lemon
- Stuff the lemon with polyfill stuffing until firm.
- Hand-sew the gap closed.
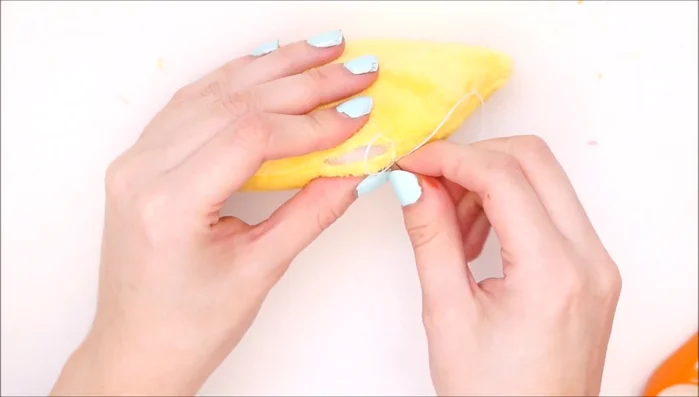
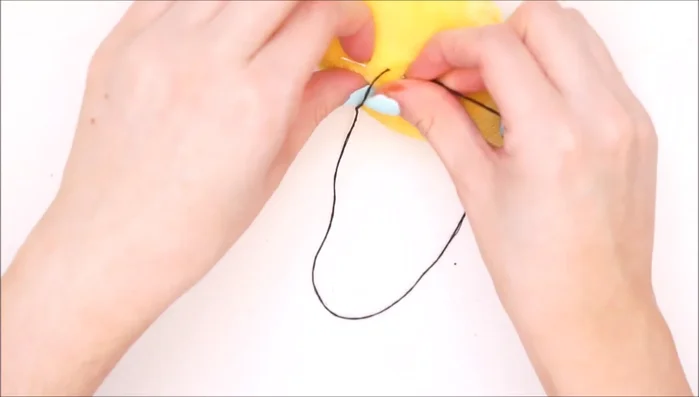
Stuff the Lemon Add Facial Features
- Embroider a sad-faced mouth using black thread.
Add Facial Features Attach Keychain
- Attach a keychain to the top.
Attach Keychain

Read more: DIY Fluffy Duck Plushie Tutorial: A Step-by-Step Guide
Tips
- Use sewing chalk instead of a sharpie to avoid ink bleeding through the fabric.
- Make the gap for turning inside out as small as possible to minimize hand-sewing.
- Toy safety eyes provide a more professional look, but felt circles or fabric paint can be used instead.
- Use toy stuffing for a better result than pillow stuffing.