The iconic Flying Geese quilt block, with its sharp points and dynamic design, often intimidates quilters, particularly those intimidated by precise measurements and the perceived need for specialized tools. Many believe creating perfect Flying Geese requires an arsenal of rulers and an advanced skillset, leading to avoidance of this striking pattern. But what if we told you that wasn't true? Creating these beautiful units can actually be surprisingly simple and accessible, even without the usual reliance on rulers.
This article will unveil three remarkably easy, ruler-free methods for constructing Flying Geese quilt blocks. Forget frustrating measurements and fussy cutting; these techniques utilize readily available quilting tools and clever tricks to achieve consistently accurate and aesthetically pleasing results. Ready to transform your quilting experience? Let's dive into the step-by-step instructions.
Safety Guidelines
- Always pre-wash your fabrics to avoid shrinkage after the quilt is completed.
- Use sharp rotary cutters and cutting mats to ensure accurate cuts and prevent injury.
- Pay close attention to fabric alignment throughout the process to maintain the integrity of the Flying Geese units. Improper alignment will lead to noticeable inaccuracies in the final quilt.
Methods: Method 1: Overlapping Squares
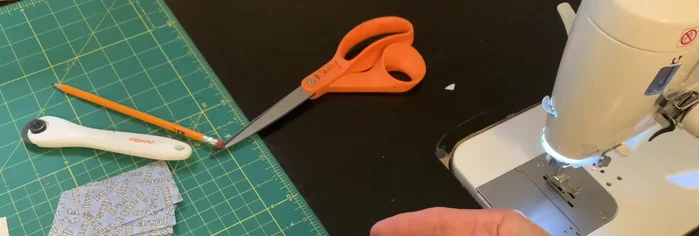
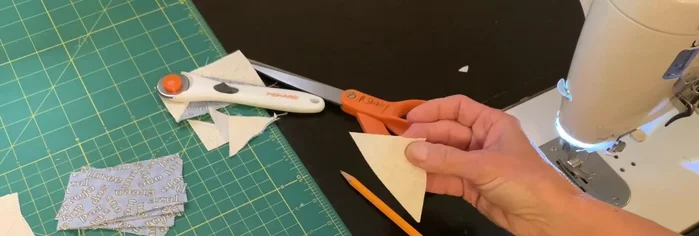
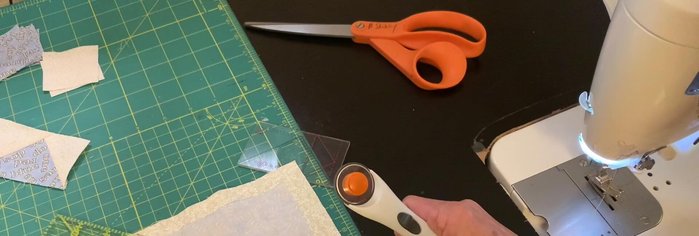
Tools Needed
- Fabric
- Pencil
- Scissors
- Sewing Machine
Step-by-Step Instructions
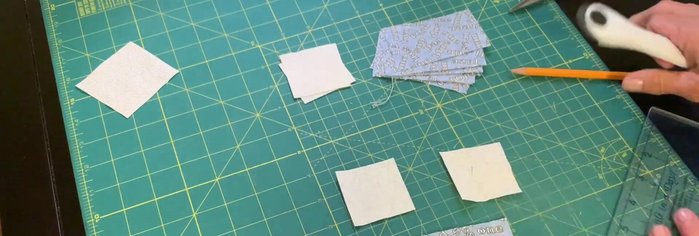
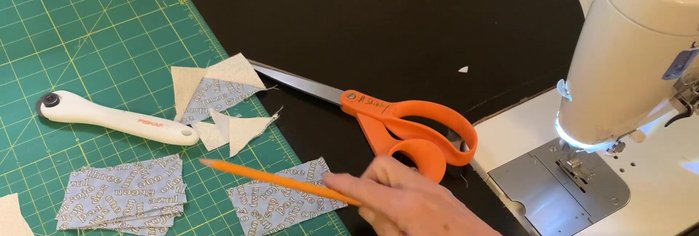
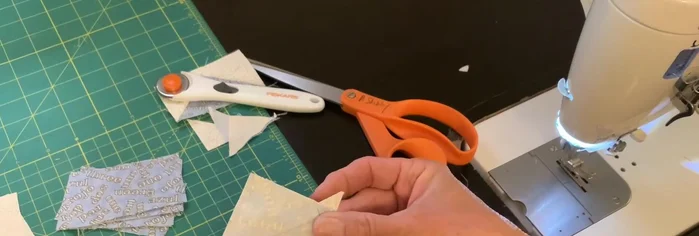
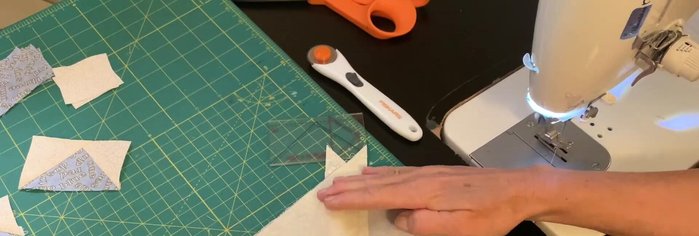
Prepare Fabric Pieces
- Cut a rectangle of your desired size (e.g., 3.5 inches x 2 inches) for the background fabric.
- Cut two 2-inch squares for the geese.

Prepare Fabric Pieces Overlap and Mark
- Overlap the squares slightly on the top corner.
- Draw a pencil line along the diagonal where the squares overlap.
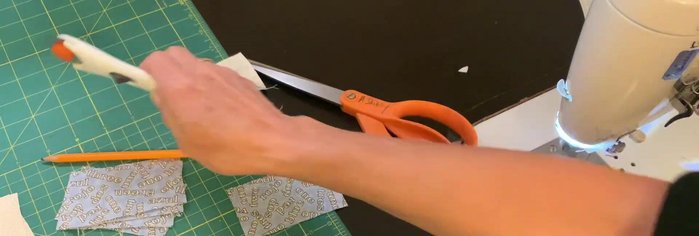
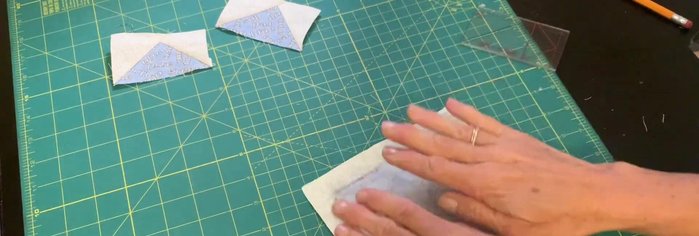
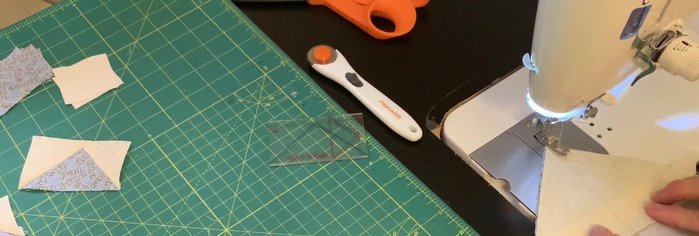
Overlap and Mark Sew and Trim
- Sew along the pencil line.
- Trim off the excess fabric.
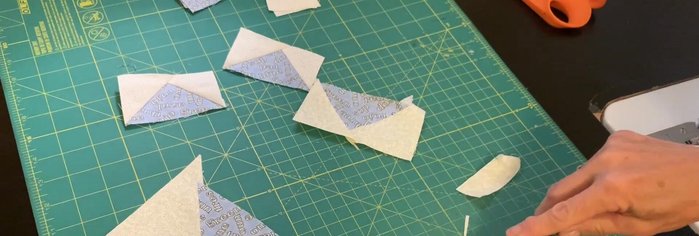
Sew and Trim

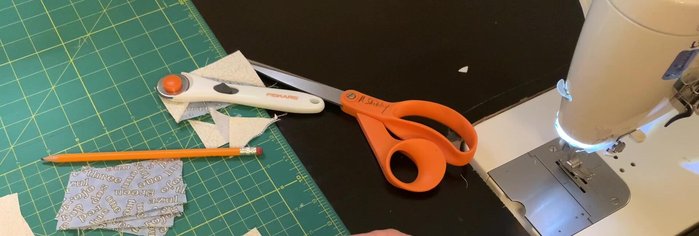
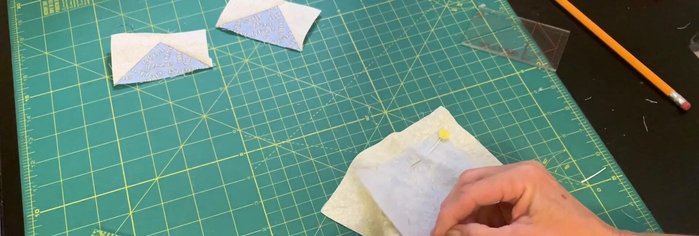
Tips
- You can use the leftover triangles for other projects.
Methods: Method 2: Center Point Method
Tools Needed
- Fabric
- Pencil
- Ruler
- Scissors
- Sewing Machine
Step-by-Step Instructions
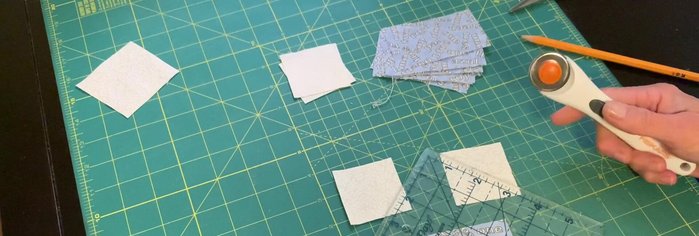
Prepare Fabric Pieces
- Cut a rectangle of your desired size (e.g., 3.5 inches x 2 inches) for the background fabric.
- Cut a 2.5-inch square for the geese.
Prepare Fabric Pieces Mark the Center Point
- Fold the rectangle in half to find the center.
- Mark a 1/4 inch from the edge along the fold.
- Draw pencil lines from the 1/4-inch mark to the opposite corners.
Mark the Center Point Sew and Assemble
- Place the triangle along the pencil lines, right sides together.
- Sew along the pencil lines.
Sew and Assemble Trim Excess Fabric
- Trim the excess fabric using the blue rectangle as a guide.
Trim Excess Fabric


Tips
- This method creates less waste than Method 1.
Methods: Method 3: Using a Ruler (Precise Method)
Tools Needed
- Fabric
- Ruler
- Pencil
- Scissors
- Sewing Machine
Step-by-Step Instructions
Preparing the Squares
- Cut a large square (e.g., 6 inches) and a smaller square (e.g., 4.5 inches).
Preparing the Squares First Seam
- Draw a pencil line through the center of the large square.
- Sew on both sides of the pencil line.
- Cut along the pencil line to create two half-square triangles.
First Seam Second Seam
- Place the half-square triangles right sides together with opposite fabrics facing.
- Draw another pencil line through the center.
- Sew on both sides of the pencil line.
Second Seam Final Trimming
- Trim the units to the desired size.
Final Trimming


Tips
- This method yields four flying geese units from the two squares.
- Pay attention to finished vs. unfinished block sizes.
Read more: 3 Easy Pieced Heart Tutorials for Quilting Projects