Quilting is a rewarding hobby, but the finishing touches, particularly binding, can often feel daunting. Many quilters avoid this final step, leaving their beautiful creations unfinished. However, binding doesn't have to be a time-consuming ordeal. This guide focuses on a quick and easy binding method, perfect for busy crafters or those intimidated by traditional techniques. We'll demystify the process and show you how to achieve a professional-looking finish without the fuss.
This straightforward method eliminates complex folding and mitering, allowing you to quickly and efficiently bind your quilt. Forget hours of tedious work; instead, prepare to enjoy a significantly faster and simpler approach to completing your quilting projects. Ready to learn how to achieve a beautifully finished quilt in a fraction of the time? Let's dive into the step-by-step process!
Safety Guidelines
- Use sharp scissors or a rotary cutter for clean cuts to prevent fraying and ensure accurate binding application.
- Always handle your sewing machine needle and pins carefully to avoid accidental pricks or injuries.
- When ironing, be mindful of the fabric type and temperature setting to avoid scorching or damaging the quilt or binding.
Methods: Machine Binding Method for Quilts
Tools Needed
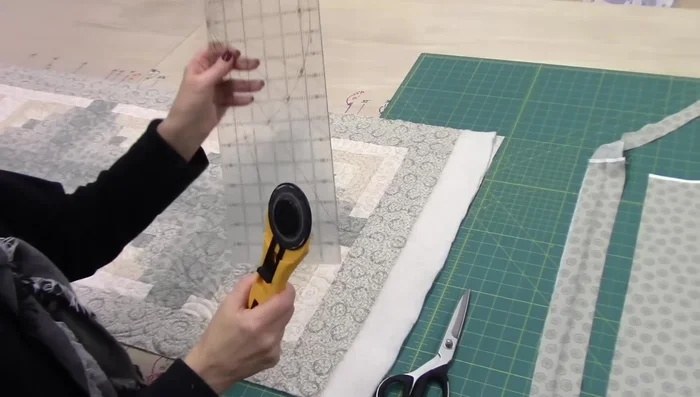
- Cutting blade
- Clear ruler
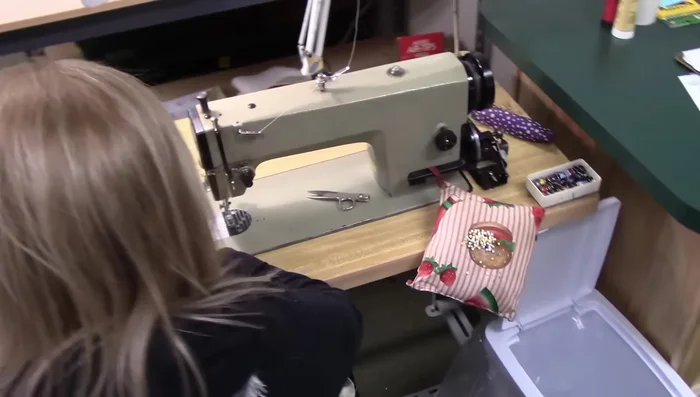
- Sewing machine
- Iron
- Steam presser
- Pins
- Scissors (optional)
Step-by-Step Instructions
Prepare the Quilt
- Trim excess batting and backing from your quilt.

Prepare the Quilt Prepare the Binding
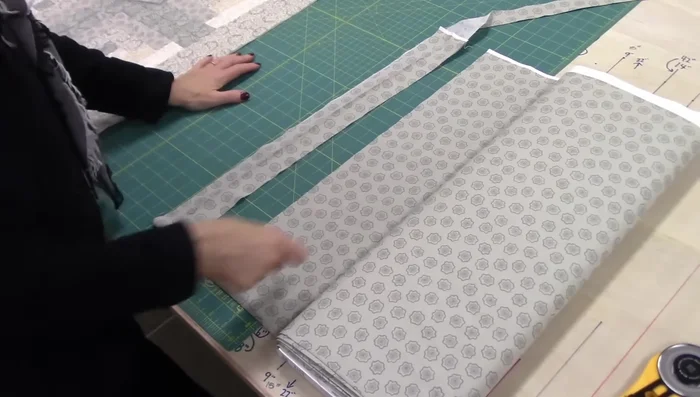
- Cut your binding strips (2 1/2 inches wide) on the crosswise grain of the fabric. Sew the strips together using a small seam allowance and stitch length. Trim and iron the seams open.
- Iron the long binding strip in half, ensuring raw edges are even.
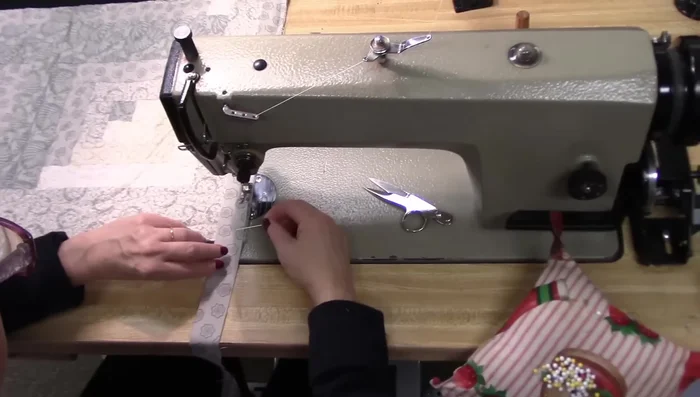
Prepare the Binding Attach the Binding (Initial Sewing)
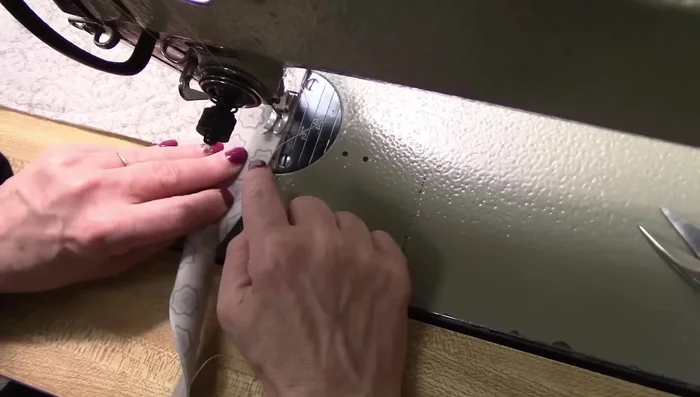
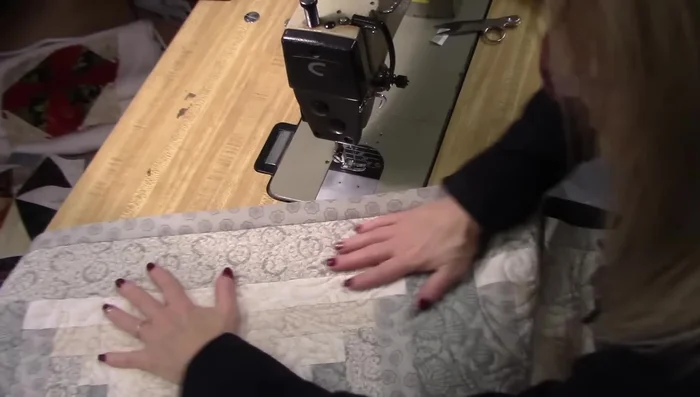
- Begin sewing the binding to the quilt, starting 6-8 inches from a corner. Use a seam allowance slightly larger than 1/4 inch.
- Match the raw edges of the binding and quilt. Avoid stretching either the binding or the quilt.
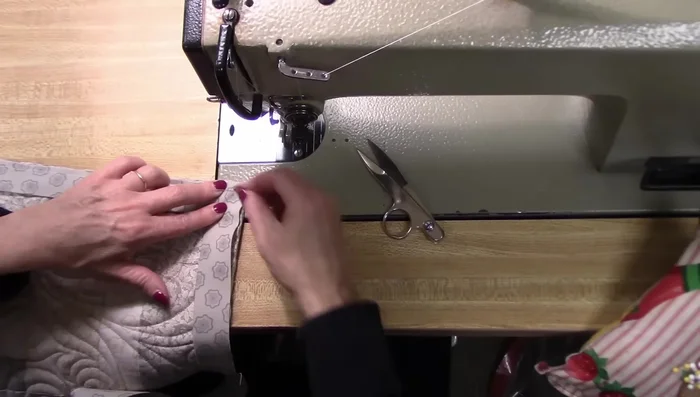
- When approaching a corner, stop stitching about 1/4 inch from the edge. Backtack.
- Fold the binding at a 45° angle, aligning raw edges. Finger press and fold down, ensuring the fold and raw edge are on the same line.
Attach the Binding (Initial Sewing) - Find the intersection of the previous stitching line and the 1/4 inch line from the edge, backtack, and begin stitching again.
- Repeat steps 6-8 for each corner.
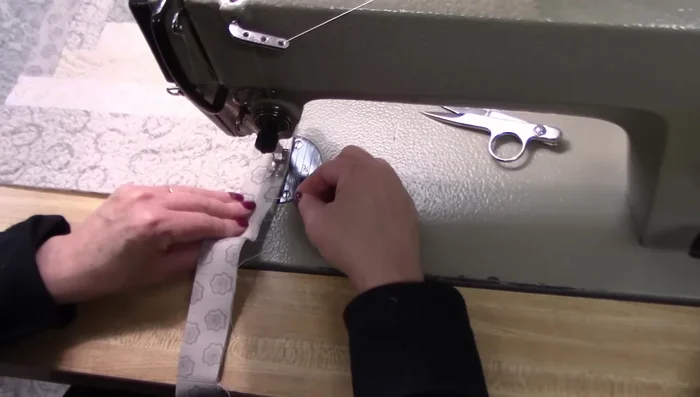
Attach the Binding (Initial Sewing) Join Binding Ends
- Overlapping the ends of the binding by about 1/2 inch, sew the ends together using a small seam allowance. Open and press the seam.
Join Binding Ends Attach Binding (Final Sewing)
- For the final stitching, slow down as you approach the edge, marking 1/4 inch from the edge. Repeat corner folding and stitching techniques.
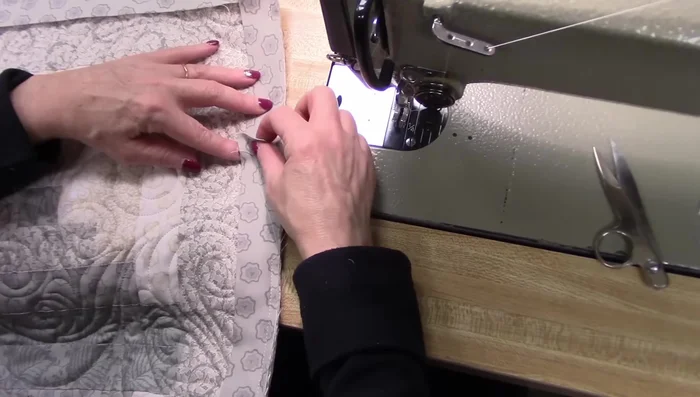
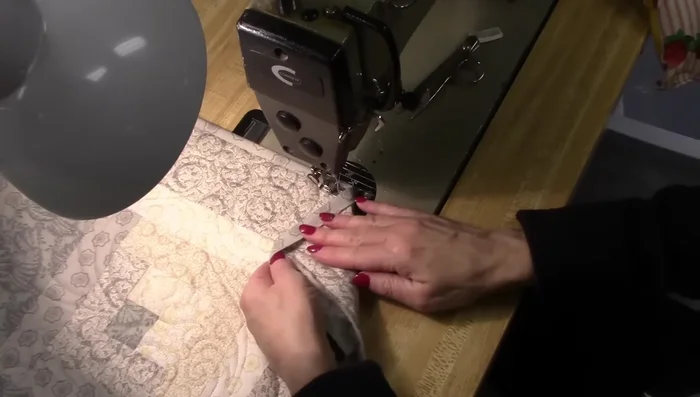
Attach Binding (Final Sewing) Stitch in the Ditch
- Turn the binding to the back of the quilt and stitch in the ditch, using coordinating thread on the top and back.
- For corners, fold the binding at a 45° angle to the back. Secure with pins if needed and stitch. Repeat for each corner.
Stitch in the Ditch Finishing Touches
- Check the back to ensure the binding is securely stitched everywhere, and make adjustments if needed.
- Steam press the edge to make the binding lie flat.
Finishing Touches


Tips
- Avoid stretching the binding or quilt during stitching.
- Use a 2 1/2 inch width binding for ease of use.
- A fingernail or pencil can be used to mark stitching stop points.
Read more: 3 Easy Pieced Heart Tutorials for Quilting Projects