Achieving a professional finish on the neckline and armholes of vests and dresses is crucial for elevating a garment from homemade to high-end. While various methods exist, ribbing offers a clean, stretchy, and incredibly durable solution, particularly beneficial for close-fitting styles or garments made from delicate fabrics. This technique creates a polished edge that prevents fraying and adds a touch of elegance, ultimately enhancing the overall aesthetic appeal of your project. It's a skill that once mastered, will significantly improve the quality of your sewing.
The ribbing method, while seemingly complex, is surprisingly straightforward when approached systematically. This guide will take you through a detailed, step-by-step process, showcasing how to expertly apply ribbing to create impeccably finished necklines and armholes on your vests and dresses, ensuring a professional result every time. Let's get started!
Preparation and Safety Guidelines
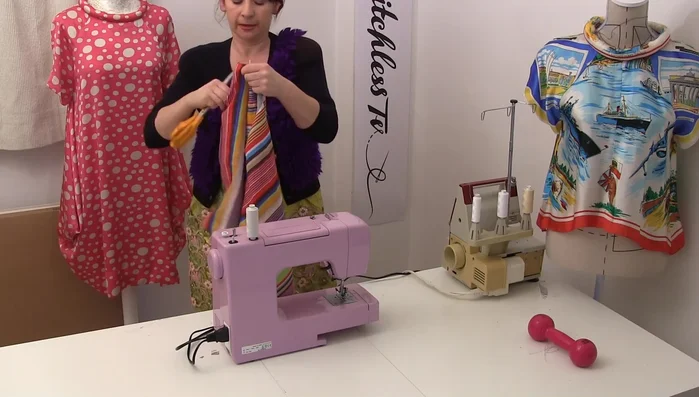
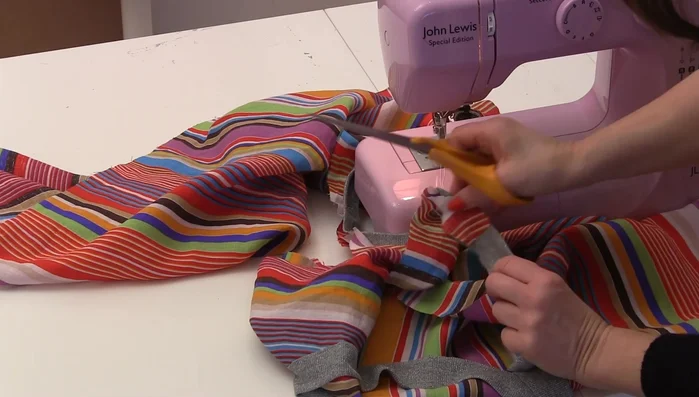
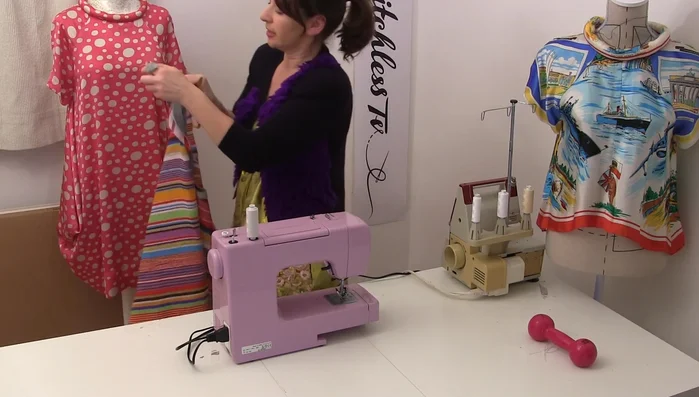
- sewing machine
- zigzag stitch or overlocker
- iron
- existing garment for pattern
- measuring tape
- fabric
- Use sharp needles and pins to avoid accidental pricks. Handle needles with care, especially when working with ribbing which can be more difficult to maneuver.
- Ensure your ribbing is the correct gauge and fiber content for your main fabric. Using incompatible materials can lead to puckering or stretching.
- Before sewing the ribbing to your garment, test your stitch length and tension on a scrap of fabric to avoid mistakes on your final piece. Adjust your machine settings accordingly.
Step-by-Step Instructions
Pattern Creation and Cutting
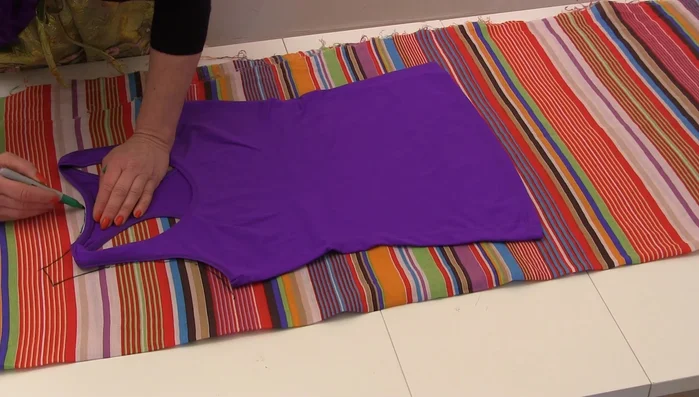
- Create a pattern using an existing garment.
- Account for lack of stretch in your chosen fabric by adding extra seam allowance, especially at the sides and neckline.
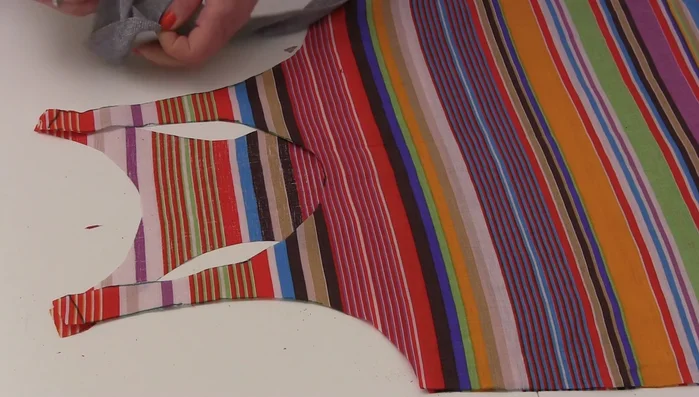
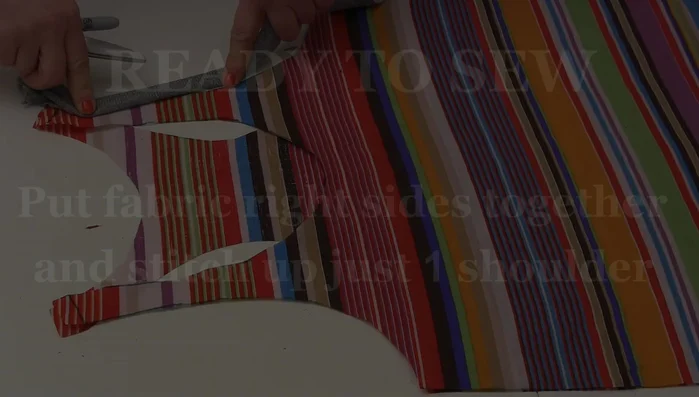
- Cut out the back and front pieces of the garment. Remember to only cut one layer for the front initially.

Pattern Creation and Cutting Shoulder Seam Construction
- Stitch one shoulder seam and finish the edge with a zigzag or overlock stitch.
- Finish the other shoulder seam in the same way.
Shoulder Seam Construction Ribbing Preparation
- Fold in half along the stretch, press without stretching.
Ribbing Preparation Neckline and Armhole Ribbing Application
- Place the ribbing right sides together with your garment edge, stretch the ribbing, and stitch. Test the ribbing's stretch beforehand and steam afterward to maintain shape.
- Trim the excess ribbing, leaving about an inch overhang.
- Attach ribbing to armholes and neckline using the same method as above.
Neckline and Armhole Ribbing Application Side Seam Construction and Finishing
- Stitch up the side seams. If adding slits, press a wider hem (nearly 2cm) before stitching the hem and then the side seam. Stitch the hem first, then the side seam of the slit, from top to bottom.
Final Pressing and Finishing
- Press the seams and ribbing to create a clean finish.


Read more: Raglan Sleeve Sewing Tutorial: A Step-by-Step Guide
Tips
- Practice on scrap fabric first.
- Test the stretch of your ribbing before attaching it to the garment.
- Steam the ribbing after attaching to ensure it keeps its shape.
- Press the ribbing away from the garment, maintaining the shape of the neckline and armholes.
- Use an overlocker for cleaner edge finishing if possible.