Are you looking for a quick and satisfying quilting project that yields impressive results? Then look no further! This tutorial will guide you through creating a stunning stitch and flip reversible table runner, perfect for adding a touch of handmade charm to your dining table or as a delightful gift. Forget complicated patterns and hours of meticulous work; this project prioritizes ease and speed, making it ideal for both beginners and experienced quilters eager for a simple yet elegant addition to their home decor. The beautiful two-sided design means you get double the style for half the effort.
This simple stitch-and-flip method uses basic sewing techniques to create a remarkably professional finish. The vibrant result belies the simplicity of the process, proving that beautiful things can be surprisingly easy to make. Ready to transform two fabrics into a beautiful reversible table runner? Let's dive into the step-by-step instructions!
Preparation and Safety Guidelines
- Fabric strips (jelly rolls or scraps)
- Batting
- Binding fabric
- Sewing machine
- Walking foot (optional)
- Iron
- Pins
- Rotary cutter & Mat (optional)
- Always use a rotary cutter and mat for accurate cutting to prevent injury. Keep fingers away from the blade.
- When using an iron, ensure the surface is heat-resistant and the iron is unplugged when not in use. Never leave a hot iron unattended.
- Use caution when handling sewing machine needles. Keep them stored safely away from children and pets.
Step-by-Step Instructions
Prepare Batting
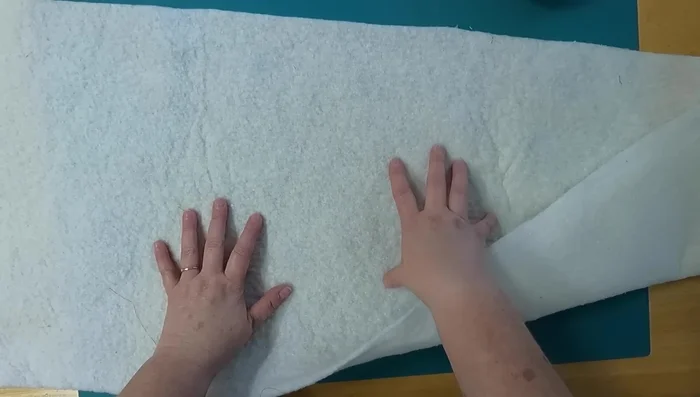
- Fold the batting in half lengthwise and finger press the middle crease. This helps to center your fabric strips.

Prepare Batting Plan Fabric Placement
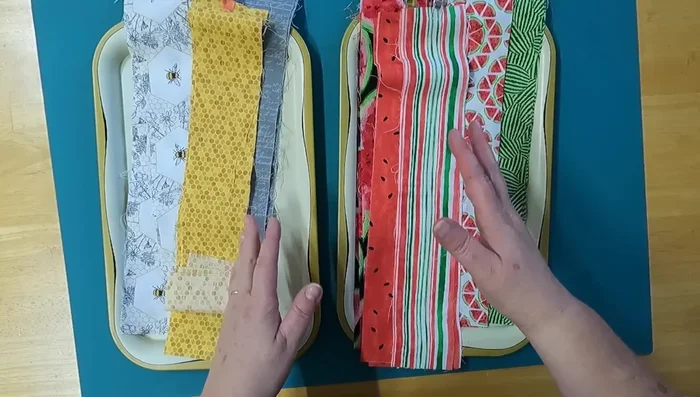
- Arrange your fabric strips on both sides of the folded batting, considering color and pattern combinations. You can arrange randomly or create a specific pattern.
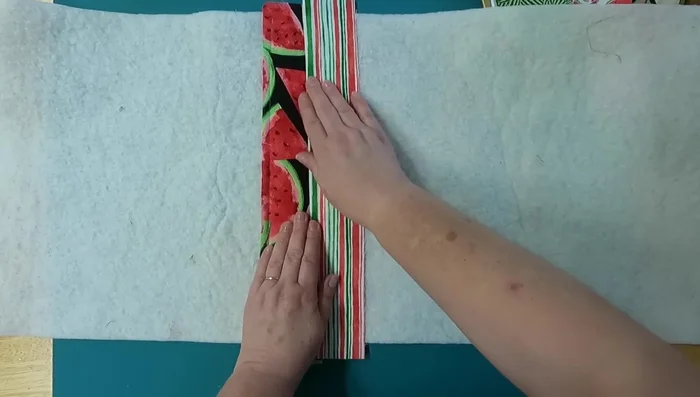
Plan Fabric Placement Stitch Center Strips
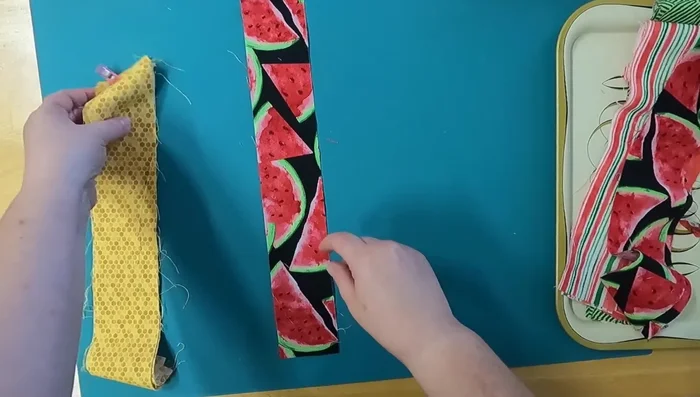
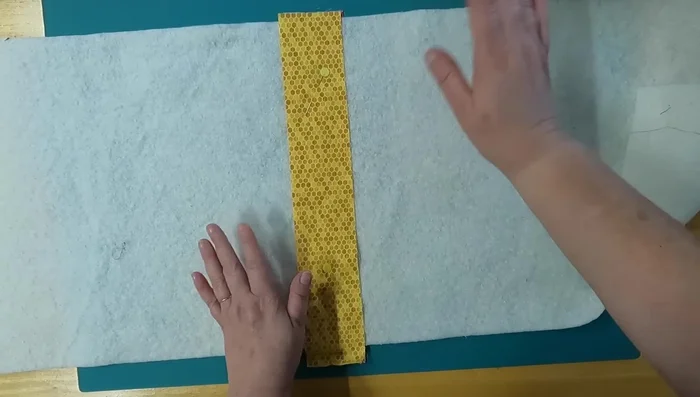
- Place a center fabric strip right side up on one half of the batting. Pin and then flip over, and place another center fabric strip (right side up) on the other half of the batting.
- Stitch along both sides of the center strips to secure them to the batting. Use neutral thread that complements both fabric sides.
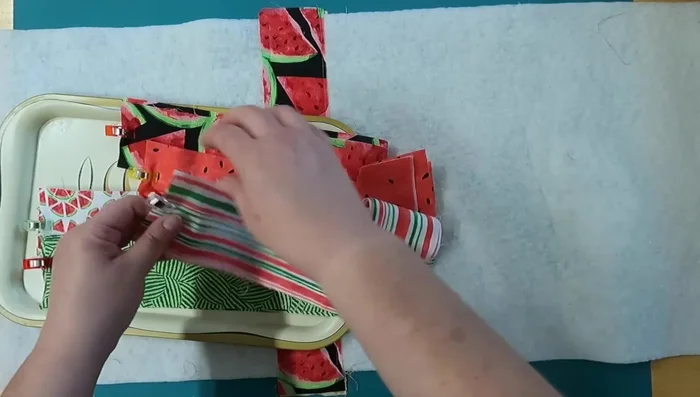
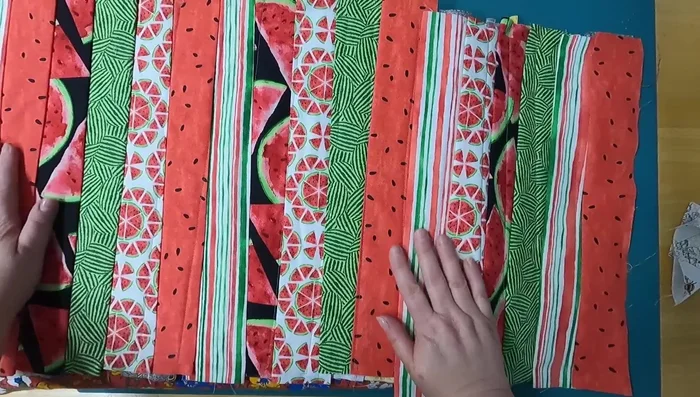
Stitch Center Strips Stitch and Flip Remaining Strips
- One by one, add the remaining fabric strips using the Stitch and Flip Method. Work on both sides simultaneously. Purposely offset the strips for a wonky, fun look.
- After adding each strip, finger press and iron to flatten the seams and create a neat look.
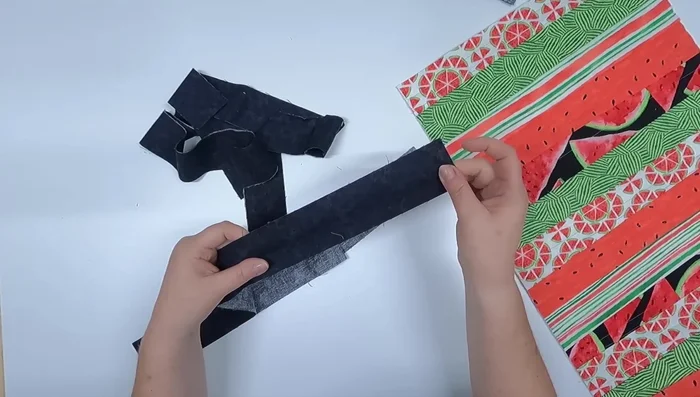
Stitch and Flip Remaining Strips Add End Pieces
- To finish the ends, add angled fabric strips that extend the length of each end. Ensure they will cover the raw edges on both sides of the runner when folded.
Add End Pieces Quilt (Optional)
- Add additional quilting lines for stability and aesthetic appeal.
Quilt (Optional) Trim Edges
- Use a rotary cutter and mat (or scissors) to trim the edges, ensuring all sides are straight. Use a ruler to make it even. Trim close to the edges while ensuring you don't cut off too much of the batting.
Trim Edges Bind Edges
- Apply binding to the edges using your preferred binding method.
Bind Edges


Read more: DIY Super Cute Whale Shower Curtain: A Step-by-Step Tutorial
Tips
- Starch your batting to give it body and make it easier to work with.
- Cut fabric strips 1 inch longer than the width of your batting to allow for seam allowance and wiggle room.
- Choose binding fabric that complements both sides of your table runner.
- Use neutral thread for quilting that won't clash with either side of your fabric.
- Purposely make your seams wonky for a fun, unique look. It's more forgiving than trying to be perfectly precise.