Reversible quilts offer the delightful versatility of two distinct designs in one cozy creation. But the beauty of a reversible quilt is only truly appreciated when the sandwiching process – the careful layering of batting and backing fabric – is flawlessly executed. A poorly sandwiched quilt can lead to puckering, uneven quilting, and an overall less satisfying finished product. Achieving that perfect, even tension between layers is key to creating a quilt you'll treasure for years to come. The right technique ensures a beautiful, smooth surface on both sides, showcasing the full potential of your hard work.
This step-by-step guide will walk you through the entire process of sandwiching your reversible quilt, from preparing your layers to the final smoothing techniques, ensuring a professional-looking finish. Let's dive into the details and discover how to create a perfectly sandwiched quilt, ready for quilting.
Preparation and Safety Guidelines
- Quilt top
- Quilt backing
- Batting
- Pins (straight pins and safety pins)
- Iron
- Ruler
- Use sharp fabric shears or a rotary cutter to ensure clean, accurate cuts. Jagged edges will make layering and stitching difficult.
- Pin generously, especially around the perimeter and at points where the quilt layers shift. This prevents bunching and shifting during quilting.
- If using a walking foot, check its pressure to avoid pulling or stretching the quilt layers unevenly. Test on a scrap first to adjust settings.
Step-by-Step Instructions
Prepare the Backing
- Ensure your backing fabric is 4 inches larger than your quilt top on all sides.
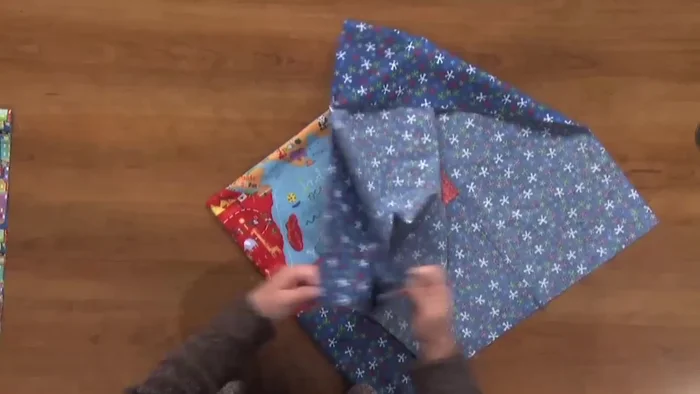
Fold and Crease for Centering
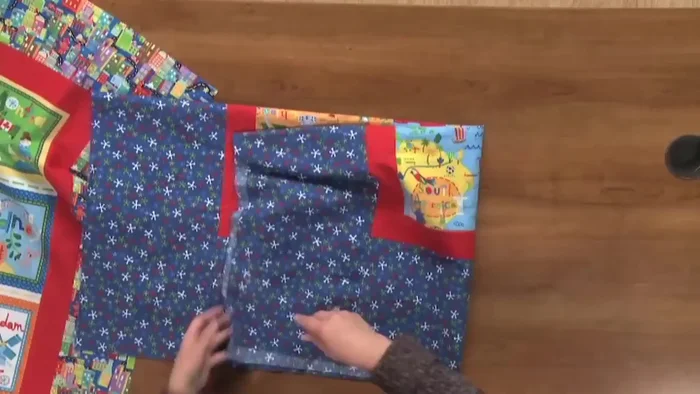
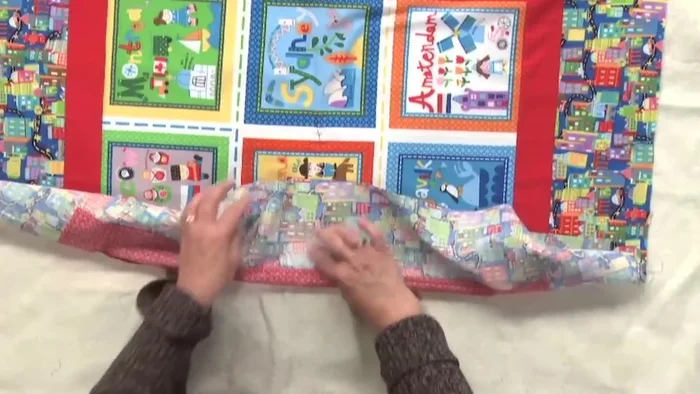
- Fold both the quilt top and backing in half lengthwise and widthwise, creating creases to mark the centers.

Fold and Crease for Centering Layer the Quilt Sandwich
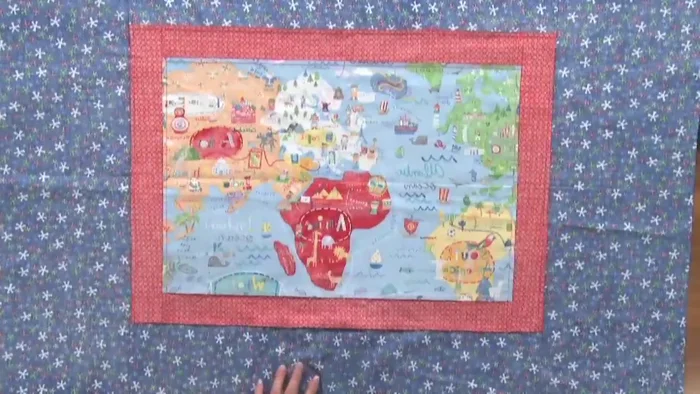
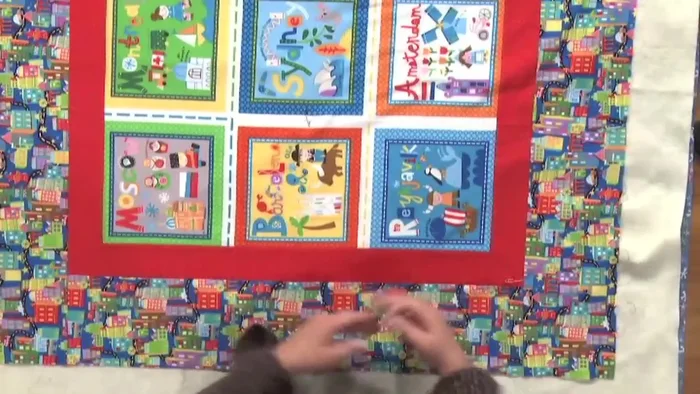
- Lay the backing right side down, then center the batting on top. Place the quilt top on the batting, right side up.
Layer the Quilt Sandwich Pin the Center Point
- Using the creases, find the center point of all layers. Insert a straight pin through the center to align the layers.
Pin the Center Point Align and Pin the Sides (First Pair)
- Align a fold on one side of the quilt top with the corresponding crease on the backing. Pin to secure. Repeat on the opposite side.
Align and Pin the Sides (First Pair) Align and Pin the Sides (Second Pair)
- Repeat step 5 for the other two sides, ensuring all creases and edges are aligned.
Align and Pin the Sides (Second Pair) Pin the Corners
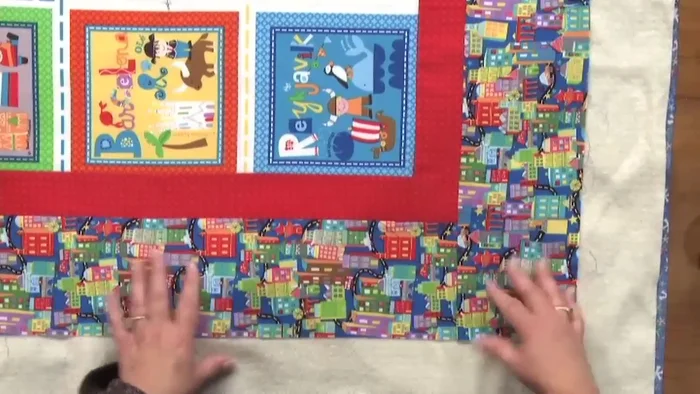
- Pin each corner, ensuring the border seams align diagonally. This ensures square corners.
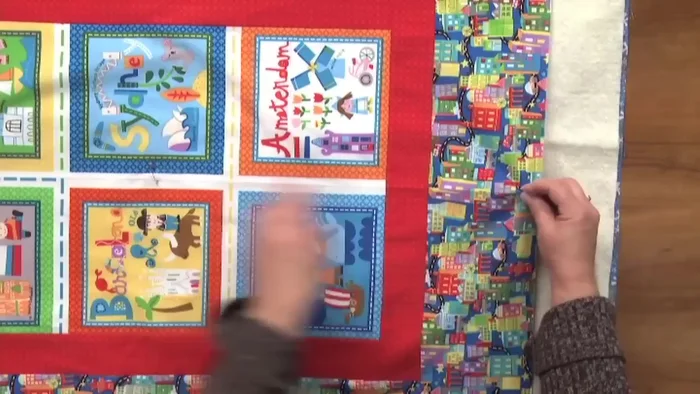
Pin the Corners Pin the Borders
- Pin along the borders, approximately every 6 inches, to secure the layers and maintain alignment.
Pin the Borders
Read more: King Size Quilt Tutorial: Efficient Chain Piecing Method
Tips
- For larger quilts, fold the top and backing into fourths to create more alignment points.
- Use safety pins to secure the layers after removing the straight pins. Prepare the safety pins beforehand to save time.
- Work from the center outward when pinning the borders to maintain alignment.
- Use a large ruler to ensure the quilt top is square before sandwiching.
- Remove pins gradually as you quilt to avoid disturbing the alignment.