Summer is calling, and what better way to answer than with a vibrant, handmade Raspberry Summer Medallion quilt? This delightful project is perfect for adding a burst of cheerful color to your home, and the best part? It's surprisingly achievable, even for beginners! We'll guide you through creating this stunning quilt, featuring a classic medallion design in refreshing raspberry tones that are sure to brighten any room. Imagine snuggling under this beautiful, handmade creation on a cool summer evening; the satisfaction of crafting it yourself will only enhance the cozy feeling.
This tutorial focuses on breaking down the seemingly complex medallion pattern into manageable, easily understood steps. Forget complicated instructions and confusing diagrams; we're committed to making this a truly beginner-friendly experience. Ready to transform your fabric scraps into a cherished heirloom? Let's dive into the step-by-step process of creating your own Raspberry Summer Medallion quilt!
Preparation and Safety Guidelines
- Sewing machine
- Fabric (Raspberry Summer collection)
- Quilting tools
- Always use sharp scissors or a rotary cutter to prevent fabric slippage and ensure clean cuts. Dull tools can lead to inaccurate piecing and frustration.
- Press your seams carefully and consistently throughout the process (open or closed, as indicated in your pattern) to create a flat, accurate quilt top. Use a hot, dry iron and a pressing surface like a wool pressing mat or a clean ironing board.
- Pay close attention to matching points and seams, especially when working with patterned fabrics. Take your time and double-check your work as you go to avoid errors that are difficult to correct later.
Step-by-Step Instructions
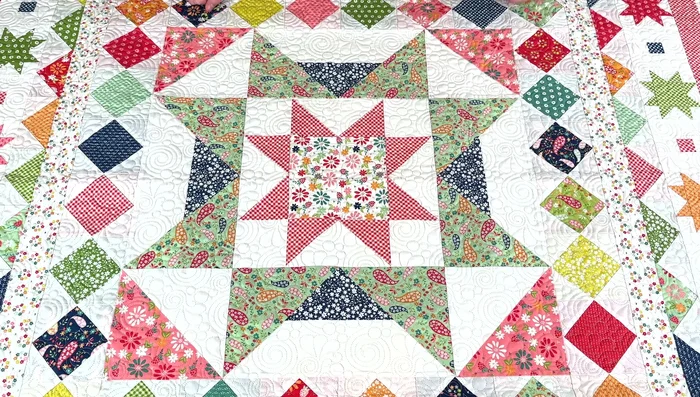
Create the Center
- Create the center star block.

Create the Center First Round of Blocks
- Add the first round of easy corner economy blocks.
First Round of Blocks First Inner Border
- Add the first inner border (flower wreath blocks).
First Inner Border Second Round of Blocks
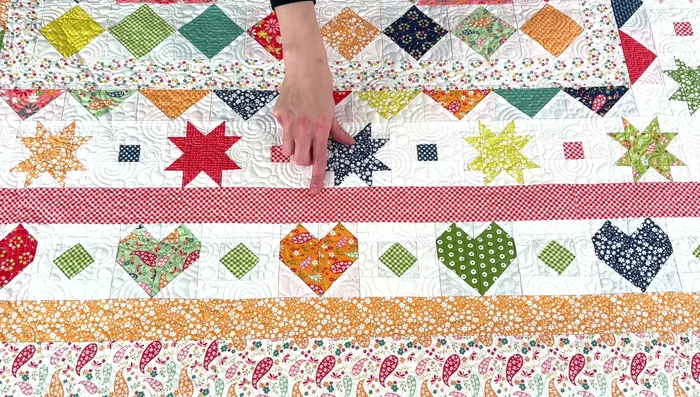
- Add the flying geese blocks.
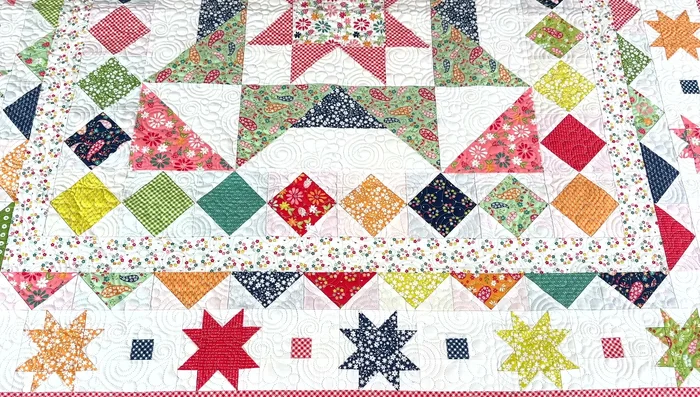
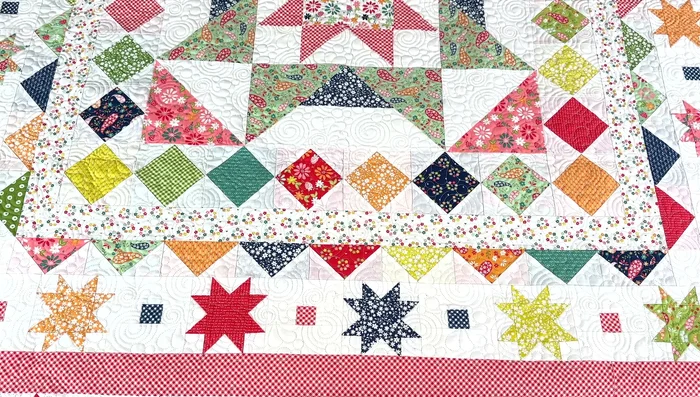
Second Round of Blocks Third Round of Blocks
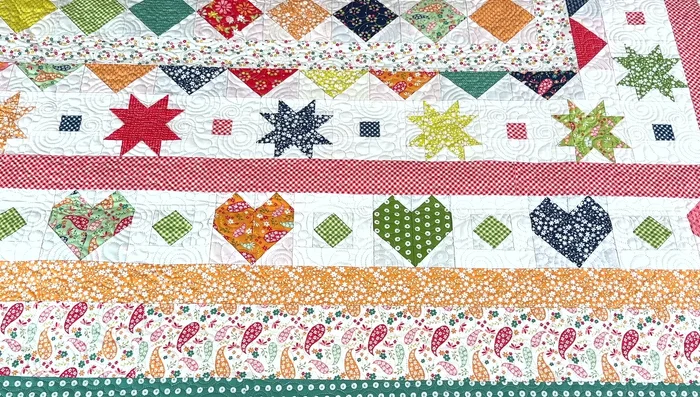
- Add alternating star and cornerstone blocks.
Third Round of Blocks Second Inner Border
- Add the first print border (red gingham) with small easy corner blocks at the corners.
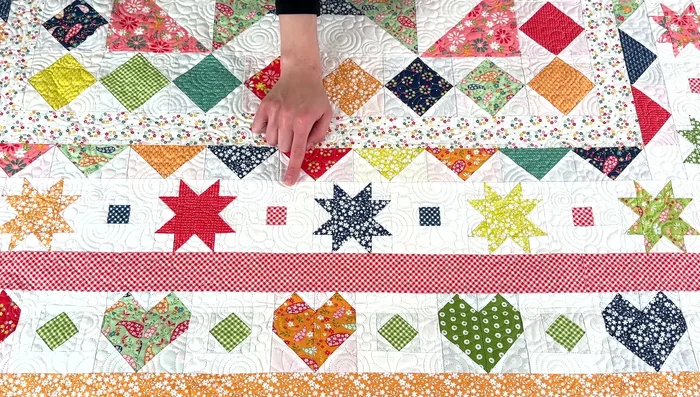
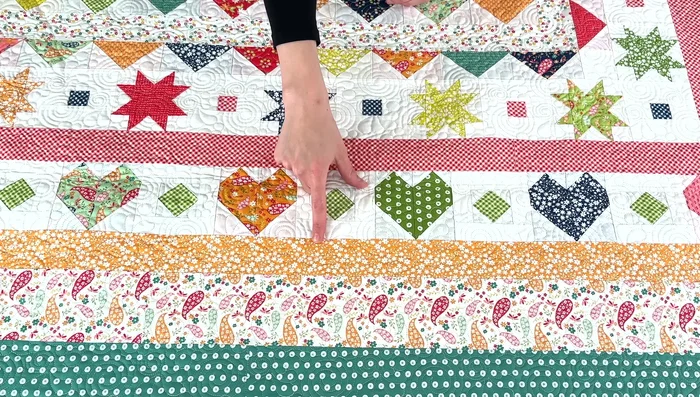
Second Inner Border Fourth Round of Blocks
- Add the heart blocks with interspersed diamonds.
Fourth Round of Blocks Third Inner Border
- Add the second print border (orange floral).
Third Inner Border Fourth Inner Border
- Add the low volume paisley border.
Outer Border
- Add the outer border (teal dots).
Binding
- Add binding (mint color).

Read more: King Size Quilt Tutorial: Efficient Chain Piecing Method
Tips
- Use a starch like Quilter's Starch for easier piecing of smaller blocks.
- Consider a block-of-the-month approach or work on one section per week to manage the project.
- Low volume prints make great backings.