Rainbow fringe pillow panels are a vibrant and cheerful addition to any room, instantly injecting personality and a bohemian vibe. However, the seemingly intricate look can be deceiving; creating these stunning panels is surprisingly straightforward. Forget complicated sewing techniques and hours of meticulous work – this guide unveils the easiest method for constructing your own rainbow fringe pillow panel, perfect for beginners and seasoned crafters alike.
This simple yet effective approach bypasses unnecessary complexities, focusing on a streamlined process that maximizes impact with minimal effort. Prepare to be amazed at how quickly you can transform plain fabric into a beautiful, eye-catching piece. Let's dive into the step-by-step instructions and discover the joy of crafting these delightful rainbow fringe pillow panels!
Preparation and Safety Guidelines
- sewing machine
- wonder tape
- iron
- fabric strips (approx. 5 inches wide)
- woven interfacing
- zigzag stitch
- straight stitch
- Always use sharp scissors and a rotary cutter (if using one) to prevent accidental cuts. Keep fingers clear of the blades.
- If using a sewing machine, ensure it is properly threaded and the needle is the correct size for your fabric. Be mindful of your fingers near the needle.
- Handle fringe carefully to prevent snagging or pulling. Gently trim any uneven fringe ends after assembly.
Step-by-Step Instructions
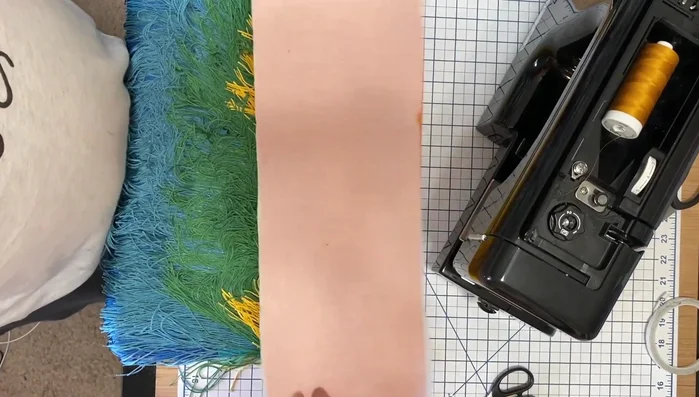
Prepare Fringe Strips
- Prepare fabric strips with woven interfacing. The interfacing provides stability.

Prepare Fringe Strips Position and Secure Fringe
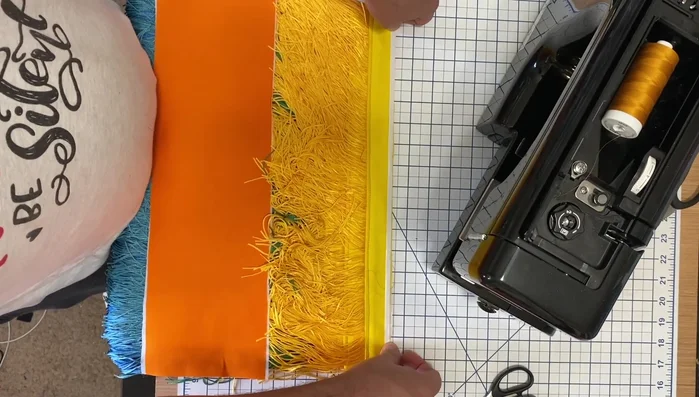
- Use wonder tape to precisely position fringe strips onto the fabric. This eliminates the need for pinning or clipping.
- Heat set the wonder tape with an iron to ensure strips stay in place.
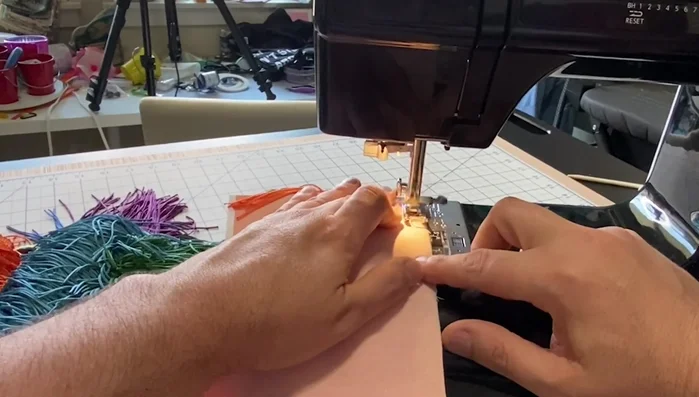
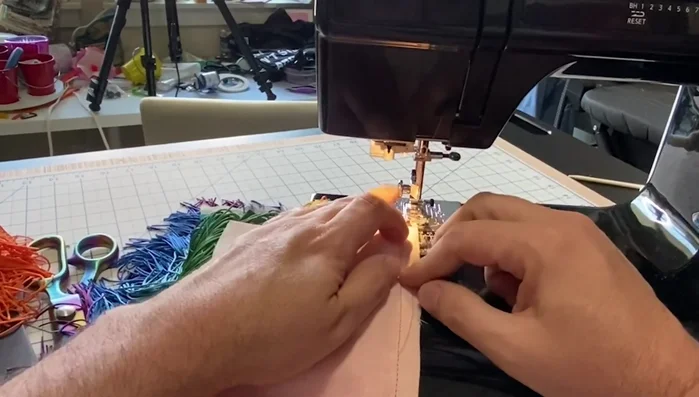
Position and Secure Fringe Straight Stitch and Encase Fringe
- Sew a straight stitch along the raw edge of the fabric at a 1/2 inch seam allowance to encase the fringe.
Straight Stitch and Encase Fringe Prevent Fraying with Zigzag Stitch
- Use a zigzag stitch to prevent fraying along the raw edges.
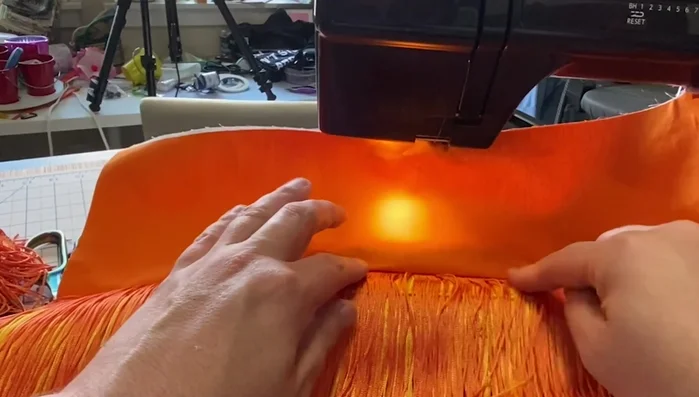
Prevent Fraying with Zigzag Stitch Press and Secure Seam
- Fold over the stitched seam and press.
- Edgestitch 1/4 inch from the folded edge to secure the seam.
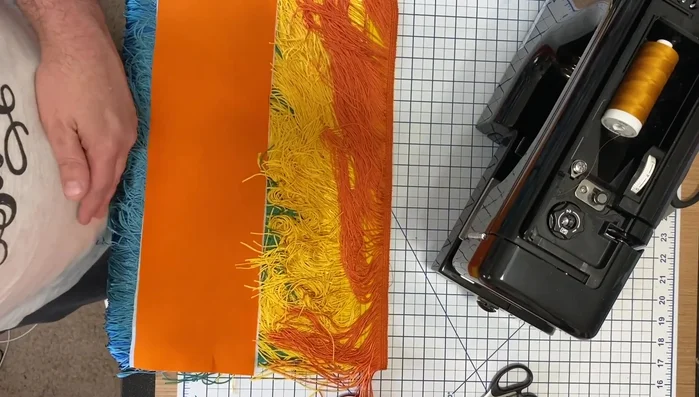
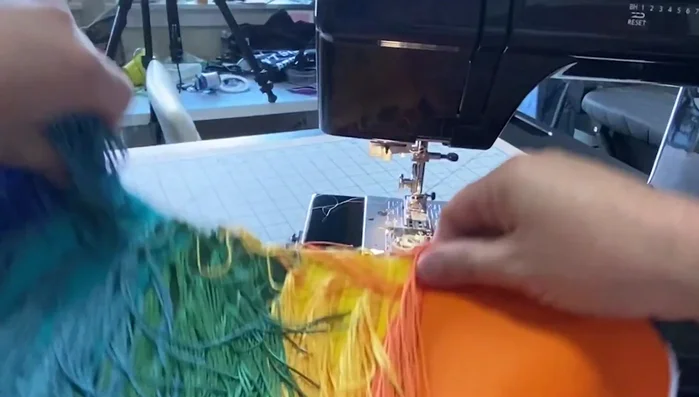
Press and Secure Seam Repeat for all Fringe Strips
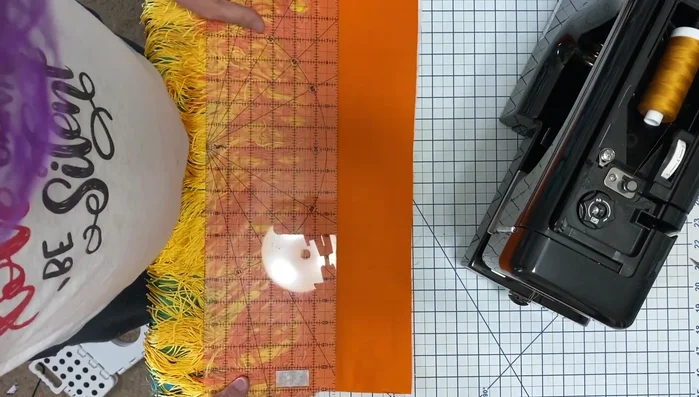
- Repeat steps 2-7 for each subsequent fringe strip, ensuring a consistent 1 1/4 inch spacing between rows.
Repeat for all Fringe Strips
Read more: King Size Quilt Tutorial: Efficient Chain Piecing Method
Tips
- Wonder tape is a game-changer for precise placement and eliminates the need for pinning.
- Heat-setting the wonder tape with an iron ensures secure placement before sewing.
- A combination of straight and zigzag stitches provides both durability and prevents fraying.
- Consistent spacing between rows is achieved using measurements and markings.