There's nothing quite like snuggling up under a warm, comforting blanket, especially one you've made yourself. This tutorial will guide you through the surprisingly simple process of creating your own super soft and cozy rag quilt, perfect for adding a touch of handmade love to your home or gifting to a loved one. Forget complicated sewing techniques and intricate patterns; this project is designed with absolute beginners in mind, requiring only basic sewing skills and readily available materials. The result is a beautifully textured, heirloom-quality quilt that’s as practical as it is pretty.
Prepare to be amazed by how quickly and easily you can transform simple squares of fabric into a cherished keepsake. This beginner-friendly rag quilt tutorial will walk you through each step, from choosing your fabrics to finishing those charming frayed edges. Ready to dive in and create your own piece of cozy comfort? Let's get started with the step-by-step instructions below!
Preparation and Safety Guidelines
- Fabric (at least 5 patterns, 1 backing, 2/3 yard each)
- Rotary trimmer or hand scissors
- Snippers
- Pins
- High-quality cotton thread
- Fleece (same amount as backing fabric)
- Sewing machine
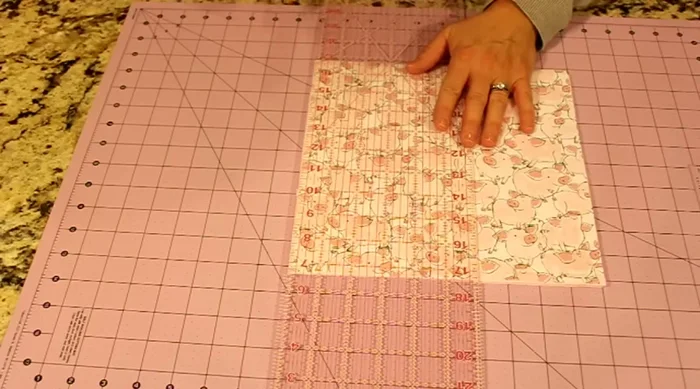
- Ruler (acrylic quilting ruler recommended)
- Use sharp fabric scissors to prevent fraying and ensure clean cuts. Dull scissors can lead to uneven edges and make sewing more difficult.
- Always unplug your sewing machine before changing needles, adjusting settings, or performing any maintenance.
- Handle your sewing machine needle with care. Broken needles are a serious safety hazard. If a needle breaks, immediately unplug the machine and carefully remove the broken pieces.
Step-by-Step Instructions
Prepare Fabric
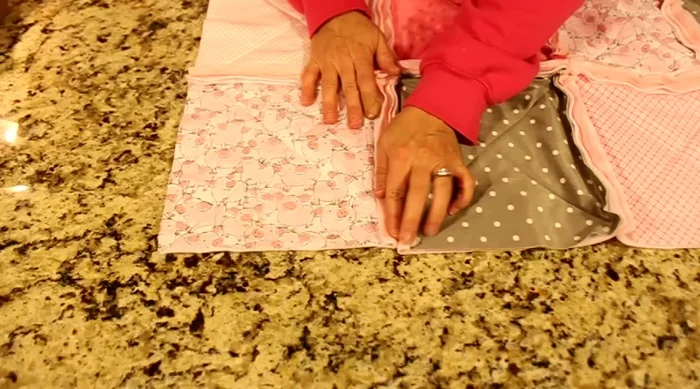
- backing (right side down), fleece, top fabric (right side up). Pin together.

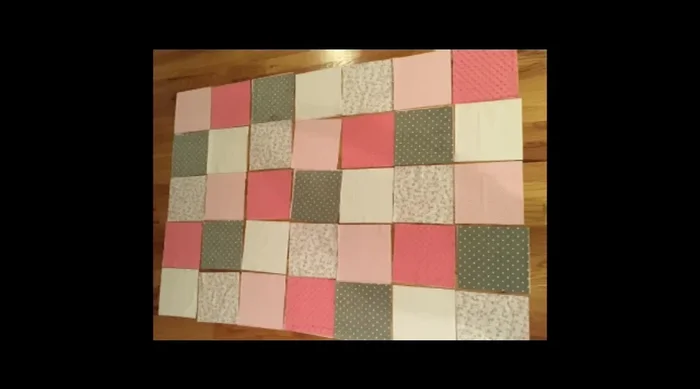
Prepare Fabric Design and Arrange
- Arrange squares in desired layout, considering nap direction of fabrics (especially cuddle fabrics). Take a picture for reference.
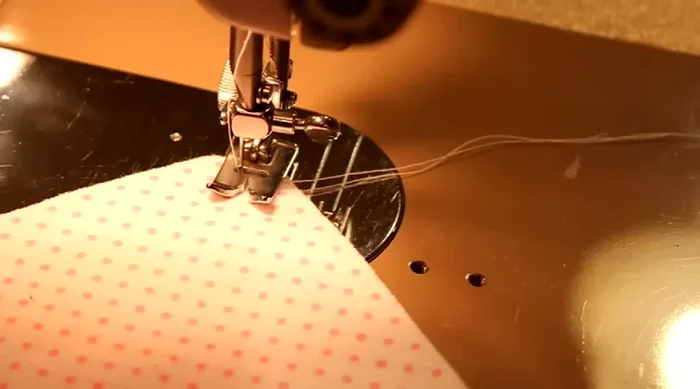
Design and Arrange Stitch Individual Squares
- Stitch an 'X' across the middle of each square using your sewing machine.
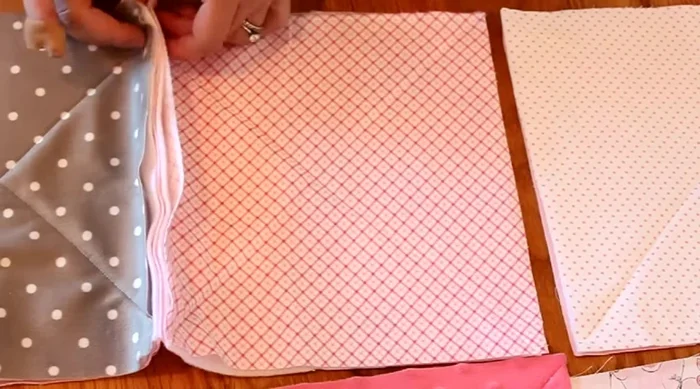
Stitch Individual Squares Assemble Rows
- Sew rows together, aligning corners and pinning before stitching. Use a 3/4 inch seam allowance for more fluffiness.
Assemble Rows Assemble Quilt
- Sew the rows together, aligning seams and pinning. Use a 3/4 inch seam allowance.
Assemble Quilt Stitch Borders
- Stitch around all edges, laying seams flat at intersections.
Stitch Borders Create Ragged Edges
- Cut 1/4 to 1/2 inch fringe along all seams.
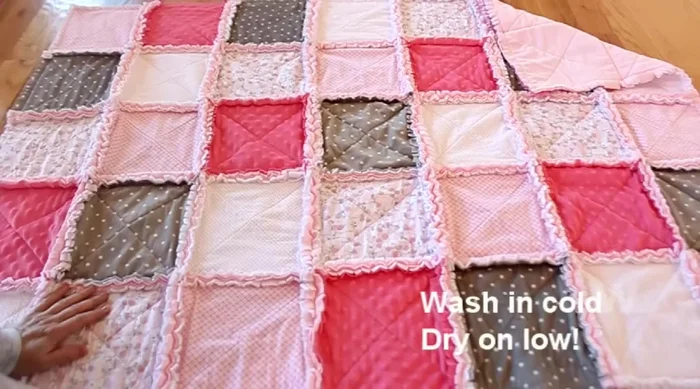
Create Ragged Edges Wash and Dry
- Wash in cold water on a short cycle, then dry on low.
Wash and Dry


Read more: King Size Quilt Tutorial: Efficient Chain Piecing Method
Tips
- Use fabrics that fray easily (fleece, flannel).
- For cuddle fabrics, align nap direction for a smoother, consistent texture.
- Consider using a walking foot for thick, bulky fabrics.
- Take a picture of your quilt layout to avoid forgetting the arrangement.
- Use sharp scissors for cutting the fringe to save time and effort. Spring-loaded scissors are recommended.