Add a touch of handmade charm to your home décor with this easy-to-follow tutorial on creating a quilted and zippered pillow cover! Forget expensive store-bought options – learn how to craft a beautiful, personalized pillow cover that perfectly complements your existing style. This project is perfect for beginners, requiring minimal sewing experience and readily available materials. The satisfying process of quilting adds texture and visual interest, while the zipper closure ensures a neat, professional finish. You'll be surprised at how quickly you can transform simple fabric into a stunning piece for your sofa, bed, or favorite armchair.
This DIY project will guide you through each stage of creating your own quilted zippered pillow cover, from cutting the fabric to sewing the final seam. Let's dive into the step-by-step process and discover how easy it is to create this beautiful and functional addition to your home.
Preparation and Safety Guidelines
- Linen fabric (or quilting cotton, flannel, fleece)
- Batting (thin batting recommended)
- Invisible zipper
- Sewing machine
- Scissors
- Cutting mat
- Rotary cutter (optional)
- Ruler
- Fabric marker (disappearing ink or chalk)
- Pins
- Iron
- Always use sharp sewing machine needles and pins to prevent fabric from tearing or stretching. Dull needles increase the risk of injury.
- When using the zipper, be careful not to catch or pinch your fingers. Take your time and work slowly, especially around the zipper teeth.
- Before cutting fabric, double-check your measurements to avoid wasting materials. A well-planned cutting process is key to a successful project.
Step-by-Step Instructions
Prepare Fabric and Batting
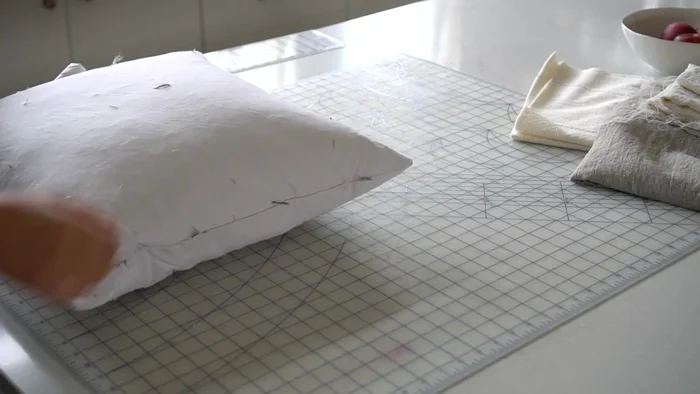
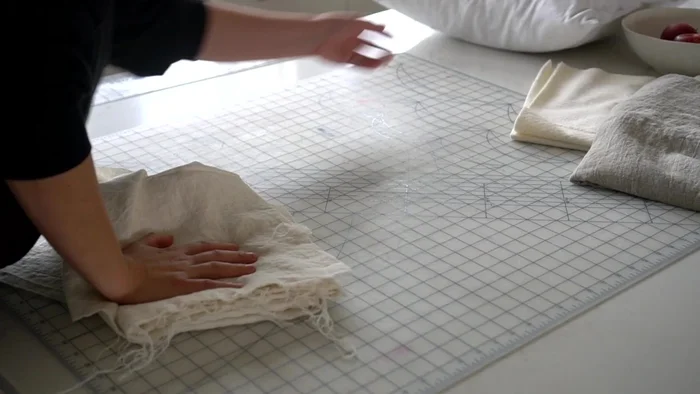
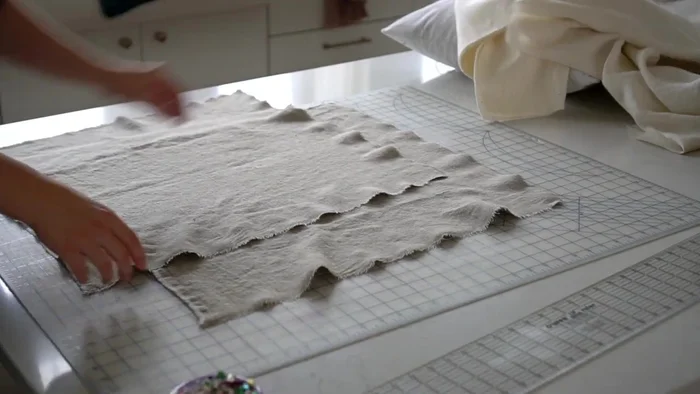
- Measure and Cut Fabric:
- Cut fabric pieces 2-3 inches larger than your pillow form (23x23 inches in the example). Use the fabric's grain to tear fabric for cleaner cuts.
- Prepare Batting Layers:
- Cut two batting squares the same size as your fabric squares.

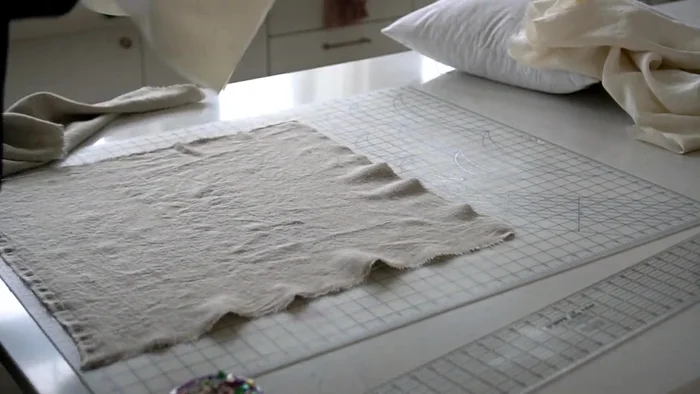
Prepare Fabric and Batting Quilt Front and Back Pieces
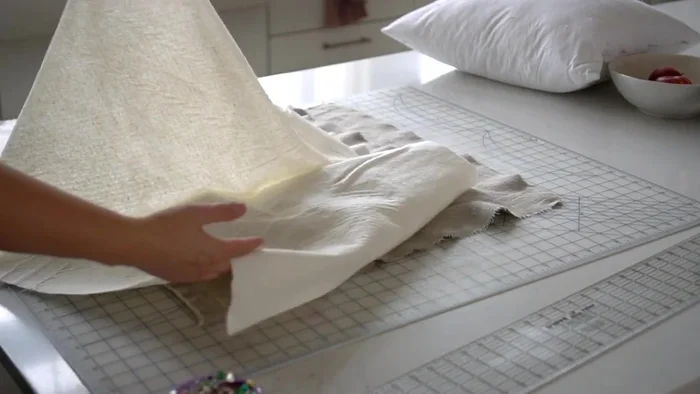
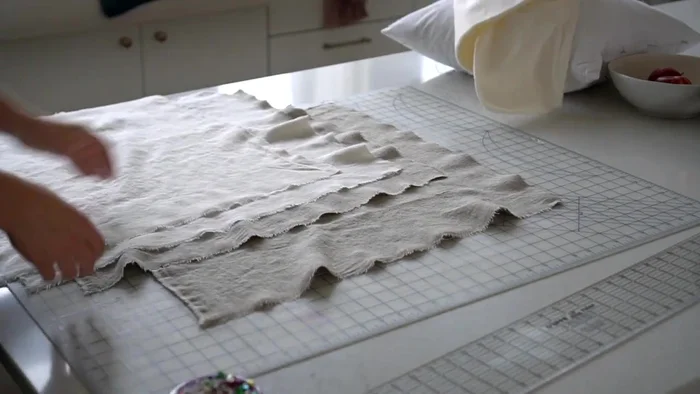
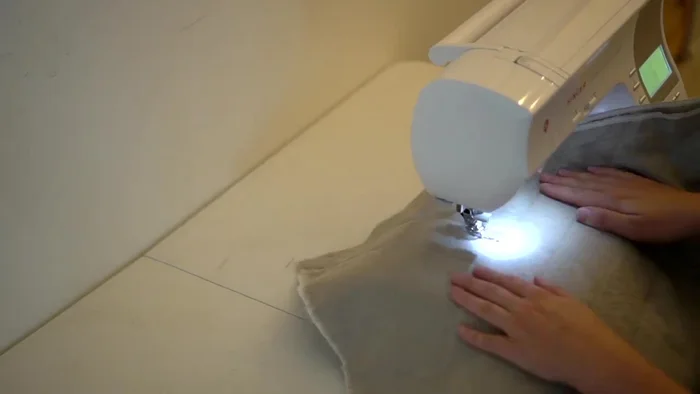
- Quilt the Front and Back Pieces:
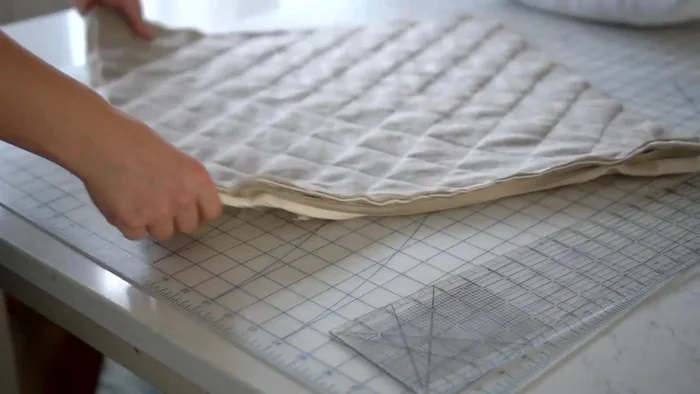
- Sandwich one fabric square between two batting squares. Pin in place.
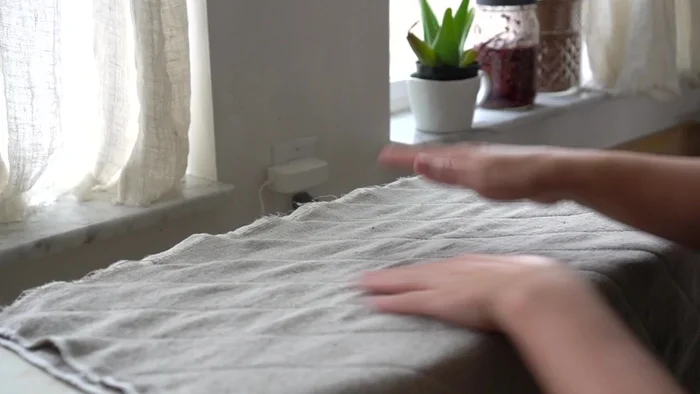
- Mark quilting lines (2 inches apart in the video). Stitch along marked lines, starting from the center to prevent fabric shifting. Increase stitch length for a more pronounced quilting effect.
- Press the quilted layers to relax fibers and prevent twisting in the next step.
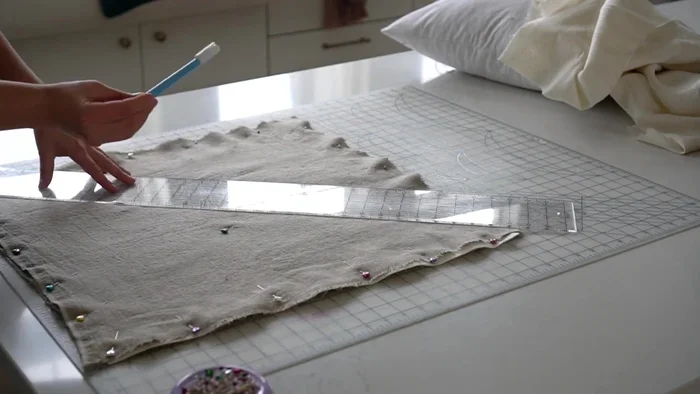
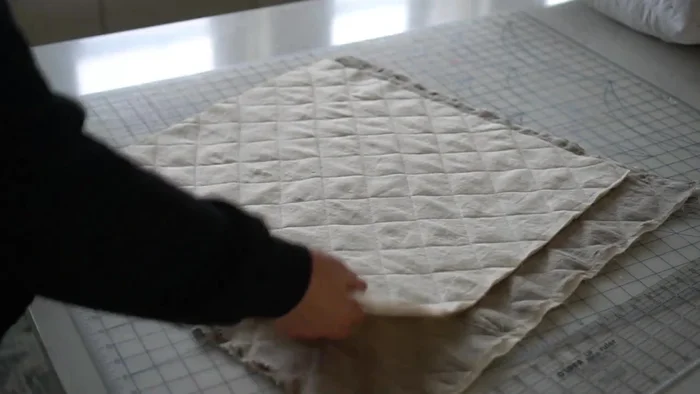
Quilt Front and Back Pieces - Repeat steps 6 & 7 for the second piece of fabric.
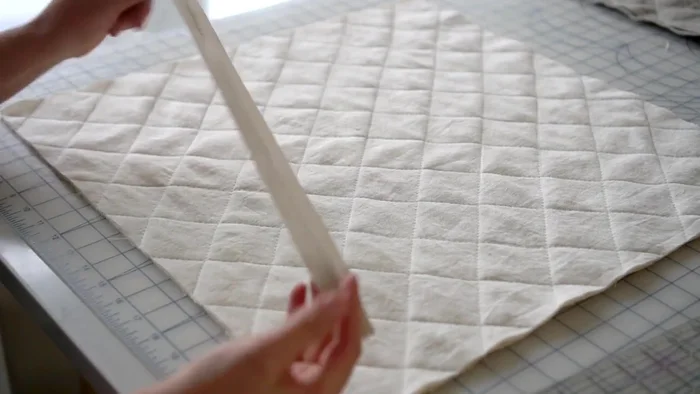
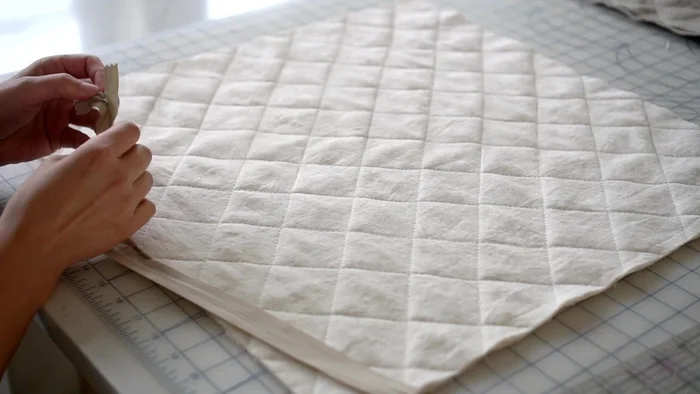
- Trim the quilted pieces to 21x21 inches (or desired size).
Quilt Front and Back Pieces Attach Zipper
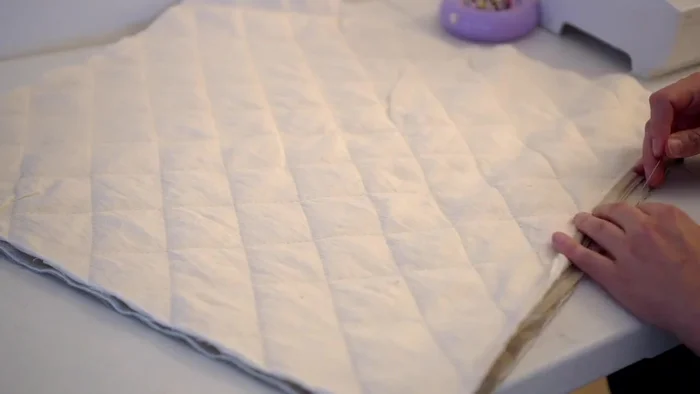
- Attach Zipper:
- Pin the closed zipper to the right side of one quilted piece, centering it. Use a zipper foot and sew as close to the zipper coil as possible.
- Repeat Step 12 for the other quilted piece.
Attach Zipper Sew Remaining Sides and Finish
- Sew Remaining Sides:
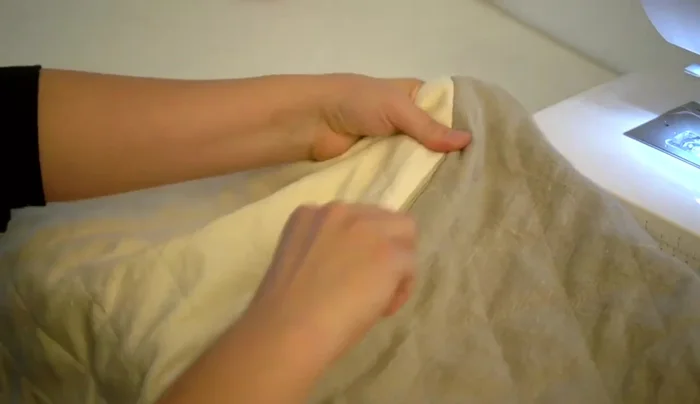
- With the zipper open, place right sides of both quilted pieces together, aligning edges. Pin and stitch the three remaining sides, leaving a small gap at one end to turn right side out.
- Turn right side out and close the gap.
Sew Remaining Sides and Finish
Read more: King Size Quilt Tutorial: Efficient Chain Piecing Method
Tips
- Use a disappearing ink marker for easy removal.
- Start sewing quilting lines from the center to prevent fabric shifting.
- Press the fabric after quilting to relax the fibers and improve the final look.
- Unzip the zipper slightly before sewing the final three sides to allow turning the pillow cover right-side out.