Creating a quilt is a journey of creativity and precision, and mastering the quilt sandwich assembly is a crucial step toward a beautifully finished product. This seemingly simple process – layering the quilt top, batting, and backing – significantly impacts the final look and feel of your quilt. Getting it right ensures a smooth, even surface, preventing puckers and wrinkles that can detract from your hard work. A perfectly assembled quilt sandwich is the foundation for a quilt you'll cherish for years to come, providing warmth and a tangible expression of your artistry.
This ultimate guide will walk you through each stage of quilt sandwich assembly, offering clear instructions and helpful tips to achieve professional results. From preparing your layers to smoothly basting them together, we'll cover everything you need to know to confidently tackle this essential step, and soon you’ll be ready to move on to quilting your masterpiece.
Preparation and Safety Guidelines
- Fabric backing
- Batting (polyester or cotton)
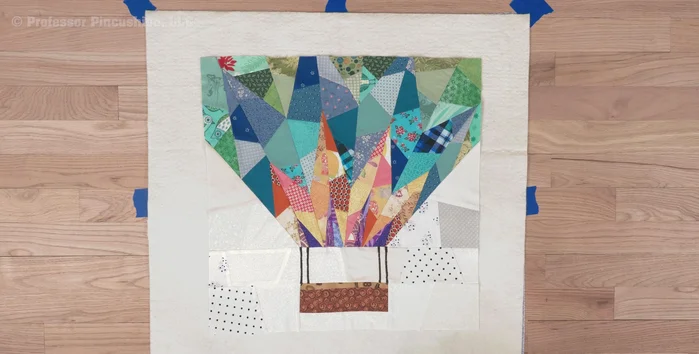
- Quilt top
- Painter's tape
- Basting spray (optional)
- Safety pins (optional)
- Embroidery thread (for hand quilting)
- Hand needle (for hand quilting)
- Sewing machine (for machine quilting)
- Walking foot or free-motion foot (for machine quilting)
- Fabric chalk/pencil/marker (optional)
- Always work on a clean, flat surface to prevent wrinkles and shifting of layers. Use a large, clean floor or a table big enough to accommodate your entire quilt.
- Ensure your batting is completely smooth and free of wrinkles before layering. Wrinkles will show through in your finished quilt.
- Use plenty of safety pins or basting spray to secure your quilt layers together. Insufficient pinning can lead to shifting during quilting, resulting in puckers and uneven stitching.
Step-by-Step Instructions
Prepare Materials
- Ensure your fabric backing and batting are 4-6 inches larger than your quilt top.

Prepare Materials Layer the Backing
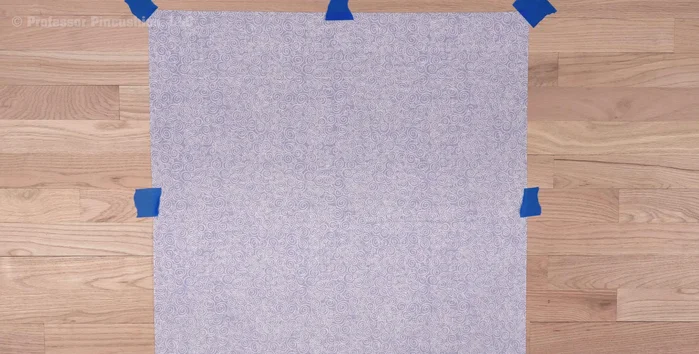
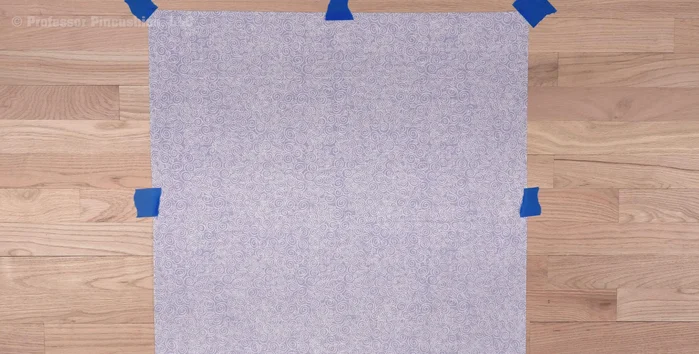
- Lay the fabric backing wrong side up on a flat surface, securing it with painter's tape to keep it taut.
- Optionally, spray the backing with basting spray for better adhesion.
Layer the Backing Layer the Batting
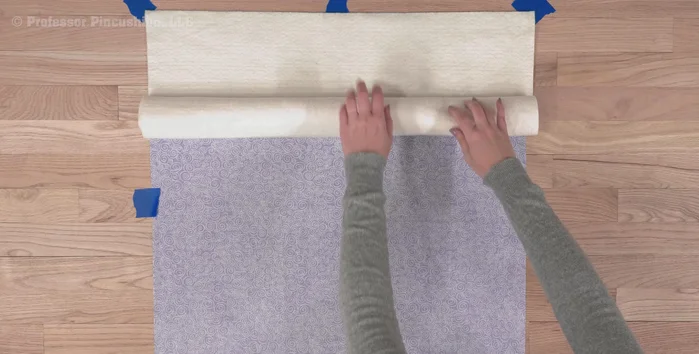
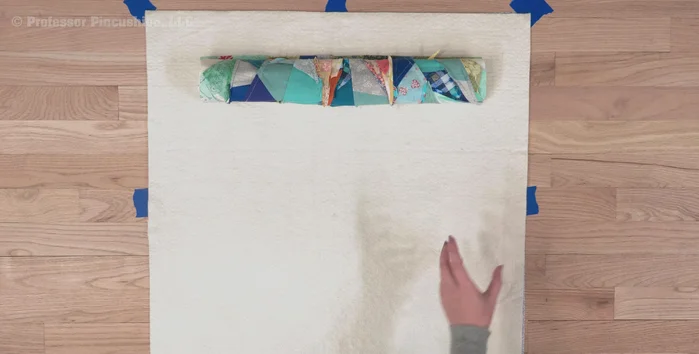
- Place the batting smoothly on top of the backing, removing any wrinkles. For larger pieces, roll it out to work in sections.
Layer the Batting Layer and Secure the Quilt Top
- Apply basting spray (or use safety pins) to attach the quilt top to the batting and backing. Work in sections, rolling and spraying to avoid wrinkles.
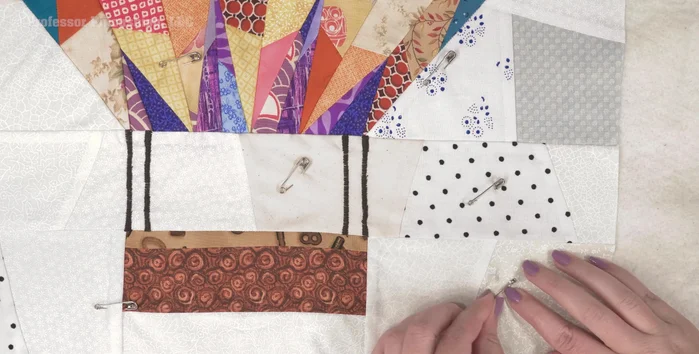
- If not using spray basting, use quilt safety pins to secure all three layers together, spacing them every few inches.
Layer and Secure the Quilt Top Quilt the Layers
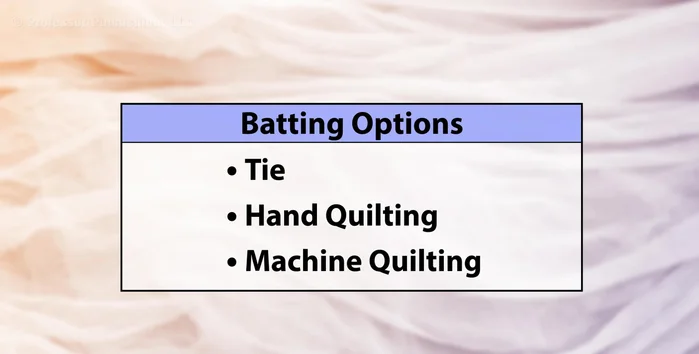
- Choose between hand quilting, machine quilting (with a walking or free motion foot), or tying.
Quilt the Layers Finish and Trim
- Trim excess batting and fabric backing.
Read more: King Size Quilt Tutorial: Efficient Chain Piecing Method
Tips
- Use cotton batting for easier handling and a more popular choice among quilters.
- When spraying basting spray, maintain a distance of about 12 inches to avoid over-saturation and ensure even distribution.
- For machine quilting, use a stitch length between 2.5 and 3, adjusting based on quilt size. Begin quilting from the center and work outwards.