Transforming leftover quilt blocks into charming and functional envelope back pillows is easier than you think! This delightful quilting project is perfect for beginners and seasoned quilters alike, offering a satisfying way to utilize those precious fabric scraps and add a touch of handmade warmth to your home. Whether you have a collection of beautiful blocks from a previous project or are eager to create some new ones specifically for this purpose, this method ensures minimal sewing, maximizing your creative output with surprisingly little effort.
This simple technique requires just a few straightforward steps to achieve a perfectly plump and professional-looking pillow. Ready to turn your fabric scraps into a cozy and stylish addition to your living space? Let's dive into the step-by-step instructions and create your very own envelope back pillow from quilt blocks.
Preparation and Safety Guidelines
- Sewing machine
- Walking foot
- Straight pins
- Wonder clips
- Air soluble marker
- Iron
- Corner turner
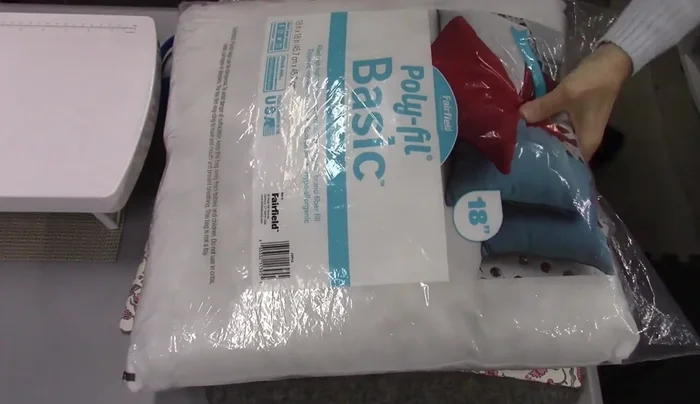
- Pillow form
- Always use sharp quilting needles and rotary cutter blades to prevent injury and ensure clean cuts. Dull tools require more force and increase the risk of accidents.
- Handle your rotary cutter with extreme care. Keep fingers away from the blade at all times and store it safely when not in use. Never leave it unattended, especially around children or pets.
- Use a cutting mat underneath your fabric to protect your work surface and prevent your rotary cutter from becoming dull quickly. Also, a self-healing mat will prevent your blade from getting damaged.
Step-by-Step Instructions
Prepare the Quilt Block
- Add a 2-inch border to your quilt block.
Prepare the Pillow Back
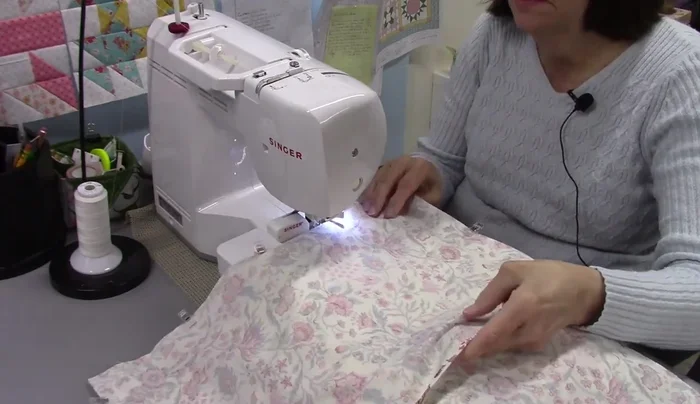
- Cut two pieces of fabric for the back, 18 inches long by about 12 ¾ inches wide. Create a ¼ inch double fold hem on each piece. Sew the pieces together, leaving a 6-inch gap for turning.

Prepare the Pillow Back Construct the Pillow Front
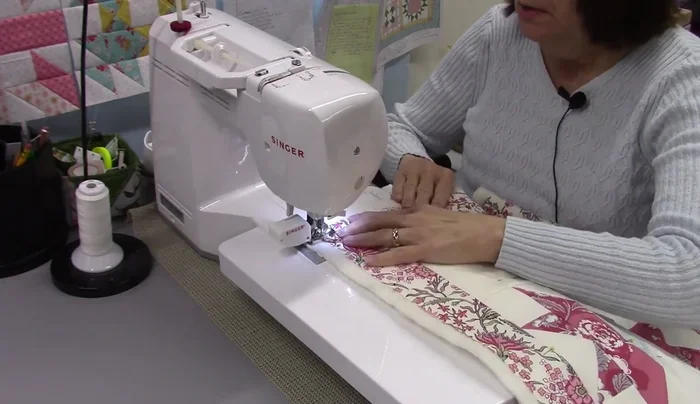
- Layer backing fabric, batting, and the prepared quilt block. Baste the outer edges using a walking foot at 3.0 stitch length.
- Stitch in the ditch around the border, maintaining a 3.0 stitch length.
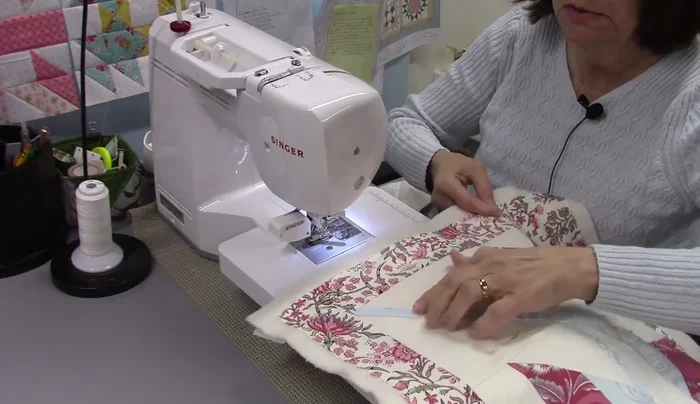
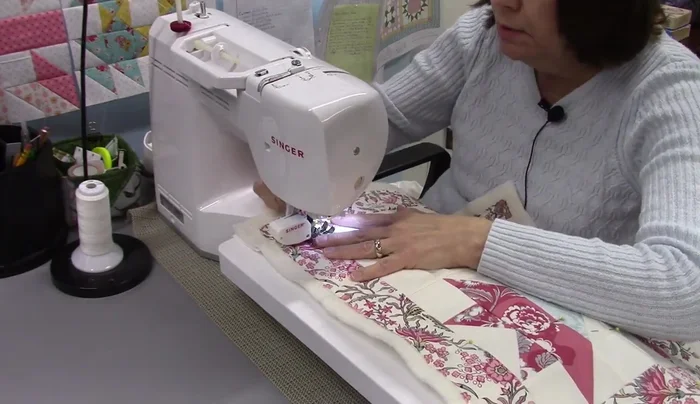
- Quilt the quilt block using straight lines, creating a square-in-a-square pattern. Remove pins as you go and quilt from the back to easily remove pins.
Construct the Pillow Front Finish the Pillow
- Trim the corners of the pillow top and backing, grading the corners for a cleaner finish. Turn the pillow right-side out. Use a corner turner to help create sharp corners.
- Insert the pillow form into the pillow cover.
Finish the Pillow
Read more: King Size Quilt Tutorial: Efficient Chain Piecing Method
Tips
- Use a walking foot to prevent layers from shifting during basting and quilting.
- Use air-soluble markers for easy removal of quilting guidelines.
- Grading the corners before turning helps create a nice, clean finish.
- A 6-inch overlap on the back prevents gaping.