The allure of a cozy, handmade quilt is undeniable, offering a comforting warmth both literally and figuratively. A queen-size quilt, however, can seem like a daunting project, a vast expanse of fabric demanding significant time and skill. But fear not, aspiring quilters! This project is more achievable than you might think. Creating your own queen-size quilt is a rewarding journey, offering a unique opportunity to personalize your bedding and showcase your creativity, from selecting vibrant fabrics to meticulously stitching each block together. You'll discover the satisfaction of crafting a beautiful and functional heirloom piece, perfect for snuggling up on chilly evenings.
This comprehensive guide will walk you through each stage of the process, from choosing your fabrics and cutting the pieces to quilting and binding your masterpiece. Get ready to embark on this exciting DIY adventure, and prepare to be amazed at what you can accomplish! Let's dive into the step-by-step instructions and begin creating your dream queen-size quilt.
Preparation and Safety Guidelines
- fabrics
- ruler
- thread
- fabric clips
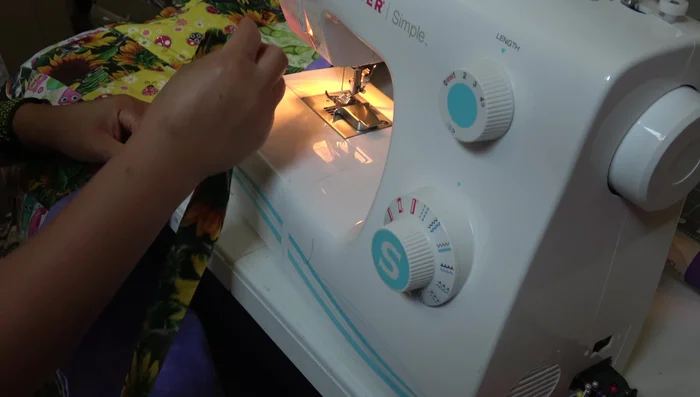
- sewing machine
- cutter or scissor
- iron
- Always use sharp scissors or a rotary cutter to prevent fabric slippage and ensure clean cuts. Dull blades can lead to inaccurate cuts and potential injury.
- Handle your sewing machine needles and pins with care. Store them safely when not in use to avoid accidental pokes and injuries.
- Work in a well-lit area with good ventilation to avoid eye strain and potential inhalation of fabric dust or fibers.
Step-by-Step Instructions
Prepare Fabric Squares
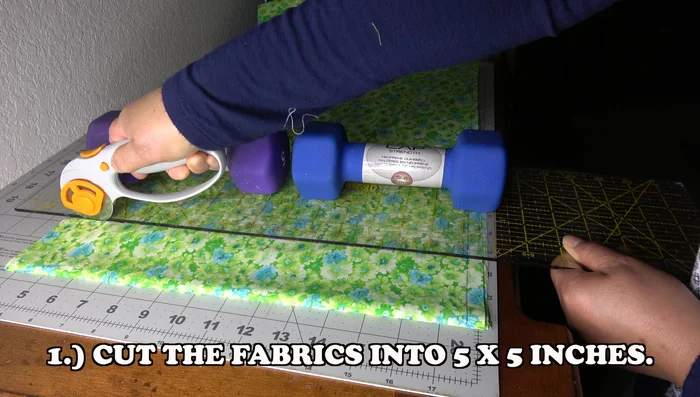
- Cut fabrics into 5x5 inch squares.
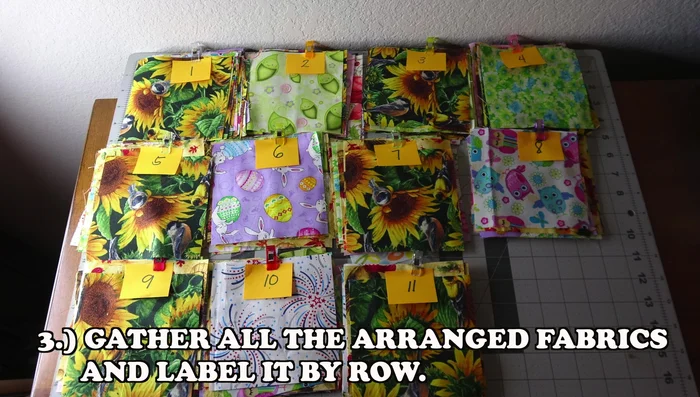
- Arrange the cut fabrics according to your pattern. Alternately arrange dark and light colors to form a desired pattern (e.g., checkered). Arrange them on a surface to visualize the final quilt size and design.
- Gather arranged fabrics and label them by row.

Prepare Fabric Squares Sew Rows
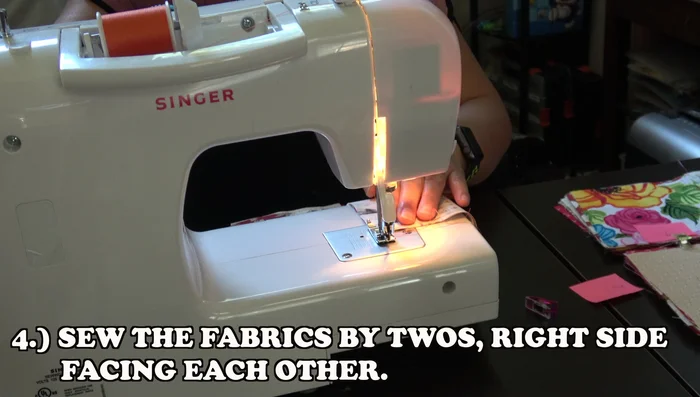
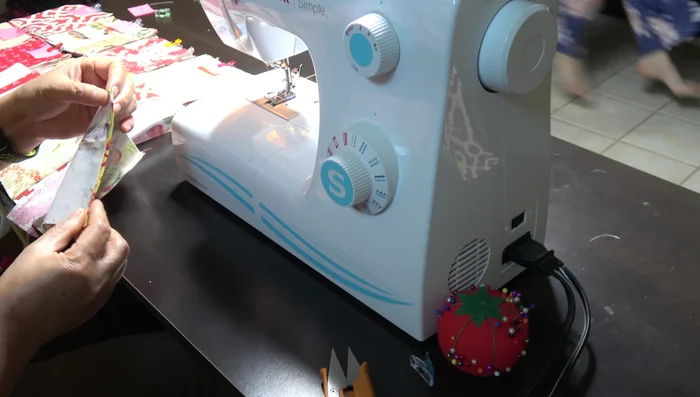
- Sew fabrics in pairs, right sides facing, continuously. Do not cut the thread to maintain fabric arrangement.
- Connect the pairs to make rows. Continue until you have the desired number of rows (in this case, three rows). Connect rows at the back, either by opening the seam or folding and ironing. Iron rows in opposite directions for a flat result.
Sew Rows Add Border
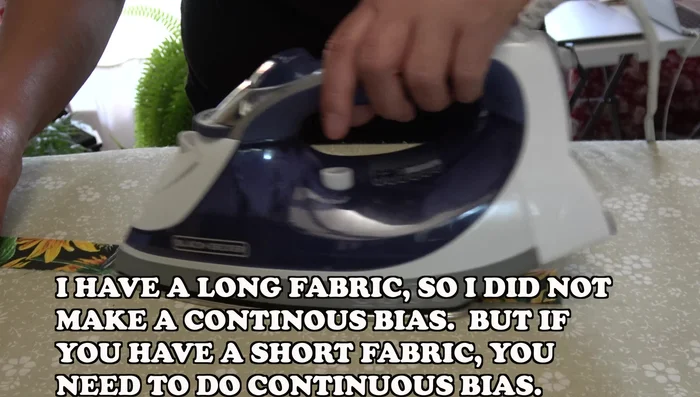
- Apply the border. Cut 3.5 inches of fabric matching your quilt. If fabric is short, create a continuous bias border. Monitor corners carefully.
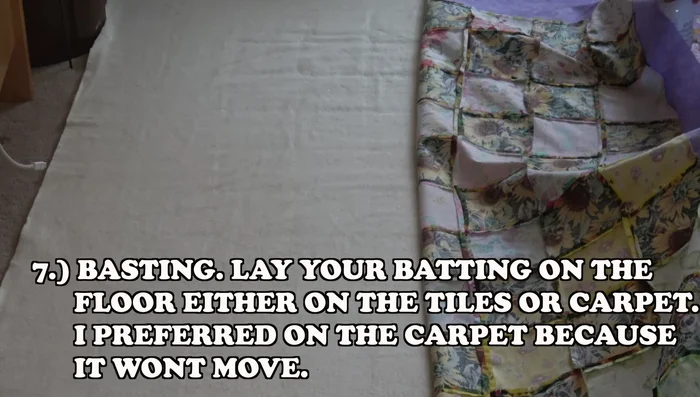
Add Border Prepare and Attach Batting
- Prepare batting. Lay batting on a flat surface (carpet recommended). Fold fabric in half, then spray adhesive, starting from the center and working outwards. Apply backing fabric in the same manner.
Prepare and Attach Batting Quilt the Layers
- Stitch in the ditch. A walking foot is recommended.
Quilt the Layers Create Binding
- Make the binding. Measure quilt and cut fabric into 2.5-inch strips. If fabric is short, create a continuous bias. Fold in half and iron.
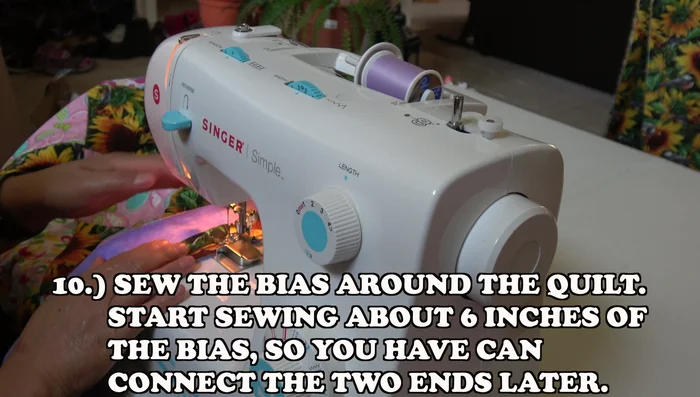
Create Binding Attach Binding
- Sew binding around quilt. Begin sewing approximately 6 inches from the beginning to allow for connecting the two ends later. Stop sewing ¼ inch before reaching corners to prevent thread breakage.
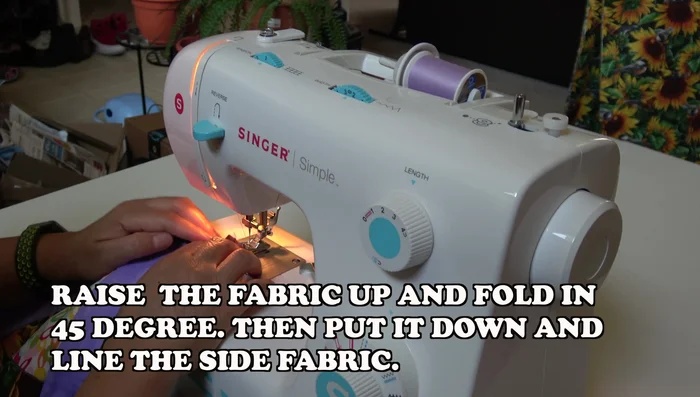
- Miter the corners. Raise the fabric, fold at a 45-degree angle, and line up side fabric.
- Connect binding ends. Cut ends at least ½ inch. Meet right sides together, pin, and sew. Press seam open, turn, and sew close to the edge.
Attach Binding


Read more: King Size Quilt Tutorial: Efficient Chain Piecing Method
Tips
- Arrange fabrics on a surface to visualize the quilt before sewing.
- Iron rows in opposite directions to prevent bulkiness.
- Use carpet to prevent batting from moving while applying adhesive.
- Spray adhesive on batting, not fabric.