Fall is in the air, and with it comes the cozy urge to craft! This season, ditch the boring tote and embrace the charming, effortless style of a DIY puffy bandana tote bag. This project is perfect for beginners, requiring minimal sewing skills and utilizing readily available materials – primarily a bandana (or two!), and some simple supplies you likely already have at home. The result? A unique, textured bag that's both stylish and practical, ideal for carrying your autumn essentials, from pumpkin spice lattes to cozy scarves. This project is the perfect blend of functionality and festive fall flair.
Forget complicated patterns and hours of meticulous stitching; this tutorial offers a surprisingly simple and quick method to create a truly eye-catching bag. Ready to transform a humble bandana into a fashionable accessory? Let's dive into the step-by-step process and create your own stunning, puffy bandana tote bag just in time for all your fall adventures!
Preparation and Safety Guidelines
- Six bandanas
- Polyfill (luxury down alternative recommended)
- Quilt batting
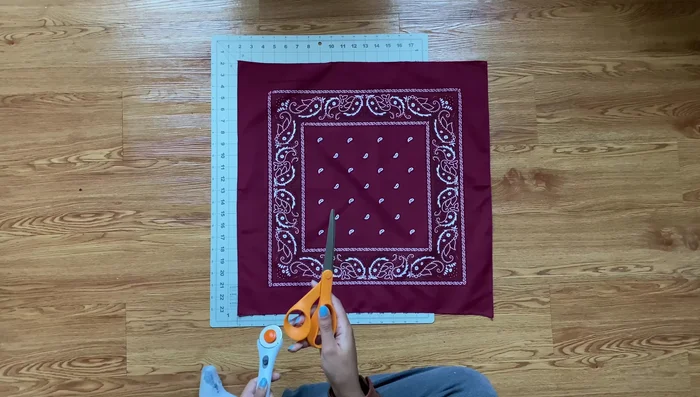
- Measuring tool
- Scissors
- Rotary cutter (optional)
- Thread
- Fabric marking pencil
- Pins
- Loop turner or safety pin
- Iron
- Always use sharp scissors and handle them with care to avoid cuts and injuries.
- Ensure the fabric is pre-washed to prevent shrinkage and maintain the bag's shape after washing.
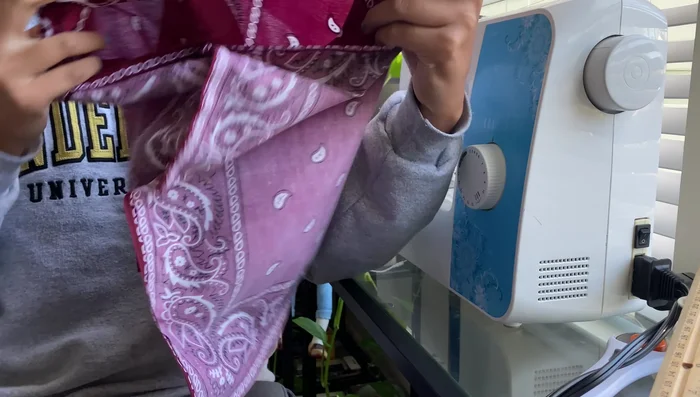
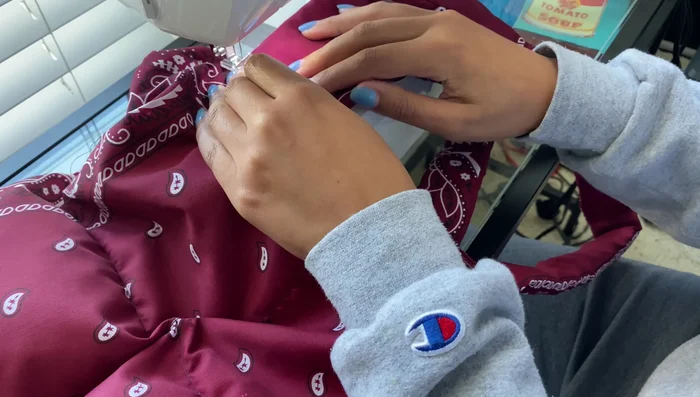
- When using a sewing machine, be mindful of your fingers and keep them away from the needle.
Step-by-Step Instructions
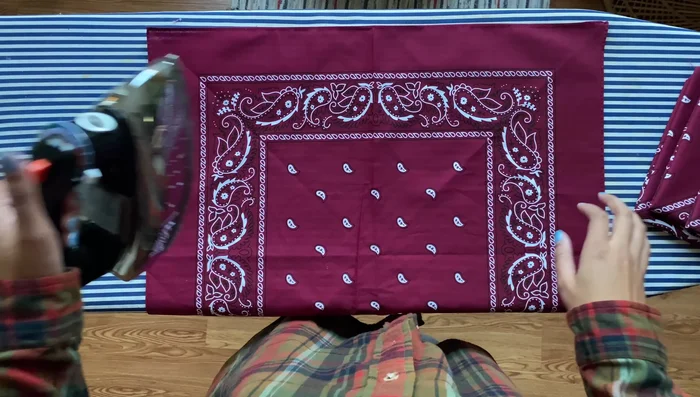
Prepare Bandanas
- Iron all six bandanas.
- You can sew without cutting.)

Prepare Bandanas Create Bag Body
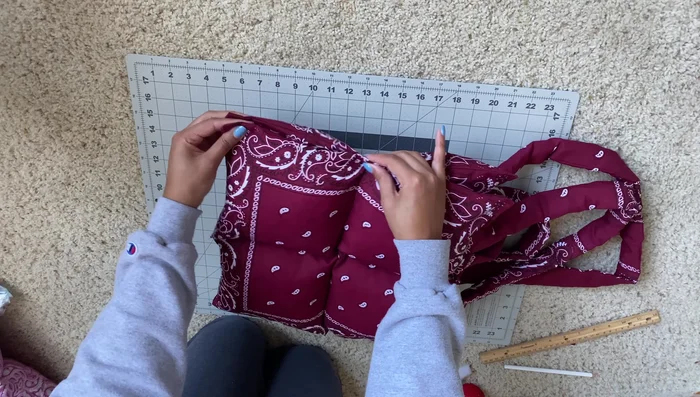
- Take two bandana pieces, right sides together, and press one edge (the top edge of the bag).
- Sew around three edges of each pair of pressed bandana pieces.
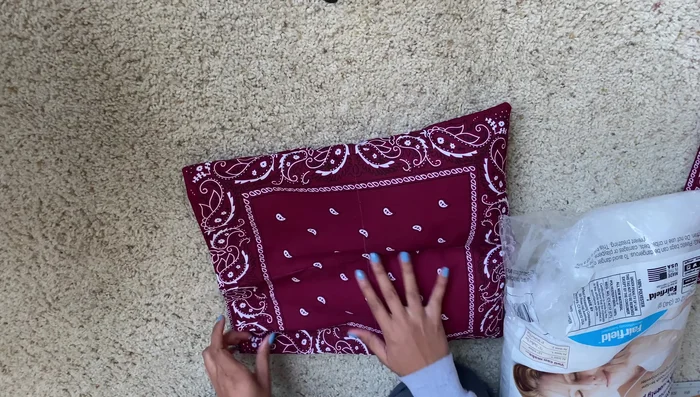
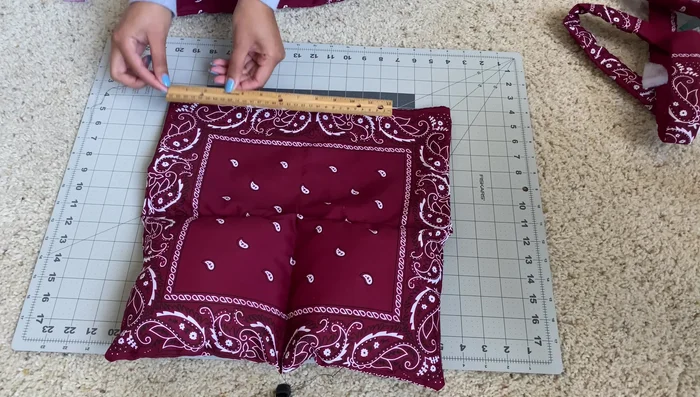
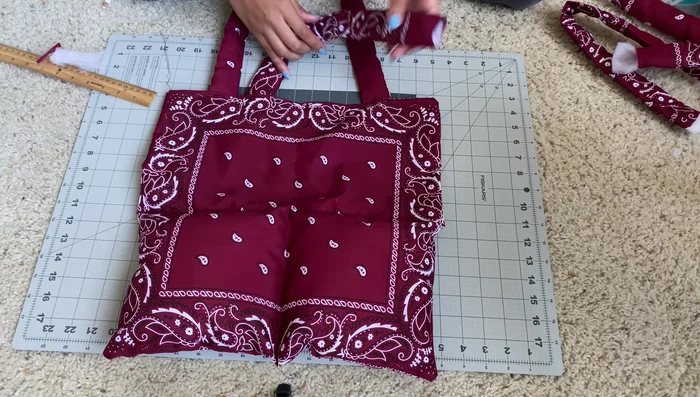
- Flip the sewn pieces right side out. Mark lines for stuffing sections (a grid pattern). Sew top-to-bottom lines first.
- Stuff the bottom two sections of the bag, using the marked lines as guides.
Create Bag Body - Sew across the side-to-side lines to create the bottom sections.
- Sew the two halves of the bag together, right sides together, leaving the top open.
- Flip the bag right side out.
Create Bag Body Make Straps
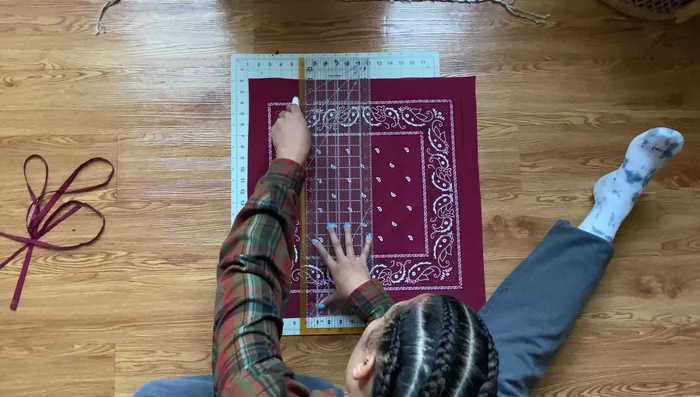
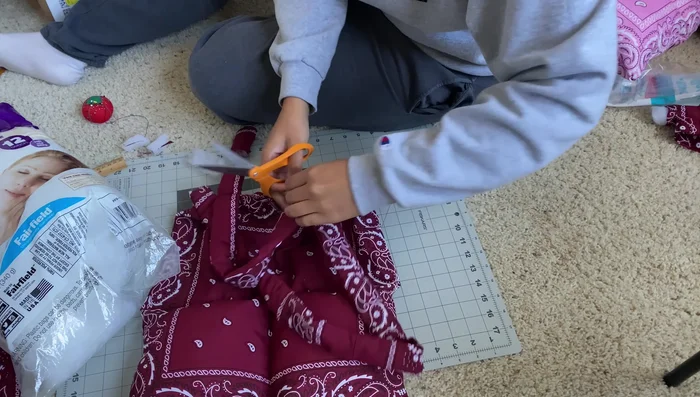
- Cut six 5.5-inch wide strips from the remaining two bandanas.
- Pair two strips, right sides together, and sew across the top. Repeat for the other two strips to make four straps.
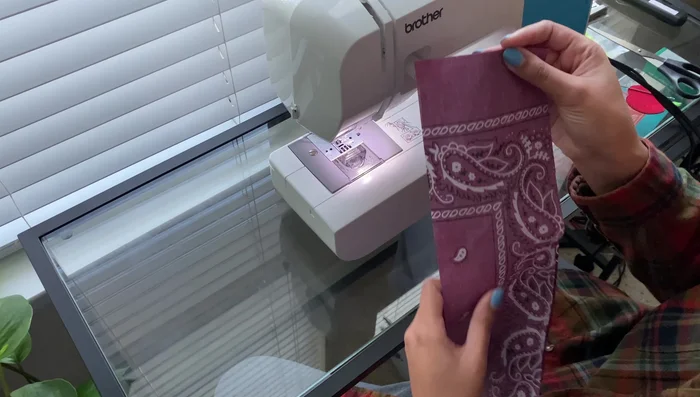
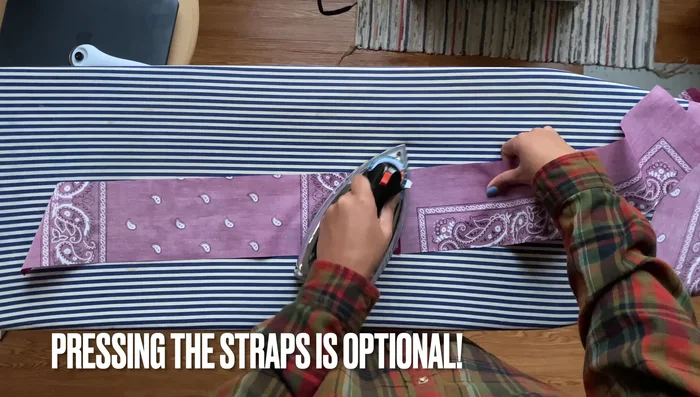
- Press the straps, fold them right sides in, and press again.
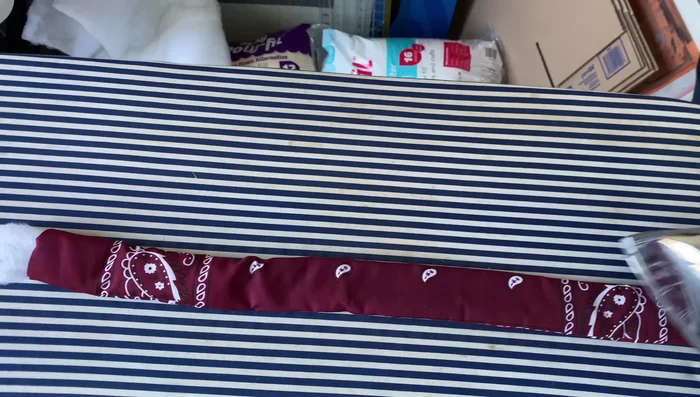
- Sew a straight line down the center of each strap, leaving ends open.
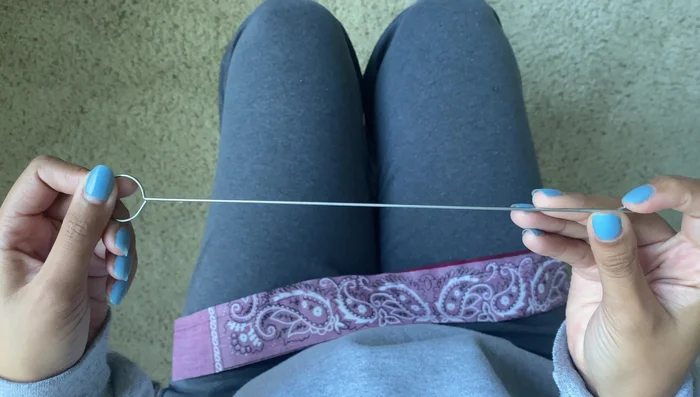
Make Straps - Use a loop turner (or safety pin) to turn the straps right side out.
- Stuff the straps with quilt batting.
- Press the stuffed straps (optional).
Make Straps Attach Straps
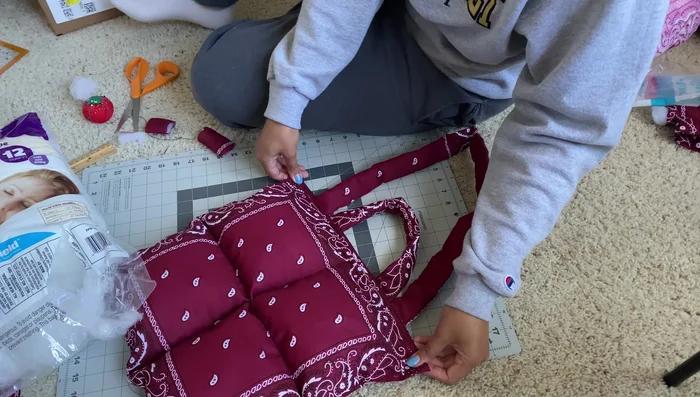
- Pin the longer straps to one side of the bag, 3 inches from the edge. (Do NOT pin through both sides.)
- Pin the shorter straps next to the longer straps, also to only one side of the bag.
- Sew across the top of the straps, attaching them to the bag.
Attach Straps Finish Bag
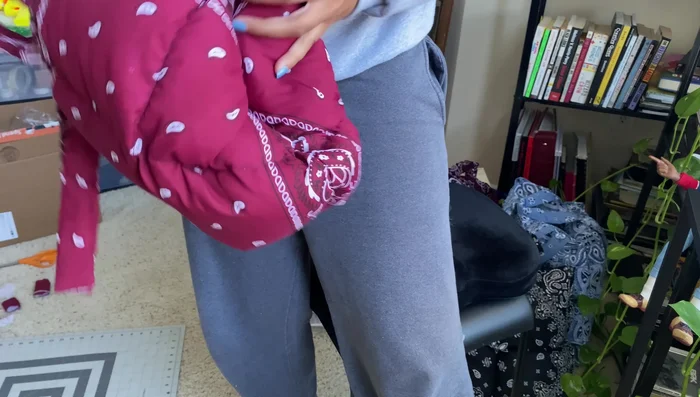
- Stuff the top two sections of the bag.
- Sew across the top to close the bag.
Finish Bag


Read more: DIY Quilted Makeup Pouch Tutorial: The Easiest and Fastest Method
Tips
- Use luxury down alternative polyfill for a superior puff.
- Pressing seams makes the process easier and neater.
- A loop turner is easier to use than a safety pin for turning straps.
- Only pin straps to one side of the bag at a time to ensure proper attachment.
- Manipulate the bag's stuffing while sewing to keep seams even.