Puff sleeves are everywhere! This season's most charming and effortlessly chic detail is surprisingly simple to recreate, even if you're just starting your sewing journey. Whether you're dreaming of a romantic blouse, a playful dress, or simply want to add a touch of whimsy to an existing garment, this beginner-friendly tutorial will guide you through the process of crafting your own delightful puff sleeves. Forget complicated patterns and frustrating instructions; we'll break down each step into easily manageable chunks.
This tutorial focuses on clear, concise methods, utilizing readily available materials and simple techniques. No prior experience is needed – we'll cover everything from choosing the right fabric to mastering the crucial sewing steps. Ready to transform your wardrobe and add a touch of vintage flair? Let's dive into the step-by-step guide to creating your own perfect puff sleeves!
Preparation and Safety Guidelines
- Fabric
- Lining
- Scissors
- Measuring tape
- French curve
- Tracing wheel
- Pins
- Sewing machine
- Needle
- Thread
- Always use sharp scissors or rotary cutter to prevent fabric slippage and ensure clean cuts. Dull blades can cause jagged edges and fraying.
- Pay close attention to the grainlines of your fabric when cutting out the puff sleeve pattern pieces. Incorrect grainlines can lead to an uneven or misshapen sleeve.
- Pin your pattern pieces securely to the fabric before cutting to prevent shifting. Use plenty of pins and check their placement frequently.
Step-by-Step Instructions
Prepare Materials
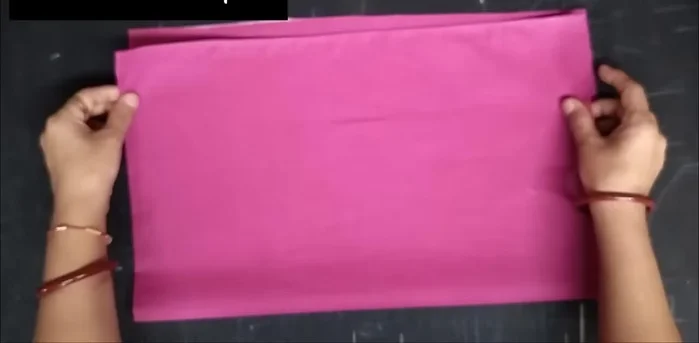
- Prepare the fabric and lining. Fold the lining and press it well.

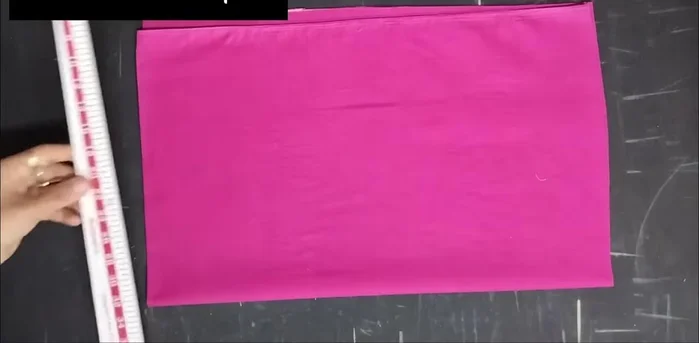
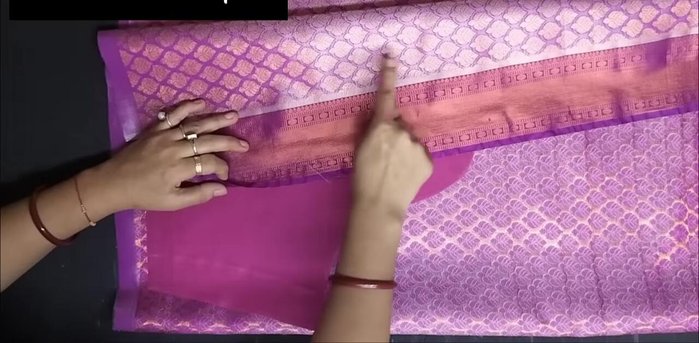
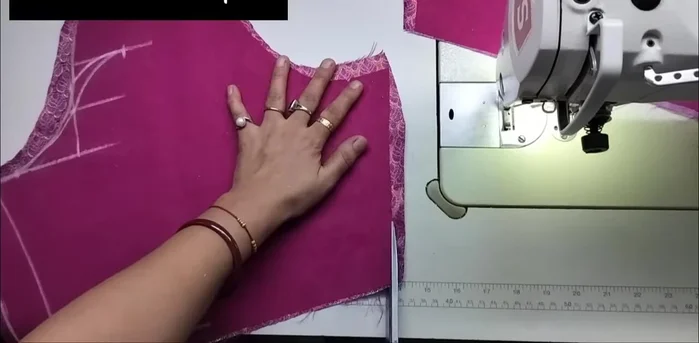
Prepare Materials Cut Fabric Border
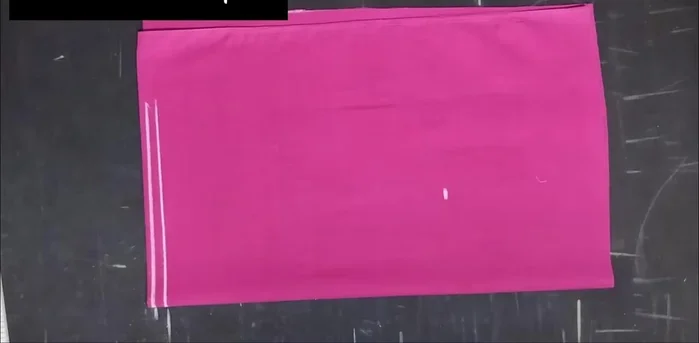
- Cut and remove the border part of the fabric.
Cut Fabric Border Create Basic Sleeve Pattern
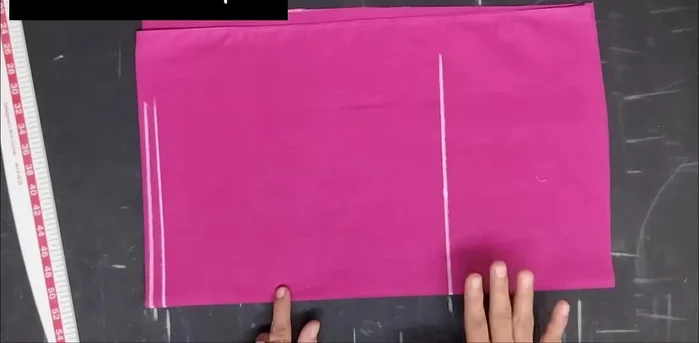
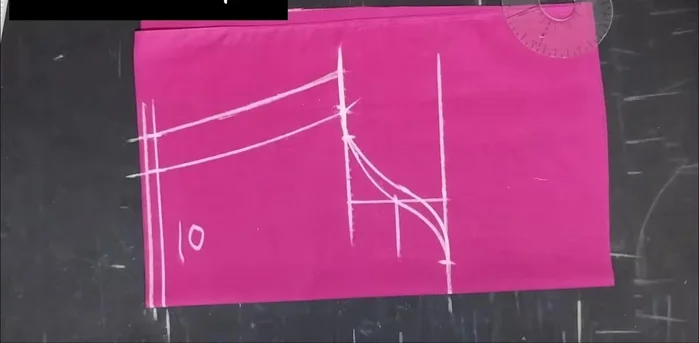
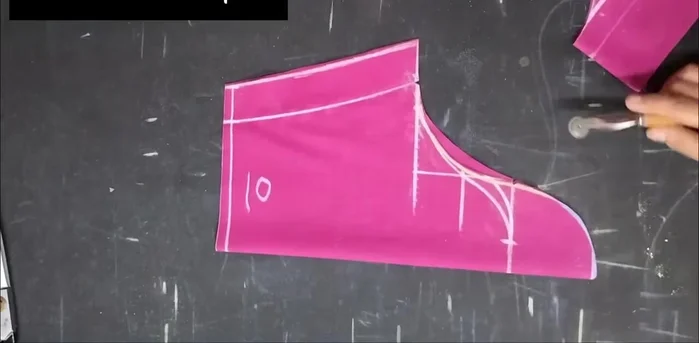
- Measure and mark the sleeve length (add 1/2 inch seam allowance).
- Draw a straight line for the sleeve length.
- Cut a normal sleeve pattern first.
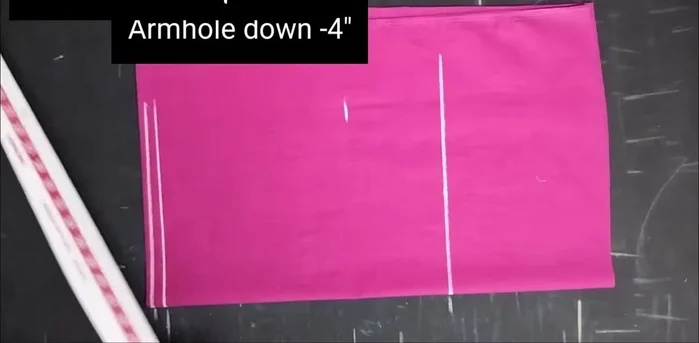
- Mark the armhole (4 inches straight line).
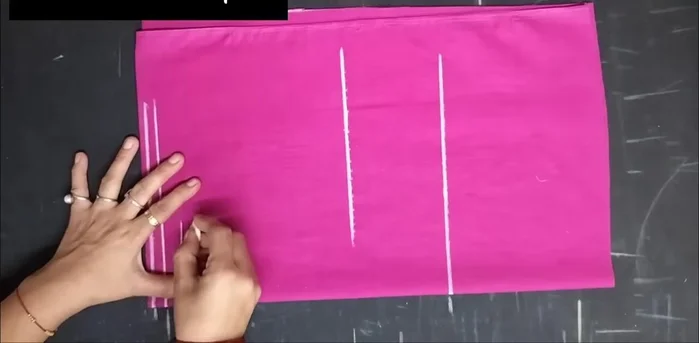
Create Basic Sleeve Pattern - Mark the sleeve round (10 inches) and armhole (16 inches, halved to 8 inches).
- Mark the bottom of the sleeve (10 inches, halved to 5 inches + 1 inch margin).
- Shape the sleeve using a French curve and a ruler, ensuring the inner curve is deeper for a better fit.
Create Basic Sleeve Pattern Design Puff Sleeve
- Measure and mark points for the puff sleeve addition (3/2 inch on the lower side, 3 inches on the upper side – adjust as needed).
- Draw the puff sleeve shape, joining the marked points with a French curve.
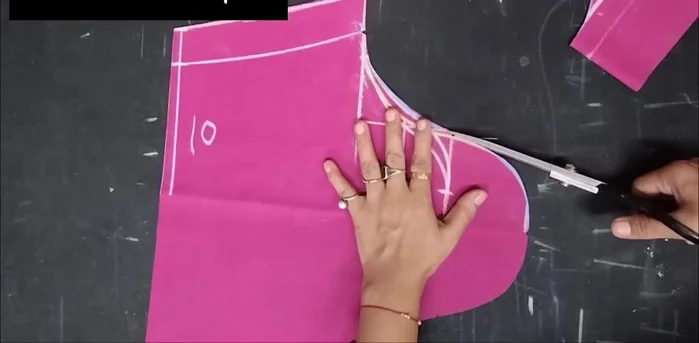
- Cut the puff sleeve pattern.
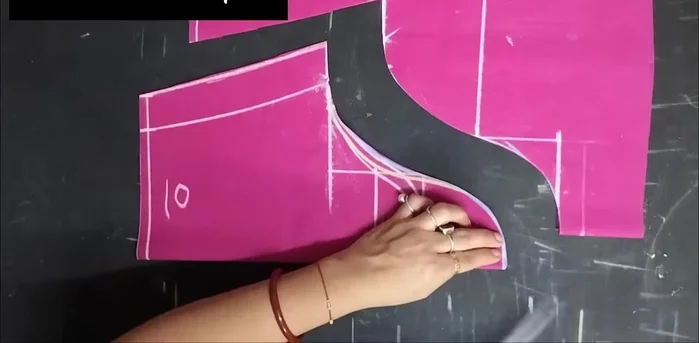
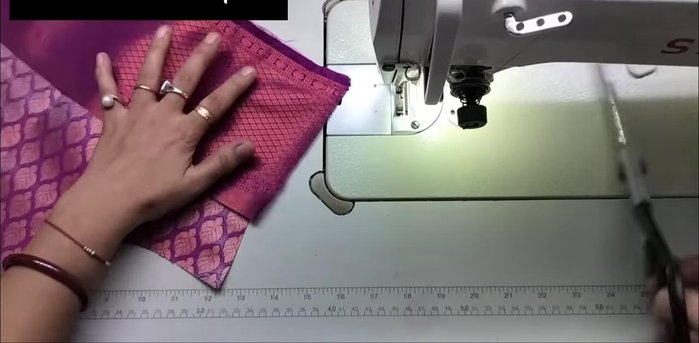
Design Puff Sleeve Prepare Fabric for Sewing
- Cut the armhole and make cuts for puffing.
- Cut the front armhole.
- Use a tracing wheel to transfer the markings to the main fabric.
- Cut the main fabric and lining together.
Prepare Fabric for Sewing Attach Piping
- Attach the piping (tutorial link in description).
Attach Piping Attach Lining and Border
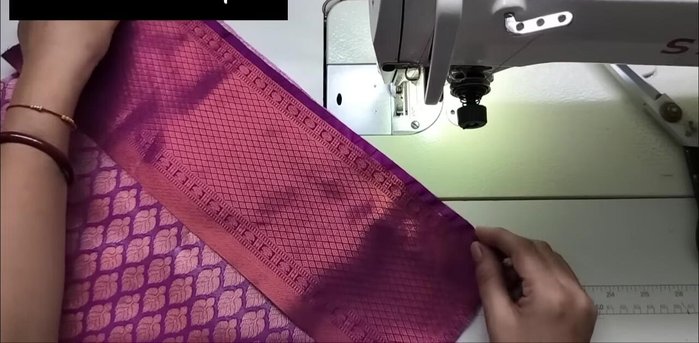
- Stitch the lining to the main fabric, trim excess fabric.
- Attach the border to the sleeve.
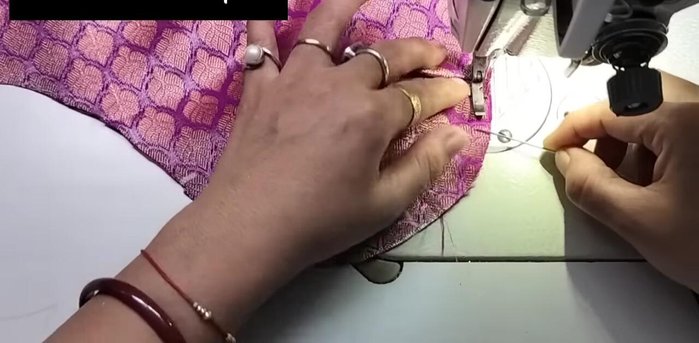
Attach Lining and Border Create Puff
- Make gathers for the puff using a needle and thread (plates).
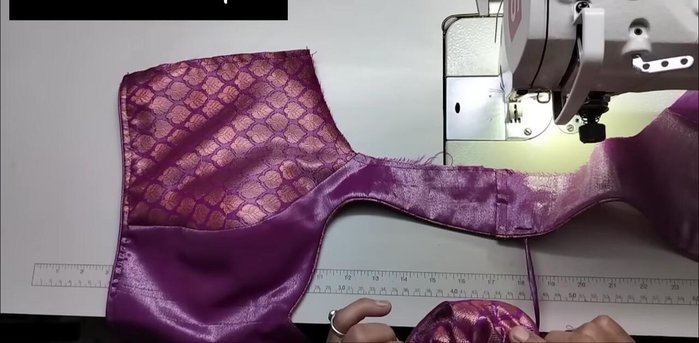
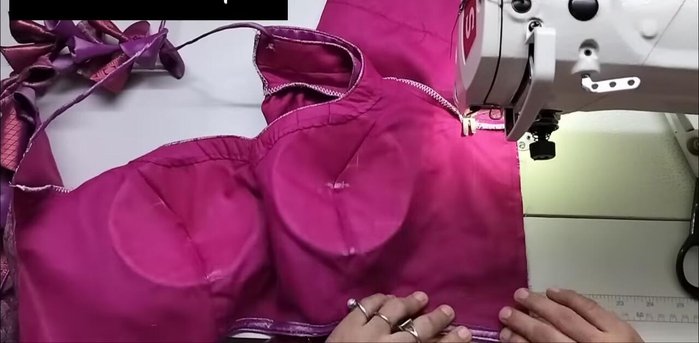
Create Puff Attach Sleeves and Finish
- Attach the sleeves to the blouse, ensuring even distribution of gathers.
- Finish the armhole stitching.
Attach Sleeves and Finish
Read more: Raglan Sleeve Sewing Tutorial: A Step-by-Step Guide
Tips
- Use a deeper inner curve on the sleeve for a better fit.
- Adjust the puff sleeve measurement according to your preference.
- Ensure the border attachment is neat and avoids unwanted joins.
- Attach the lining securely before cutting to prevent shifting.
- Use the same fabric for piping as the blouse for a cohesive look.