Prom night is a magical experience, but sometimes, the magic fades a bit when your dream dress doesn't quite fit perfectly. A common frustration? A zipper that gapes or digs in, ruining the silhouette and overall comfort. But fear not, aspiring fashionistas! Transforming a prom dress doesn't require a complete overhaul; sometimes, a simple alteration can make all the difference. This article focuses on one such transformative project: converting a zipper back into a much more flattering and adjustable lace-up back. A lace-up back offers a more customized fit, a touch of romantic flair, and a surprisingly simple DIY solution.
This elegant alteration not only enhances comfort and fit but also adds a unique, personalized touch to your special dress. From choosing the right lace and cord to mastering the sewing technique, this guide provides a comprehensive step-by-step walkthrough to seamlessly convert your zipper closure into a stunning, perfectly fitted lace-up back. Let's dive into the detailed instructions and transform your prom dress into a breathtaking masterpiece!
Preparation and Safety Guidelines
- Fabric strips
- Loop turner or needles
- Pointed tweezers
- Sewing machine
- Iron
- Measuring tape
- Always use sharp, high-quality sewing shears and needles to avoid damaging the fabric and ensure clean cuts and stitches.
- If you are uncomfortable with any sewing steps, particularly those involving the zipper removal and seam alterations, seek assistance from an experienced sewer or tailor. Improper techniques can ruin your dress.
- Pre-wash your lace-up fabric to prevent shrinkage after the dress is completed. Match the color and type of thread to your existing garment as closely as possible.
Step-by-Step Instructions
Prepare Materials
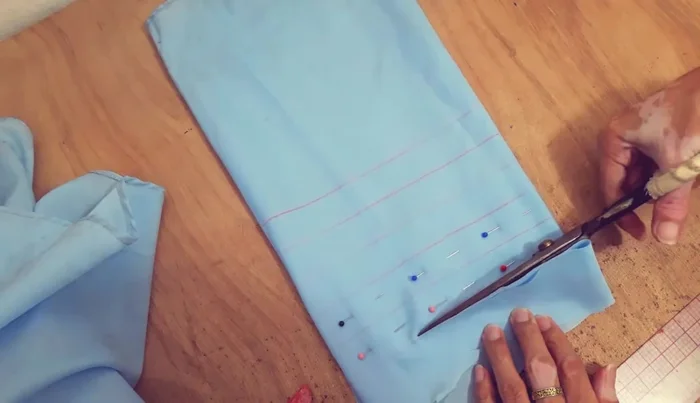
- Cut bias strips of fabric (1 inch wide). Prepare 2-3 strips.
- Create shoelace loops from bias strips (detailed tutorial in description).
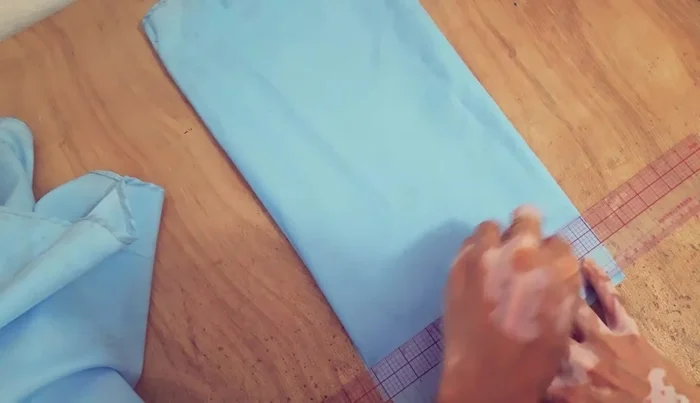
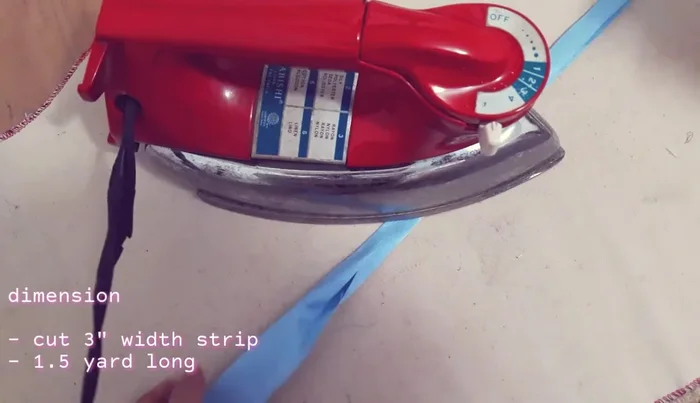
- Cut 1.5 yards of fabric for the straps. Fold raw edges, then fold in half and press.

Prepare Materials Remove Existing Zipper
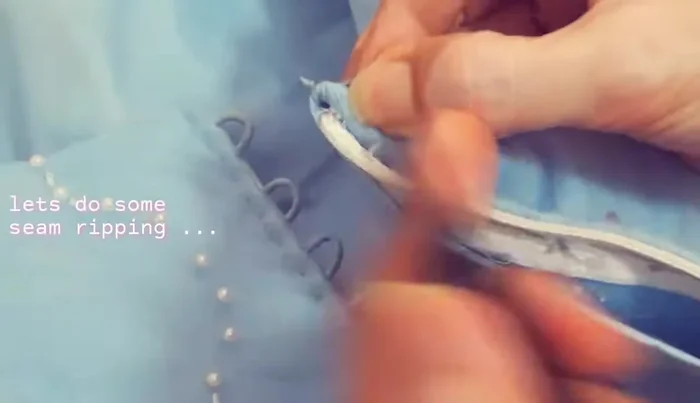
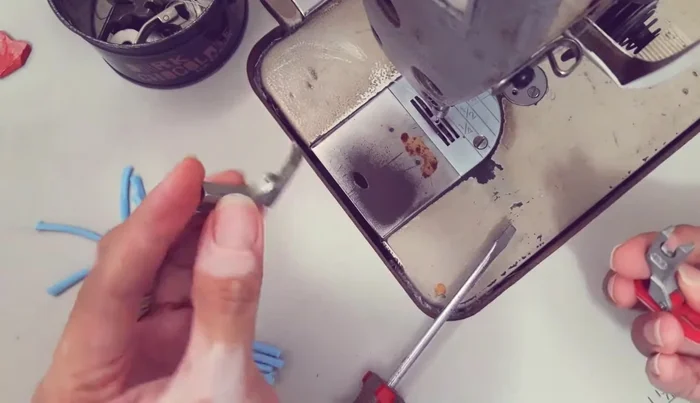
- Remove the existing zipper. Hand stitch to secure the zipper tape.
Remove Existing Zipper Prepare Lace-Up Components
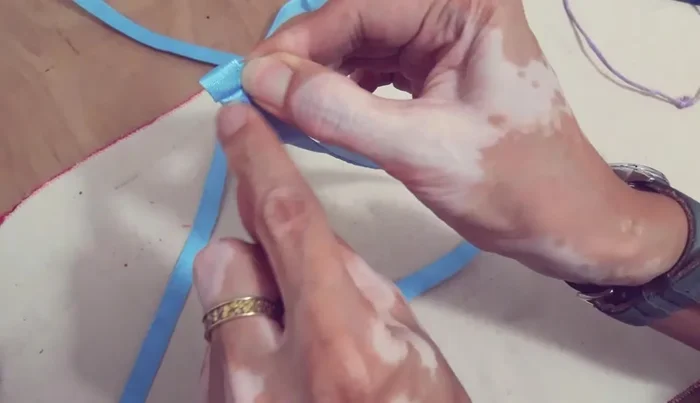
- Mark placement of the loops along the zipper tape.
- Sew the loops onto the zipper tape. Use tweezers to manipulate the loops if needed.
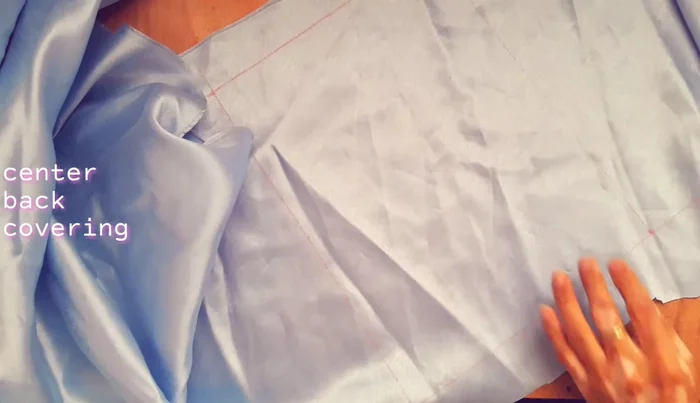
Prepare Lace-Up Components Create Back Covering
- Create a back covering using the client's fabric.
Create Back Covering Create and Attach Straps
- Top stitch the open edges of the straps.
- Fold the ends of the straps twice (1/2 inch) and top stitch.
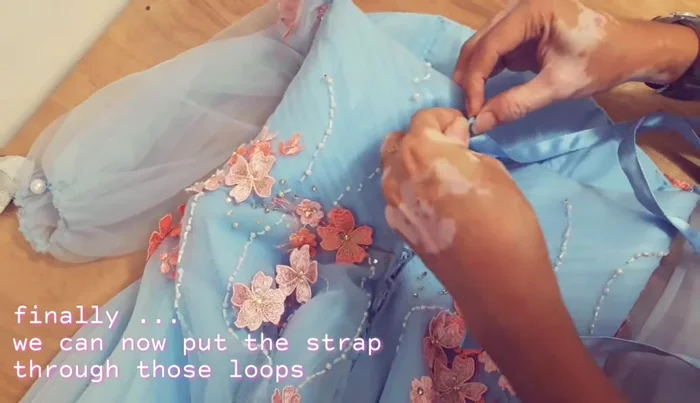
Create and Attach Straps Assemble Lace-Up Back
- Lace the straps through the loops on the back.
Assemble Lace-Up Back


Read more: Raglan Sleeve Sewing Tutorial: A Step-by-Step Guide
Tips
- Use tweezers to easily manage the loops during sewing, especially if you have larger fingers.
- Pressing the fabric after each step is crucial for a clean and professional finish.