Have you ever dreamed of bringing your favorite characters to life, snuggling them close, and showcasing your crafting prowess? The world of plushie making offers a delightful escape, and with the luxurious texture of furry fabric, your creations will be even more irresistible. Imagine the soft, comforting feel against your skin – a perfect blend of artistry and tactile pleasure. Furry fabrics offer a unique challenge and reward, adding depth and personality to your plushies that simple cotton just can't match. From vibrant animal companions to whimsical creatures of your own design, the possibilities are endless.
This guide will unlock the secrets to crafting adorable, high-quality plushies using furry fabrics, transforming your imagination into cuddly reality. We'll cover everything from choosing the right materials and patterns to mastering essential sewing techniques. Let's dive into the step-by-step process and start creating your own collection of furry friends!
Preparation and Safety Guidelines
- furry fabric
- pattern (Simplicity pattern number 8044)
- scissors
- vacuum hose
- sewing machine
- pins
- chalk
- ruler
- hammer or rolling pin
- stuffing
- safety nose
- button
- needle
- thread
- Always supervise children when using sewing machines and sharp tools like scissors.
- Handle your fabric carefully to avoid snags or pulls, especially with delicate furry fabrics. Pre-wash your fabric to prevent shrinkage and color bleeding.
- Use appropriate safety pins or clips to hold your fabric pieces together while sewing, avoiding the risk of accidental needle pricks.
Step-by-Step Instructions
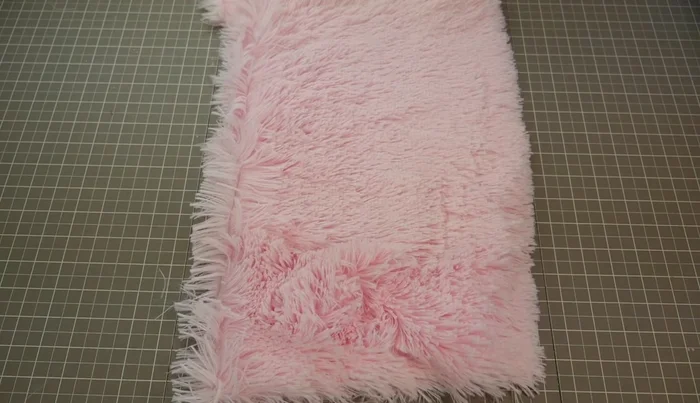
Prepare the Fabric
- Brush the fabric to determine the nap direction. Cut pattern pieces ensuring all nap directions are consistent.

Prepare the Fabric Cut and Clean
- Cut the fabric. Use a vacuum hose to clean up excess fur.
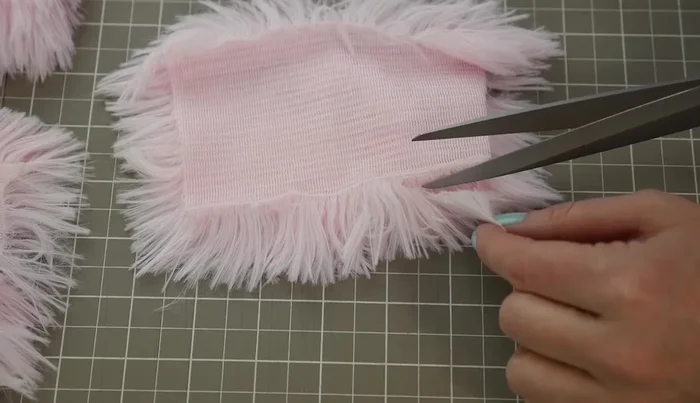
Cut and Clean Prepare for Sewing
- Trim ½ inch of fur from the edges of the fabric pieces before sewing to create a cleaner seam.
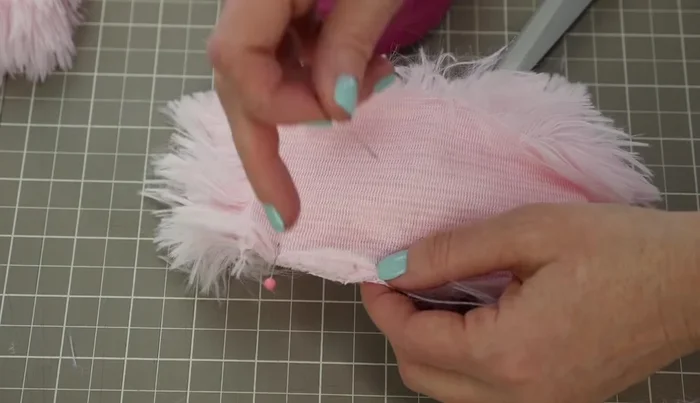
Prepare for Sewing Sew Main Body Pieces
- Pin and sew the fabric pieces together. If seams are bulky, use a hammer or rolling pin to flatten them.
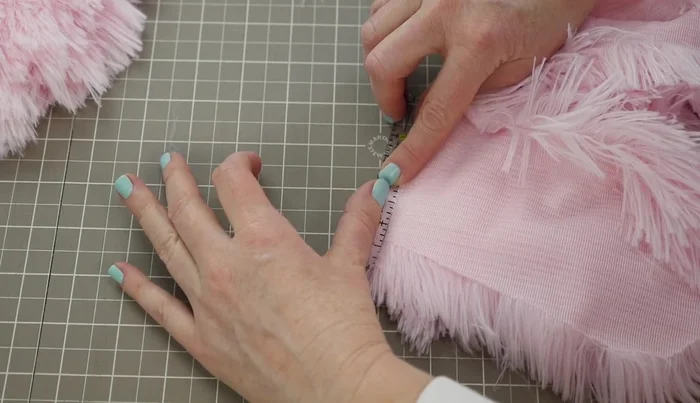
Sew Main Body Pieces Sew and Shape Darts
- Mark and sew darts, clipping curves up to (but not through) the seam to allow for better shaping when turned right-side out.
Sew and Shape Darts Stuff the Plushie
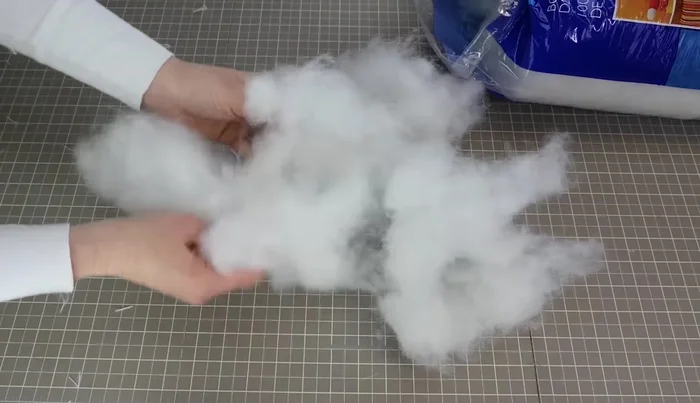
- Fluff stuffing before inserting into the plushie to ensure even distribution and better shaping.
Stuff the Plushie Mark Facial Features
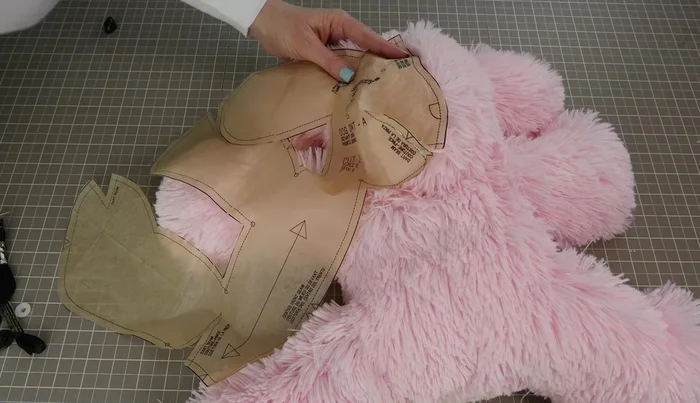
- Use the pattern to mark placement for eyes and nose on the stuffed plushie head.
Mark Facial Features Attach the Nose
- Attach the safety nose by puncturing a hole through the seam, inserting the nose, and securing with the washer.
Attach the Nose Attach the Eyes
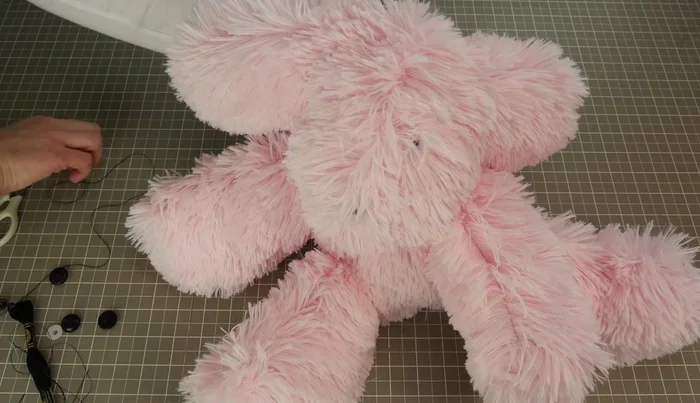
- Attach eyes using a button and needle, securing with stitches that also sculpt the face by incorporating the stuffing.
Attach the Eyes Refine the Face
- Trim excess fur around the eyes and nose to reveal the face.
Refine the Face Close the Back
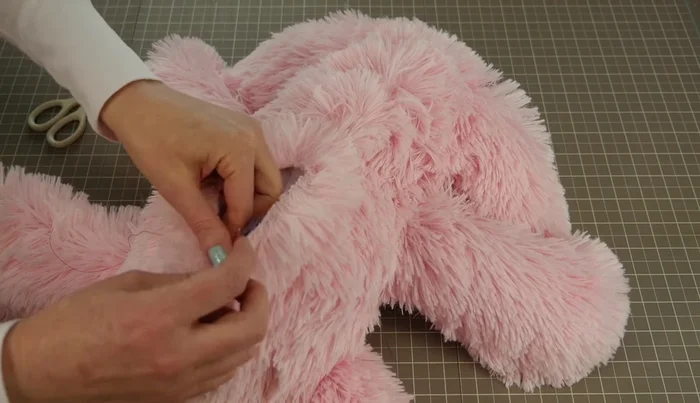
- Close the back opening with a ladder stitch.
Close the Back


Read more: DIY Fluffy Duck Plushie Tutorial: A Step-by-Step Guide
Tips
- Always check the nap direction of furry fabrics before cutting and sewing.
- Use a vacuum to clean up excess fur during the cutting process.
- Trim the edges of furry fabric before sewing for cleaner seams.
- Use a hammer or rolling pin to flatten bulky seams.
- Clip curves when sewing darts to create a smooth, curved shape.