Adding piping to a pillow instantly elevates its aesthetic appeal, transforming a simple accessory into a sophisticated design element. Whether you're crafting a pillow from scratch or wanting to revamp an existing one, piping offers a professional finish that adds a touch of elegance and visual interest. It might seem intimidating at first, but with the right tools and a little patience, even beginners can master this sewing technique. Piping adds texture, definition, and a pop of color or pattern to complement your chosen fabric.
This beginner's guide will walk you through each step of the process, from selecting your materials to completing the final seam. We'll cover everything you need to know, including choosing the correct piping cord, creating the piping itself, and attaching it neatly and securely to your pillow. Ready to learn how to add that professional touch? Let's get started!
Preparation and Safety Guidelines
- Sewing machine
- Zipper foot
- Piping (e.g., Wrights)
- Scissors
- Pins or Clips
- Ruler
- Pencil or Chalk
- Polyfill stuffing or pillow form
- Iron (optional)
- Always use a sharp needle to avoid breaking the needle or injuring yourself. Dull needles require more force, increasing the risk of accidents.
- Handle your piping tool with care. Avoid forcing it through the fabric, as this could cause it to break or damage your pillow cover.
- If working with a sewing machine, ensure the needle and presser foot are appropriate for the fabric and piping cord you are using. Incorrect settings can lead to damage or injury.
Step-by-Step Instructions
Prepare the Fabric
- Mark quarter-inch lines from the raw edge at all four corners of your pillow's front fabric.
Attach the Piping
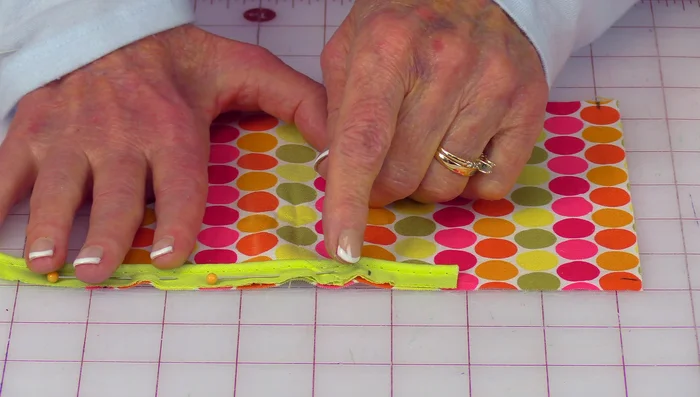
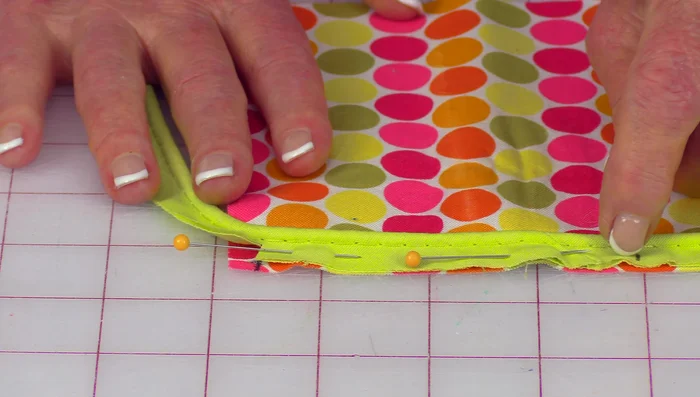
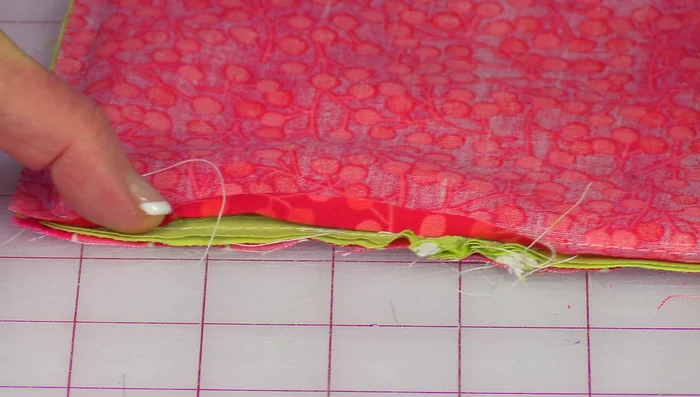
- Pin or clip the piping to the front fabric, aligning it with the quarter-inch marks. Note the end of the piping where the two ends will meet.
- Baste the piping to the front fabric with a temporary basting stitch, about ⅛ inch from the raw edge. Stop at the slit where the piping ends meet, leaving the needle down.
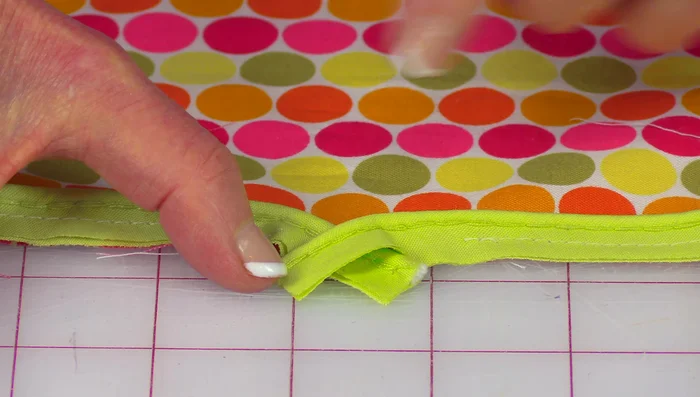
- Overlap the piping ends, crisscrossing them, and stitch across the top to secure.
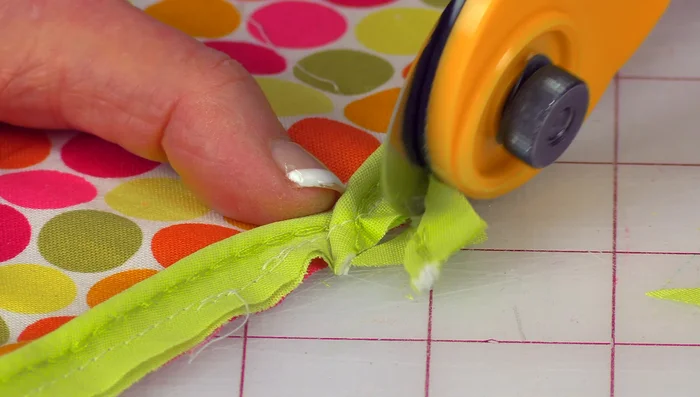
- Trim the excess piping.

Attach the Piping Assemble the Pillow
- Place the back fabric on top of the piping and the front fabric, right sides together. Use pins or clips to secure.
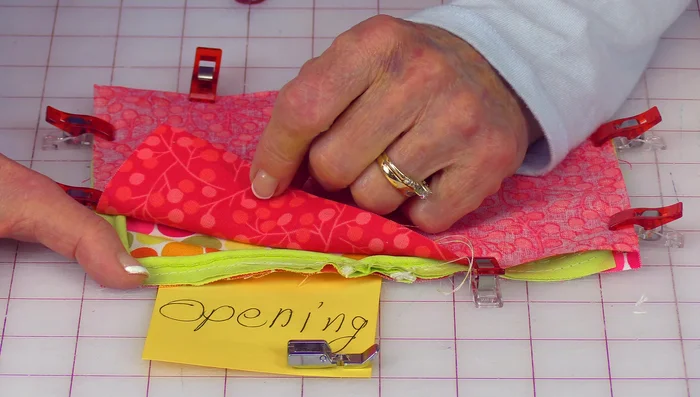
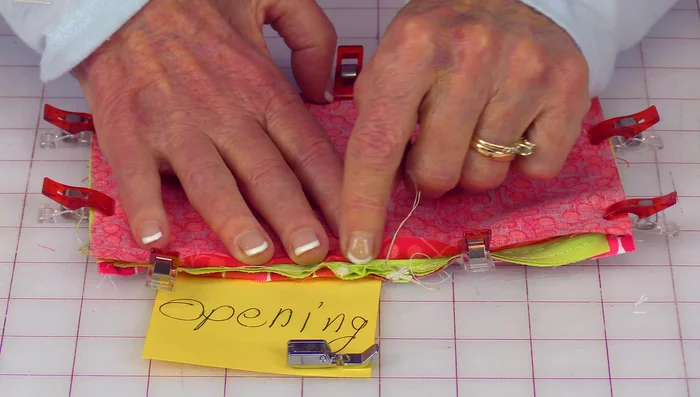
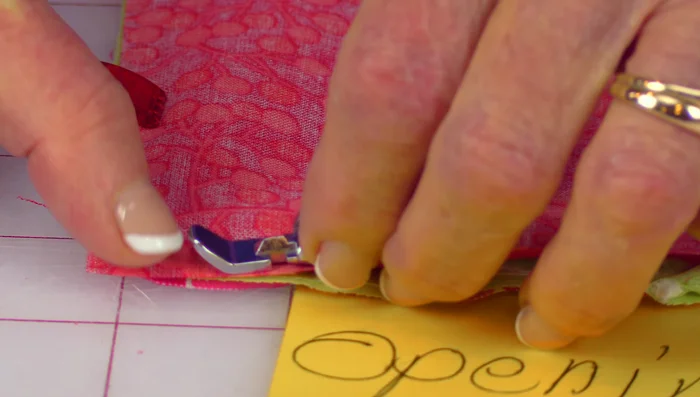
- Leave an opening on a side (avoid the piping seam). Backstitch at the beginning and end of your stitching.
- Stitch around the pillow, using a zipper foot to keep the stitching close to the piping, leaving the needle down at the corners to aid in turning.
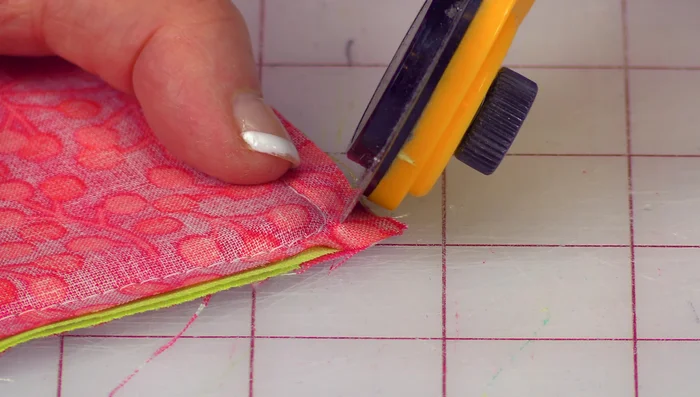
- Trim the corners of the fabric, being careful not to cut into the stitching.
Assemble the Pillow Finish the Pillow
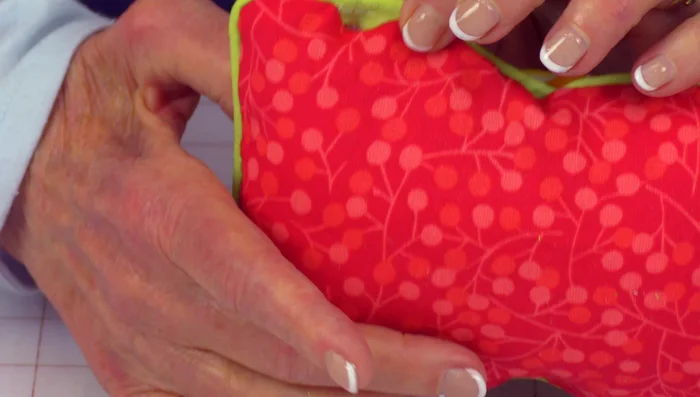
- Finger press or iron a crease at the opening to make closing easier.
- Turn the pillow right side out, pushing out the corners.
- Stuff the pillow with polyfill or insert a pillow form.
- Close the opening with a whip stitch or ladder stitch (video provides a link for ladder stitch).
Finish the Pillow
Read more: DIY Super Cute Whale Shower Curtain: A Step-by-Step Tutorial
Tips
- Use a zipper foot for accurate stitching close to the piping.
- Place piping on the ‘pretty’ side of the fabric.
- For a large pillow, make the opening big enough to easily insert your hand.