The humble pillow: a seemingly simple object, yet crucial to a restful night's sleep. But beyond its comforting function lies an opportunity for crafting perfection. A beautifully sewn pillow, with its crisp corners and flawless seams, elevates the bedroom aesthetic and provides a tangible sense of accomplishment. This isn't just about stuffing fabric; it's about mastering techniques that transform a simple project into a testament to your sewing prowess. We'll explore the nuances of fabric selection, precise cutting, and professional-grade finishing touches that elevate your pillow-making skills.
This guide dives into the detail, providing you with expert advice and step-by-step instructions to create a pillow that boasts a truly crisp, clean finish. From perfectly mitered corners to invisible seams, you'll learn the secrets to achieving that professional look and feel, transforming your handmade pillow from ordinary to extraordinary. Let's begin sewing the perfect pillow!
Preparation and Safety Guidelines
- Fabric
- Pillow insert/form
- Sewing machine
- Scissors
- Pins (optional)
- Measuring tape
- Always use sharp sewing machine needles and sharp fabric shears for clean cuts and accurate stitching to prevent fabric damage and injury.
- Handle your sewing machine with care; never reach into moving parts. Unplug the machine before cleaning or making adjustments.
- Pin carefully to avoid accidentally sewing pins into your fabric, which can damage your machine and/or injure you. Remove all pins before sewing near the area you are stitching.
Step-by-Step Instructions
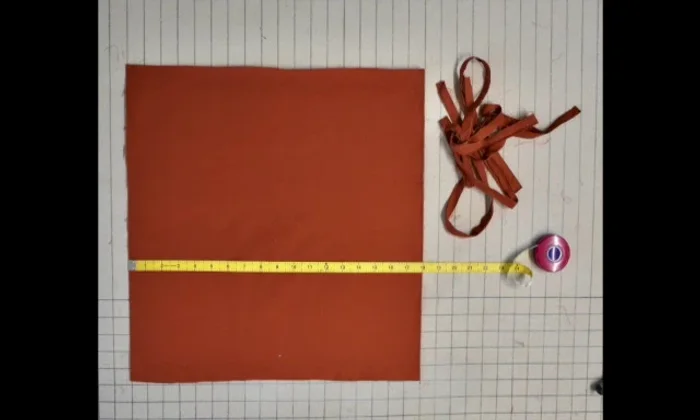
Measure and Cut Fabric
- Measure your pillow form accurately. The finished cover size should be smaller than the pillow form's measurement.
- Cut your fabric to the correct size for the finished pillow cover (e.g., 17 inches for an 18-inch pillow form).

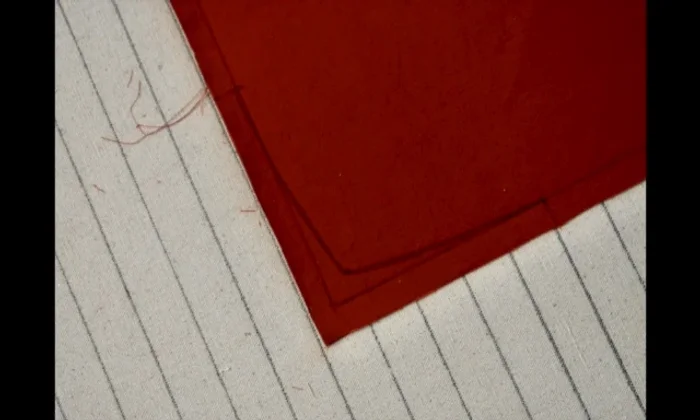
Measure and Cut Fabric Create Tapered Corners
- Mark a gentle curve starting approximately 5 inches from each edge, tapering inward about 1 inch (adjust based on pillow size).
Create Tapered Corners Sew Pillow Cover
- Stitch around the pillow, leaving a 6-inch opening for inserting the pillow form. Begin and end the stitching approximately 3 inches from the edge on the same side.
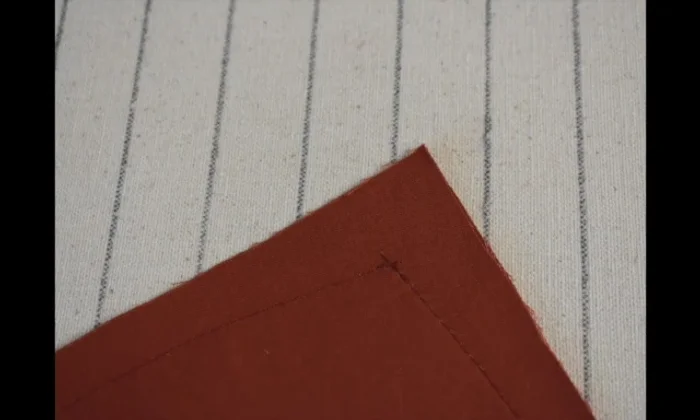
Sew Pillow Cover Create Sharp Corners
- Stitch slightly beyond the pivot point of your tapered corners (1-2 stitches) on both sides to create a sharp, clean corner after turning the pillow right side out.
Create Sharp Corners Trim and Finish
- Trim the corners close to your stitching.
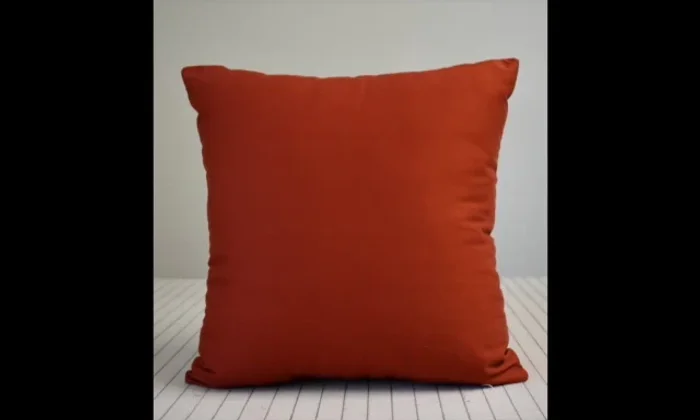
- Turn the pillow right side out, insert the pillow form, and carefully sew the opening closed.
Trim and Finish


Read more: King Size Quilt Tutorial: Efficient Chain Piecing Method
Tips
- For an 18-inch pillow form, don't cut 19x19 inch fabric; cut 17x17 inches to achieve the correct fit.
- Adjust the tapered corner measurement (5 inches starting point) based on the pillow size (smaller pillows may need 3-4 inches; larger pillows may need 6-7 inches).
- Stitching slightly beyond the corner pivot point ensures a crisp corner after turning.