The Penelope Pleated Top: a garment that effortlessly blends elegance and simplicity. Its distinctive pleated detailing adds a touch of sophistication, making it perfect for everything from a casual brunch to a sophisticated evening event. This seemingly intricate design is surprisingly achievable, even for beginner sewists, with the right guidance. The delicate pleats create a beautifully flowing silhouette, flattering various body types and offering a unique, handcrafted feel absent from mass-produced clothing.
This comprehensive guide will walk you through each stage of creating your own Penelope Pleated Top, from selecting the right fabric to mastering the final finishing touches. Prepare to be amazed at how easily you can sew this stylish piece; let’s dive into the step-by-step instructions now.
Preparation and Safety Guidelines
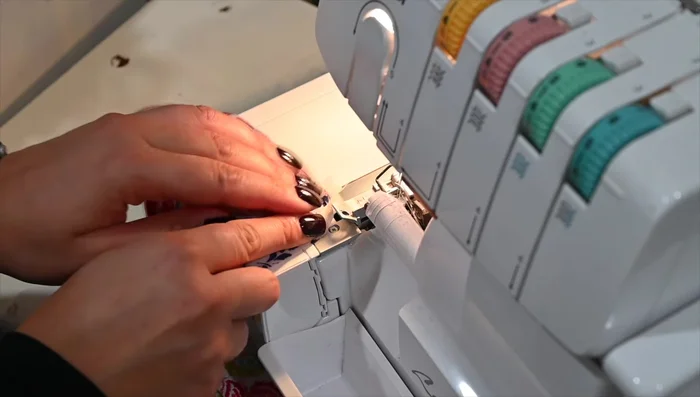
- sewing machine
- serger (optional)
- iron
- pinking shears (optional)
- measuring tape
- pins
- elastic
- Always use sharp sewing machine needles and pins appropriate for your fabric type to prevent skipped stitches and fabric damage. Dull needles can cause fabric breakage and injury.
- Take your time and carefully follow the pattern instructions, especially when pleating. Accurate pleat placement is crucial for the finished garment's appearance.
- Pre-wash your fabric before cutting and sewing to avoid shrinkage that could alter the fit of your finished Penelope Pleated Top.
Step-by-Step Instructions
Prepare the Facing
- Fuse interfacing to the wrong side of the facing pieces.
- Sew the shoulder seams of the facing pieces together.
- Serge or zigzag stitch the raw edges of the facing.

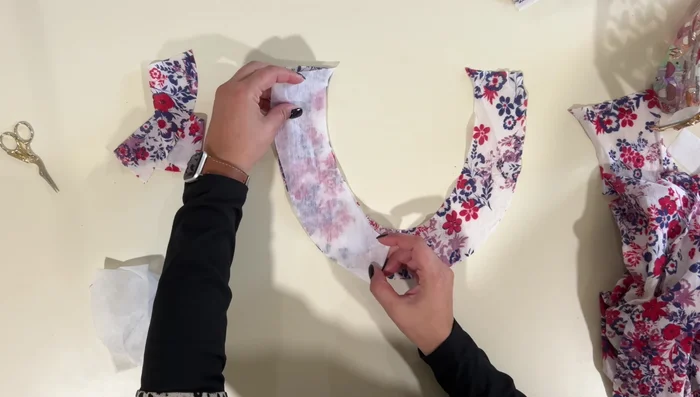
Prepare the Facing Prepare the Bodice
- Sew a quarter-inch away from the neckline edge on both front and back pieces.
- Sew the shoulder seams of the front and back bodice pieces together, right sides together.
- Press seam allowances open and stitch each separately for a cleaner finish. Alternatively, stitch seam allowances closed and press.
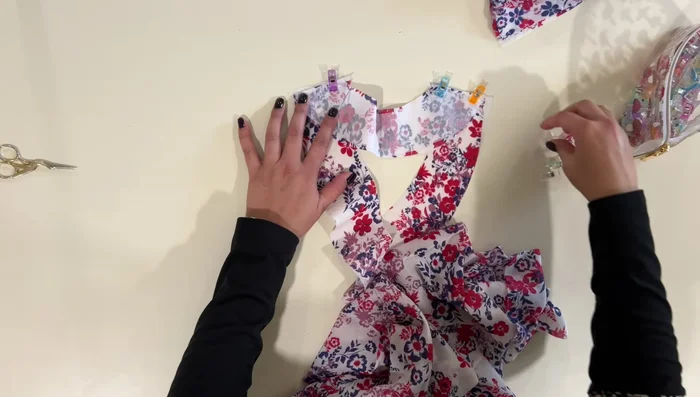
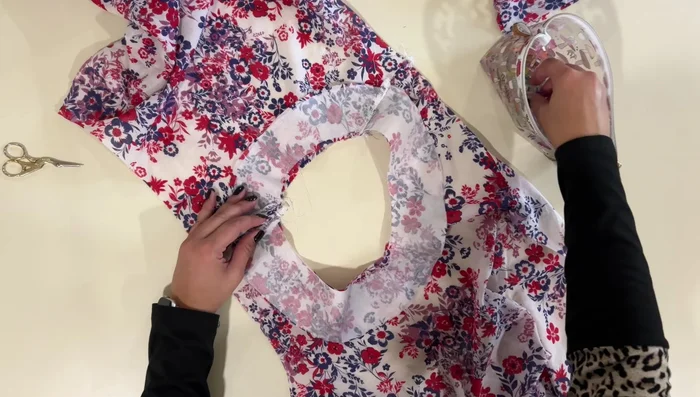
Prepare the Bodice Attach Facing to Bodice
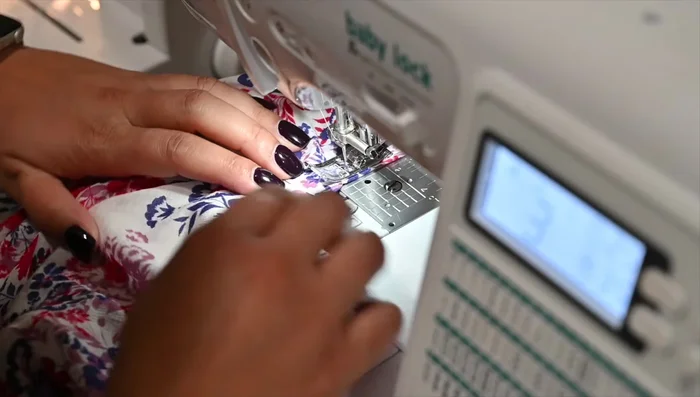
- Sew the facing to the bodice neckline, right sides together.
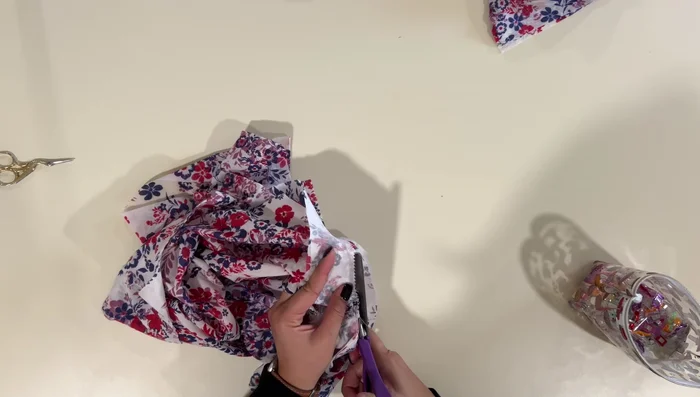
- Trim seam allowance of neckline to prevent bulk.
- Flip seam allowance towards facing and topstitch to secure.
- Stitch the facing down at the shoulder seams.
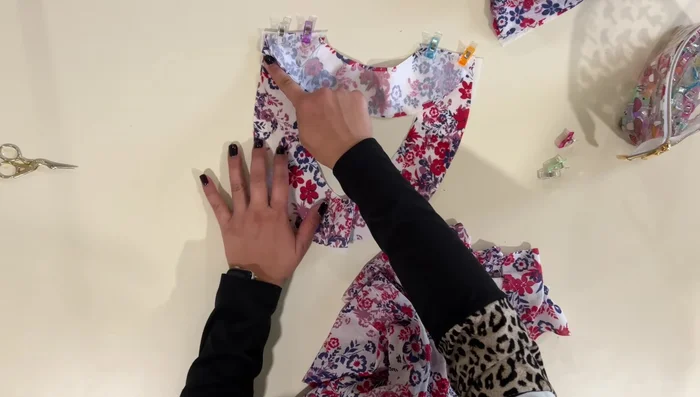
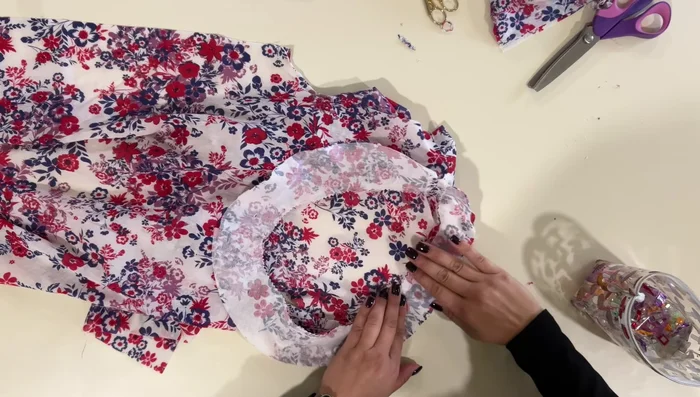
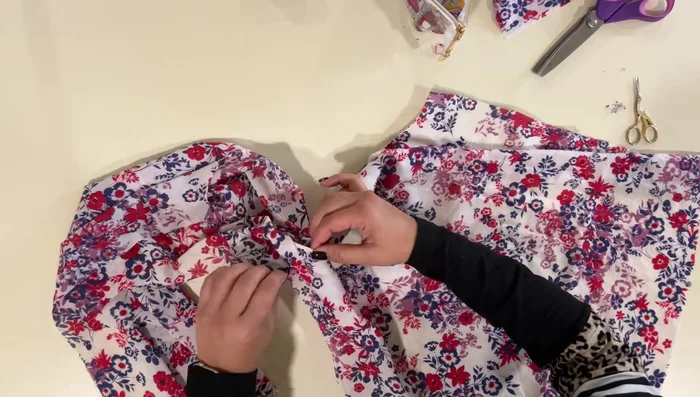
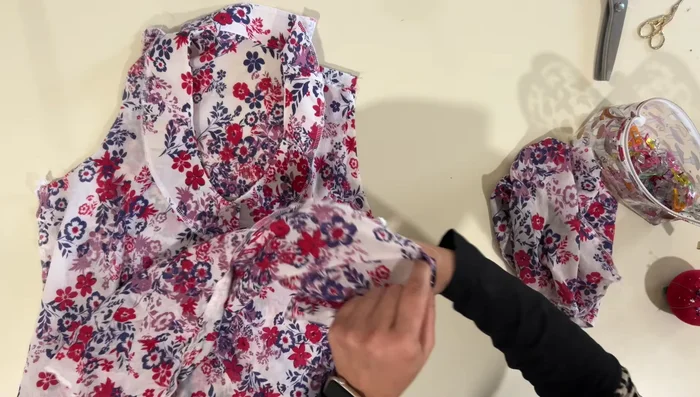
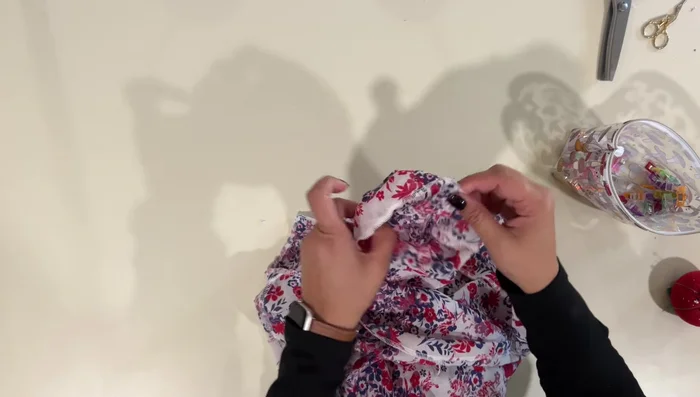
Attach Facing to Bodice Create Front Pleat
- Fold a 1-inch section at the front neckline and stitch to secure.
- Backstitch to hold down the pleat.
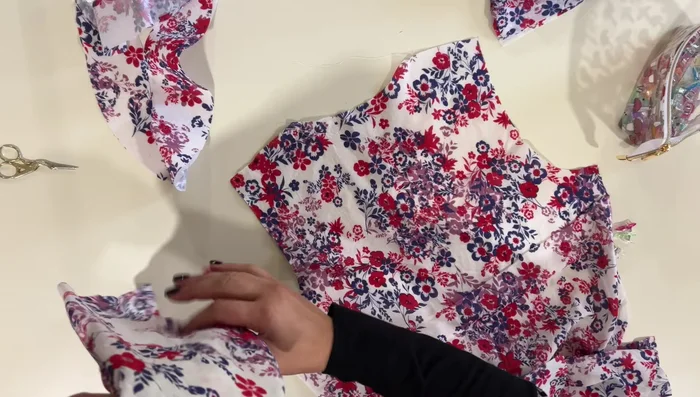
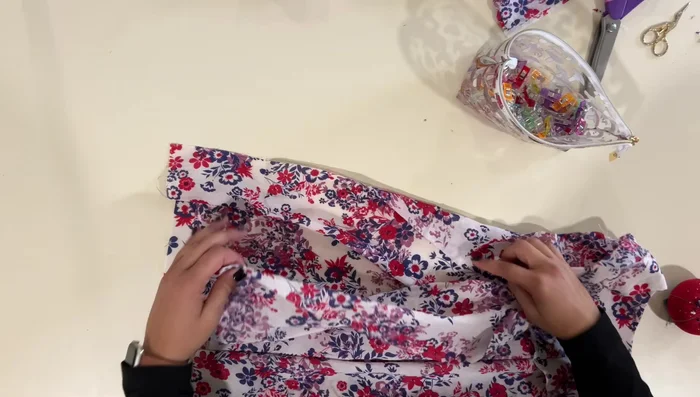
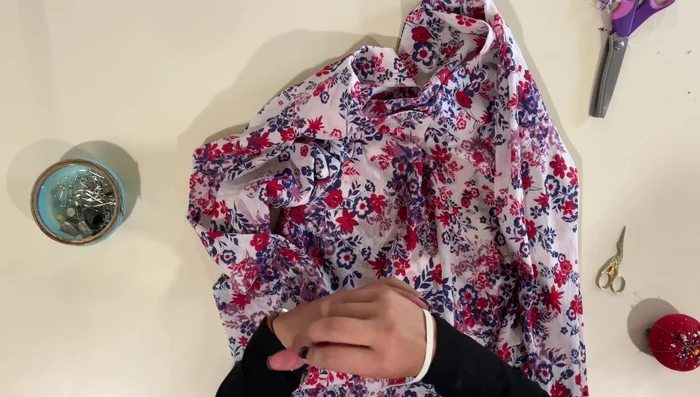
Create Front Pleat Sew Side Seams
- Sew the side seams of the bodice, right sides together.
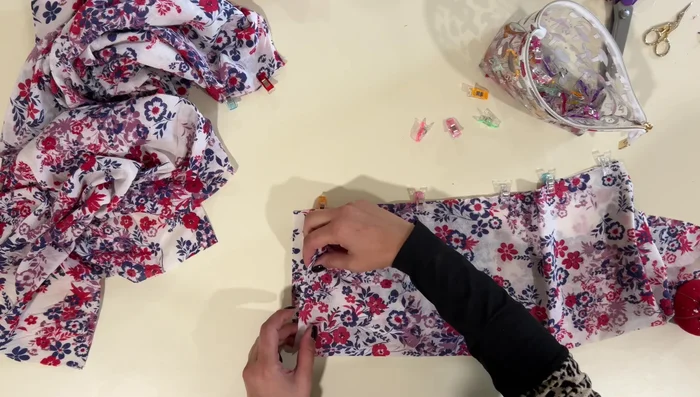
Sew Side Seams Prepare and Attach Sleeves
- Sew the sleeve seams, right sides together.
- Serge or zigzag stitch the raw edges of the sleeve.
- Insert sleeves into armholes, matching seams and gathering the top of the sleeves to fit.
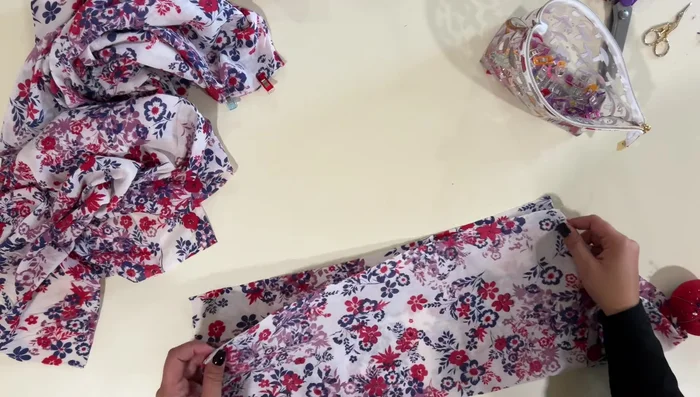
Prepare and Attach Sleeves Hem and Finish Sleeves
- Fold and hem the bottom of the bodice and sleeves. For the sleeves, leave a 2-inch gap for elastic insertion.
- Insert elastic through the sleeve hem gap, overlap ends, and zigzag stitch to secure. Close the gap.
Hem and Finish Sleeves
Read more: Raglan Sleeve Sewing Tutorial: A Step-by-Step Guide
Tips
- Using pinking shears helps prevent fraying.
- Pressing open seams before stitching creates a flatter, more professional finish.
- Take it slow while understitching to prevent stitching onto the bodice.
- Use matching thread color for the pleat stitching, or hand stitch from the back to hide it.
- Adjust elastic length for desired fit.