Are you ready to add a stylish and comfortable pair of Penelope pants to your wardrobe, without spending hours hunched over a sewing machine? This quick and easy tutorial is perfect for beginners, guiding you through the creation of these effortlessly chic trousers. No complicated patterns or advanced techniques are required – just a few simple steps and a little bit of patience will have you sporting a brand new pair of handmade pants in no time. Forget expensive ready-to-wear options and embrace the satisfaction of crafting something beautiful yourself.
Penelope pants are known for their relaxed fit and flattering silhouette, making them ideal for everything from weekend lounging to casual outings. This tutorial will walk you through each stage of the process, from cutting out the fabric to the final hemstitch. So grab your fabric, your sewing machine (or needle and thread!), and let's get started with the step-by-step instructions below.
Preparation and Safety Guidelines
- Sewing machine
- Serger (optional)
- Invisible zipper foot (recommended)
- Iron
- Ironing board
- Pins
- Measuring tape
- Scissors
- Always use sharp sewing machine needles and pins to prevent fabric from being pulled or damaged. Dull needles can cause skipped stitches and broken threads.
- Before starting to sew, carefully check the fabric for any flaws and pre-wash it to avoid shrinkage after the pants are completed.
- When using the sewing machine, keep your fingers away from the needle to avoid accidental pricks. Use a seam guide or markings on your fabric to ensure consistent seam allowances.
Step-by-Step Instructions
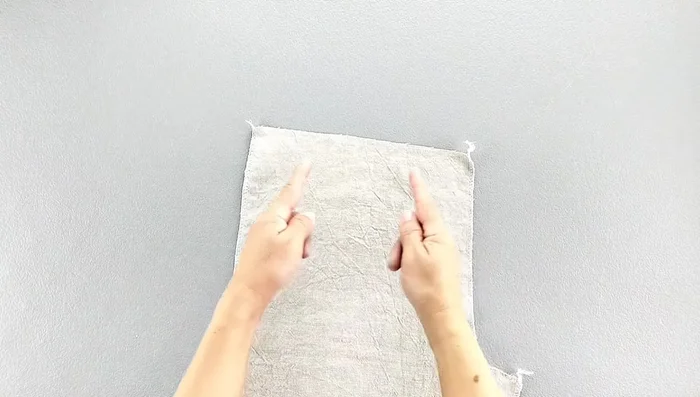
Preparing the Pant Pieces
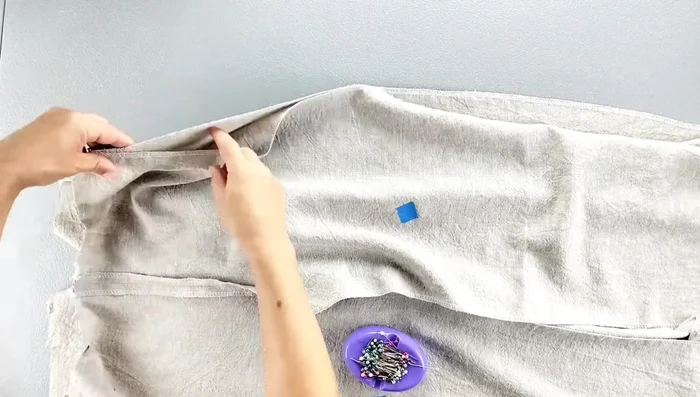
- Form the front pleats. Fold and pin according to the pattern notches.
- Baste the pleats in place.
- Pin and sew the darts on the back pieces.
- Press the darts towards the center back.

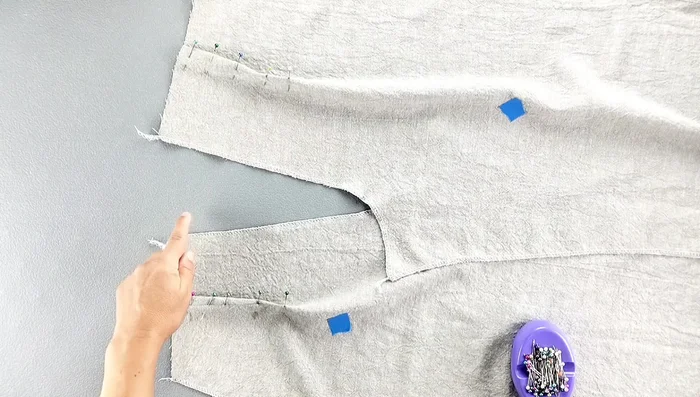
Preparing the Pant Pieces - Sew the crotch curve of the front pant pieces together.
- Press the crotch seam open.
- Sew the crotch curve of the back pant pieces together (bottom section only).
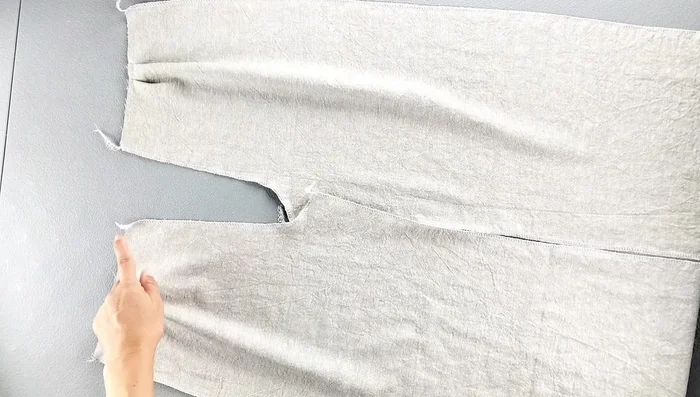
Preparing the Pant Pieces Sewing the Leg Seams
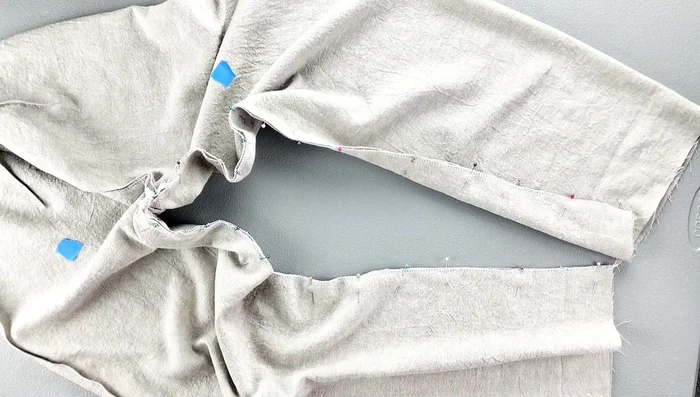
- Sew the outer leg seams of the front and back pant pieces together.
- Press the outer leg seams open.
- Sew the inseam, matching the crotch seams.
- Press the inseam open.
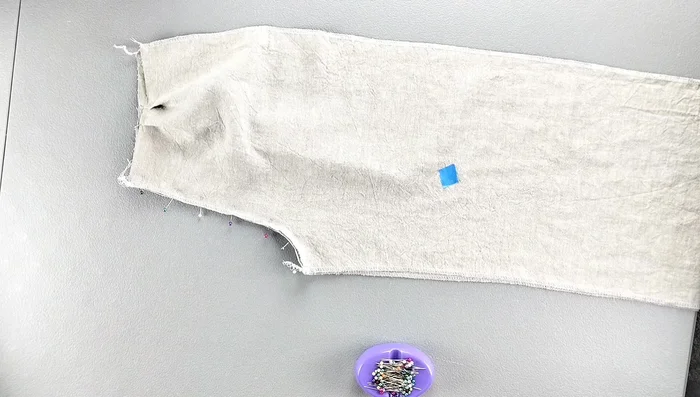
Sewing the Leg Seams Preparing and Attaching the Waistband
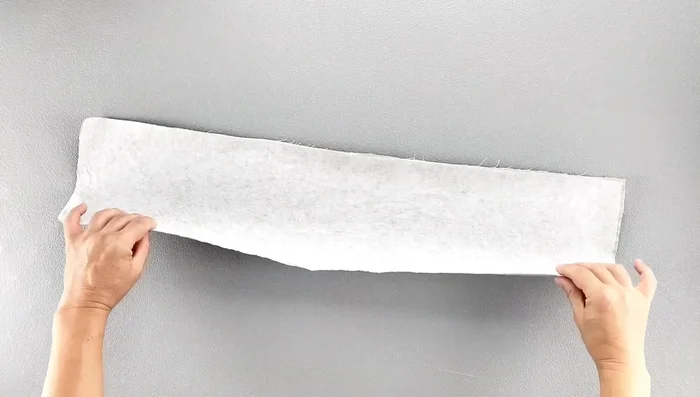
- Fold in half, press, and serge/finish the short edges.
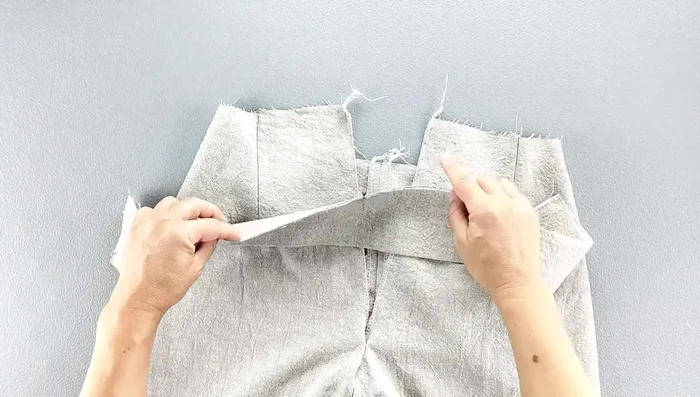
- Attach the waistband to the top of the pants, aligning center fronts and backs. Pin in place.
- Sew the waistband to the pants.
- Press the waistband seam down.
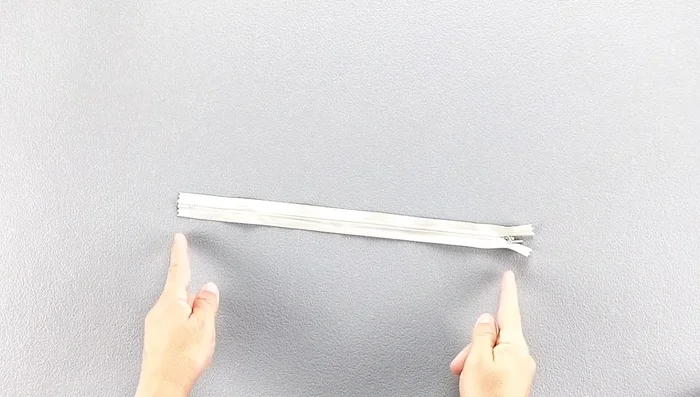
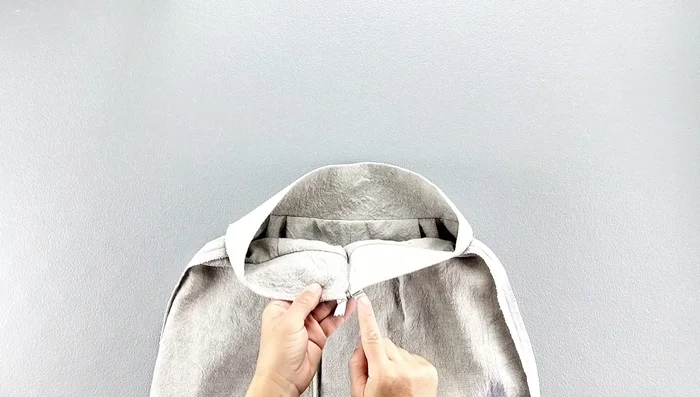
Preparing and Attaching the Waistband Installing the Invisible Zipper
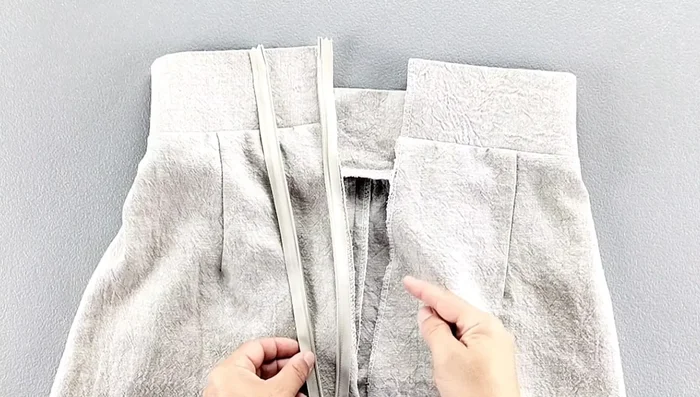
- Press open the zipper coils.
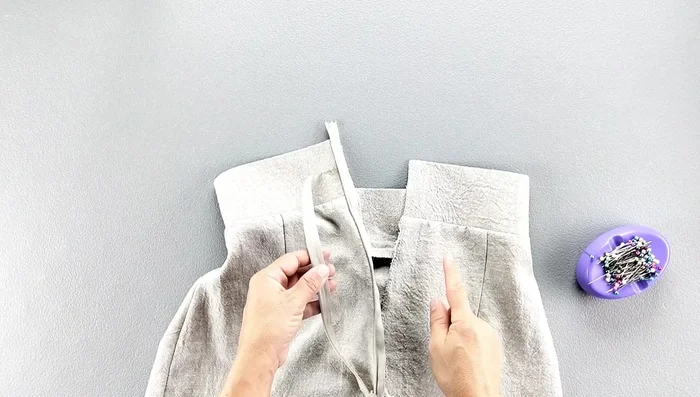
- Pin one side of the zipper to one back pant opening, aligning the top of the zipper with the waistband and the zipper teeth 1/2 inch from the finished edge.
- Sew the zipper to the pant opening.
- Turn the pants inside out and close the zipper to align both sides.
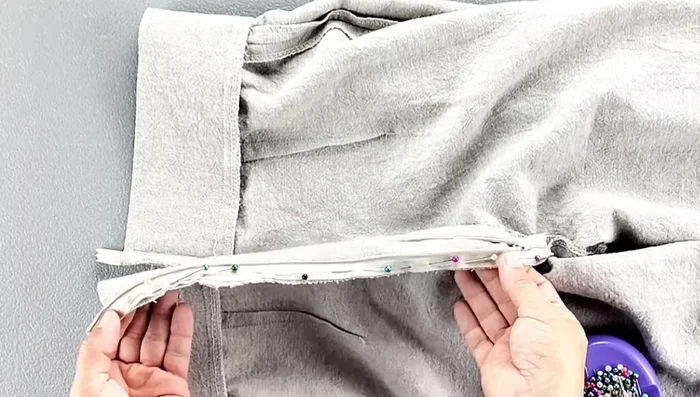
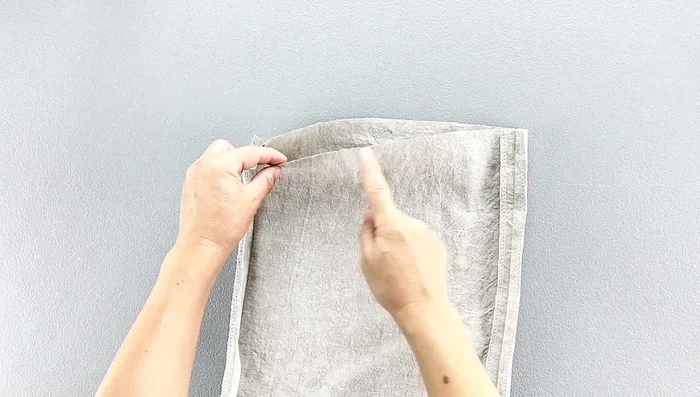
Installing the Invisible Zipper - Pin the other side of the zipper to the other pant opening, matching the waistband seam and zipper tape edge.
- Sew the second side of the zipper.
- Close any gaps in stitching.
- Fold and sew the zipper tape to the inside of the waistband.
Installing the Invisible Zipper Finishing the Pants
- Finish the crotch curve, inner leg seam, and outer leg seam using a serger (or overlock stitch on your sewing machine).
- Finish and press the pant leg hems.
- Edgestitch the hems.
Finishing the Pants


Read more: Raglan Sleeve Sewing Tutorial: A Step-by-Step Guide
Tips
- Use a medium-weight linen for a comfortable and stylish result.
- An invisible zipper foot makes zipper installation easier.
- Accurate measurement charts ensure a perfect fit.
- The entire process takes just over an hour!