Tired of that old nightie gathering dust in your drawer? Don't toss it! Give it a new life with this exciting upcycling project: transforming your unwanted sleepwear into a stylish and unique patchwork dress. This isn't your grandmother's quilting; we're employing a lightning-fast patchwork method perfect for even the busiest crafter, requiring minimal sewing experience and producing maximum impact. Say goodbye to complicated patterns and hours of meticulous stitching. This project is all about embracing imperfection and celebrating the beauty of repurposed fabrics.
This guide will walk you through a streamlined approach to creating a stunning upcycled nightie dress, offering a surprisingly simple way to breathe new life into old clothes. Prepare to be amazed at how quickly you can transform a discarded garment into a wearable work of art. Let's dive into the step-by-step process and create your own one-of-a-kind patchwork masterpiece!
Preparation and Safety Guidelines
- Sewing machine
- Scissors
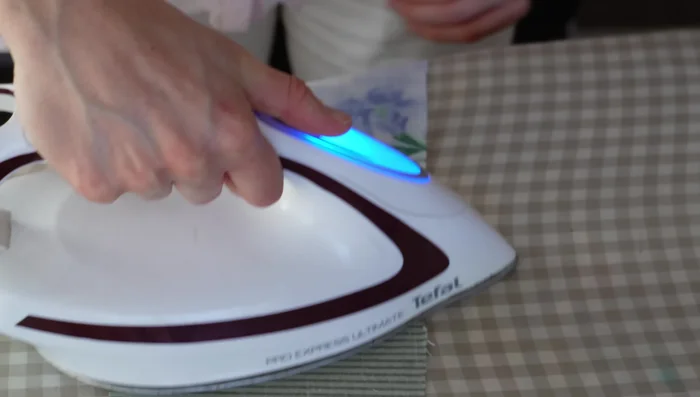
- Iron
- Pins
- Measuring tape
- Always use sharp, clean scissors or rotary cutter to prevent fabric snags and ensure clean cuts. Dull tools can lead to injuries.
- Handle your sewing machine needles and pins with care. Store them properly when not in use to prevent accidental pokes or injury.
- If using vintage or pre-owned fabric, pre-wash and dry it to remove any potential allergens or shrinking before starting the project. This also helps to check the fabric's condition.
Step-by-Step Instructions
Prepare the Base
- Cut the bodice to desired length.

Prepare the Base Create the First Tier
- Use a template rectangle to cut multiple pieces for the first tier. Vary lengths, maintain consistent width.
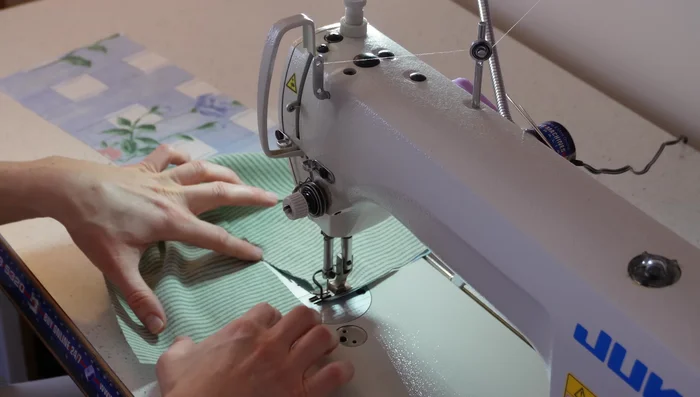
- Sew rectangles together without lifting the presser foot. Overlock or zig-zag stitch edges.
- Sew the long strip into a loop and overlock the edge.
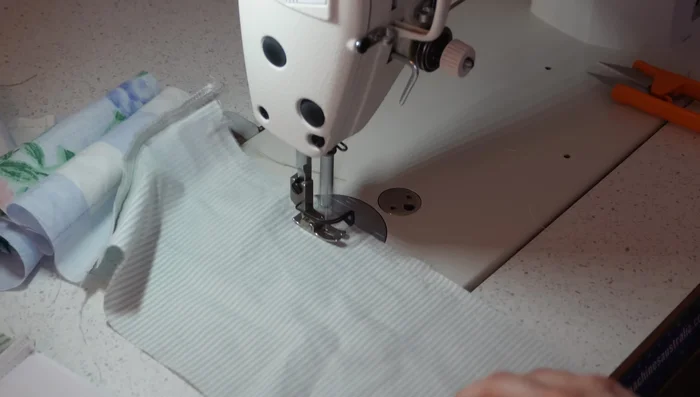
- Sew two parallel gathering stitches along the top edge of the loop. Pull threads to gather.
Create the First Tier - Pin the gathered loop to the bodice and stitch between the gathering lines to secure.
Create the First Tier Add Subsequent Tiers
- Repeat steps 2-6 for subsequent tiers. Vary width and gathering as desired.
- For longer tiers, sew directly as strips instead of loops. Join strips with a 1/2 inch seam allowance; overlap ends by 5-7 inches before sewing.
Finish the Dress
- Hem the dress.


Read more: Raglan Sleeve Sewing Tutorial: A Step-by-Step Guide
Tips
- Use lightweight scrap fabrics to avoid weighing down the dress.
- Sew two parallel gathering lines for even distribution and to avoid thread breakage.
- Use anchor pins when gathering to control even distribution.
- For very long tiers, use the high-tension pinch gathering technique.