Tired of those beloved jeans fading into the back of your wardrobe? Don't toss them just yet! With a little creativity and some simple techniques, you can breathe new life into your worn-out denim and create unique, personalized pieces. Upcycling old jeans is not only a sustainable way to reduce textile waste, it's also a fantastic opportunity to express your individual style and develop practical mending skills. From patching holes and reinforcing weakened seams to transforming discarded fabric into stylish accessories, the possibilities are endless. Think of it as giving your favourite pair of jeans a well-deserved makeover.
This guide offers a practical, step-by-step approach to repairing your beloved denim using the age-old technique of patchwork. We'll cover everything from choosing the right patches and prepping your jeans for repair to mastering various stitching methods for a durable and aesthetically pleasing finish. Let's get started on transforming those tattered jeans into treasured heirlooms!
Preparation and Safety Guidelines
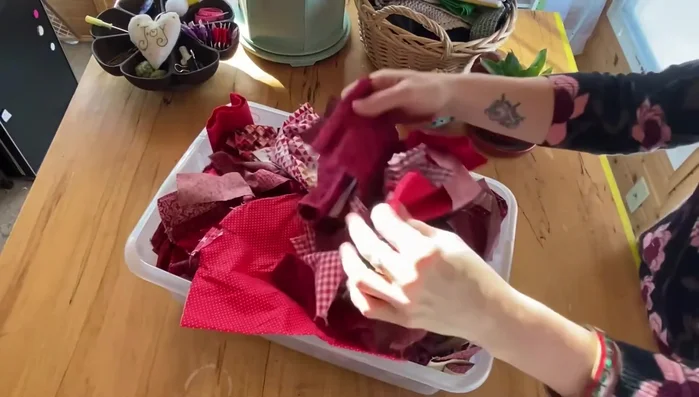
- Fabric scraps
- Scissors
- Sewing machine (optional)
- Embroidery hoop (optional)
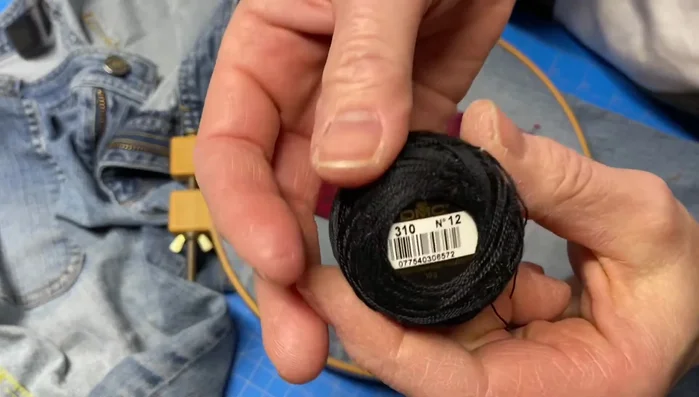
- Embroidery thread
- Ruler
- Pins
- Iron
- Spray starch
- Always use sharp, clean scissors or rotary cutter to avoid injury. Dull blades require more force and increase the risk of slips.
- Be mindful of pins and needles. Store them safely when not in use, and be careful not to prick yourself.
- If using a sewing machine, ensure it is properly maintained and you are familiar with its safety features before operating. Keep fingers clear of the needle.
Step-by-Step Instructions
Patch Preparation
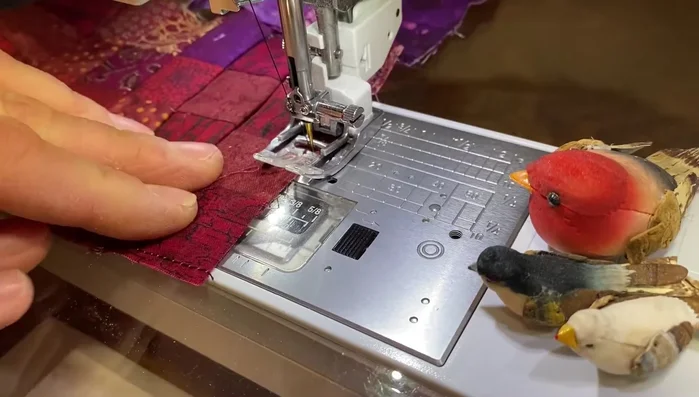
- Gather fabric scraps and cut them into 1.5-inch strips.
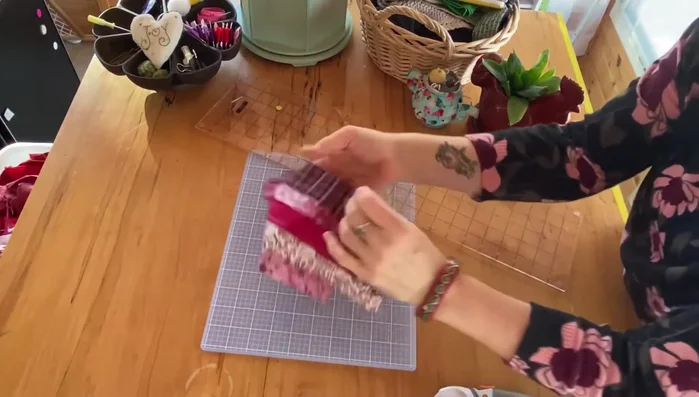
- Sew the strips together and cut them into 1.5-inch squares.
- Sew the squares together to create patches.

Patch Preparation Sewing Techniques
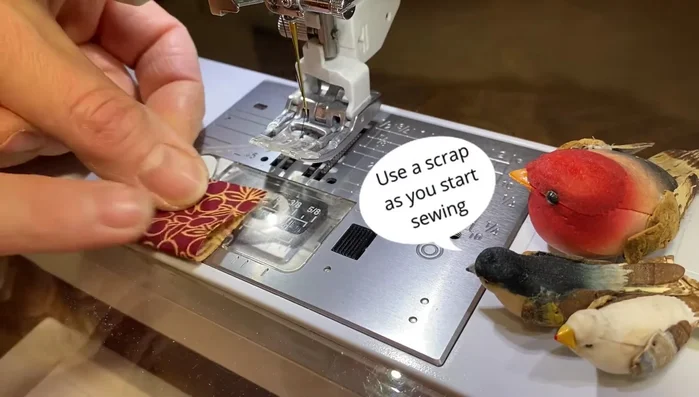
- Use a scrap piece to start sewing, preventing bird's nests.
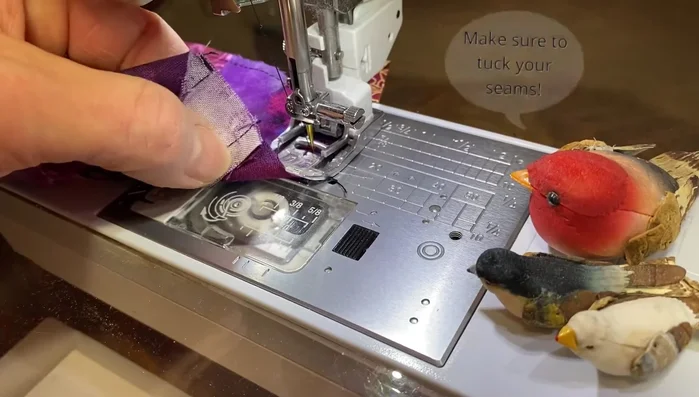
- Use a small seam (1/8 inch) and tuck seams to prevent bulkiness.
- Chain stitch two patches at a time, ensuring you go around the entire patch.
Sewing Techniques Patch Finishing
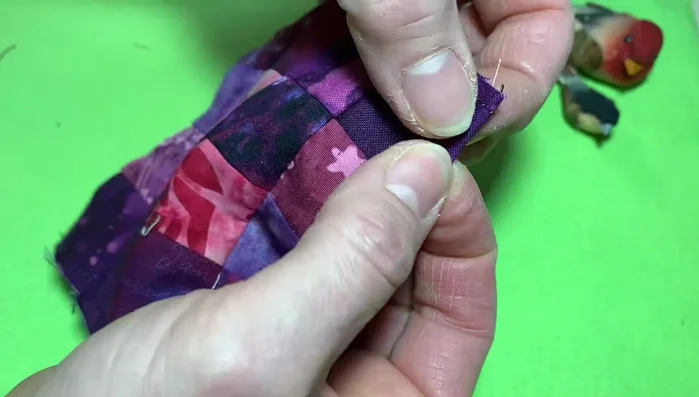
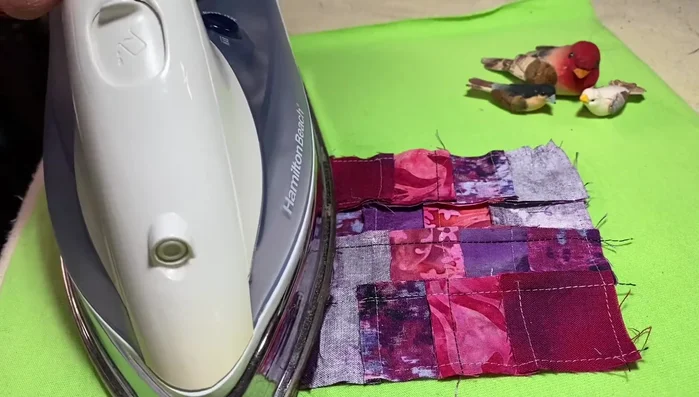
- Iron the seam from the back for easier folding.
- Use spray starch to help the fold sit flat. Press with an iron.
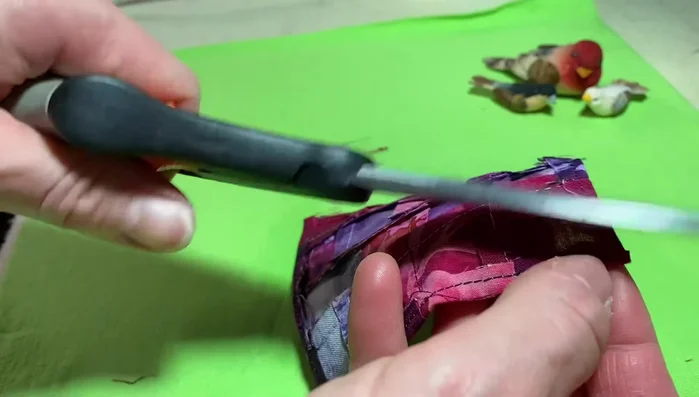
- Trim the corners of the patches to make them lay flat.
Patch Finishing Attaching the Patch
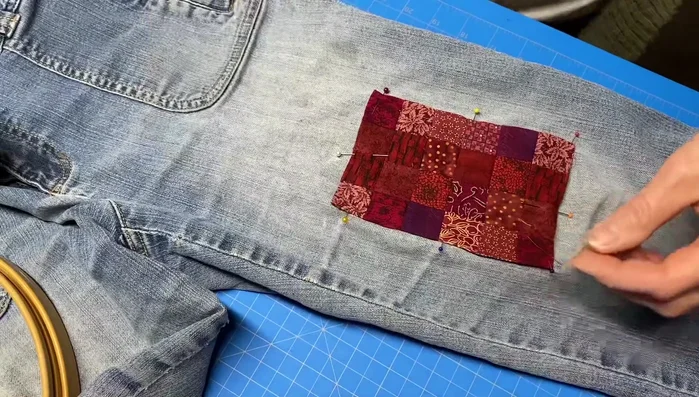
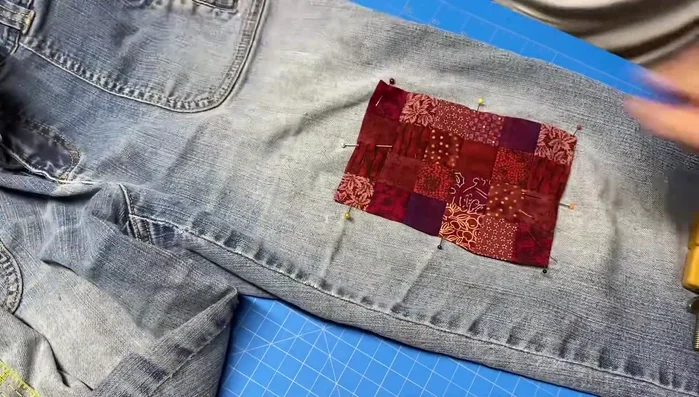
- Pin the patch to the jeans, using a ruler to avoid pinning to the back side.
- Use an embroidery hoop to help keep the fabric taut.
- Embroider around the perimeter of the patch with a blanket stitch and straight stitch in thinner areas.
Attaching the Patch

Read more: Raglan Sleeve Sewing Tutorial: A Step-by-Step Guide
Tips
- Use a scrap piece of fabric to start sewing to prevent bird's nests from forming.
- Use a small (1/8 inch) seam allowance and tuck your seams to avoid bulky patches.
- Iron the seam from the back side of the square for easier folding and pressing.
- Use spray starch to help keep the folded edges flat and crisp.
- Don't pin the patch to the back side of your jeans; use a ruler to help.