Have you ever dreamt of cuddling a sweet, fluffy owl companion? Now you can bring that dream to life! This adorable owl plushie sewing tutorial is designed specifically for beginners, guiding you through each step with clear instructions and helpful images. No prior sewing experience is necessary – just a little patience and enthusiasm for creating something cute and cuddly. We’ll be using simple techniques and readily available materials to ensure the entire process is enjoyable and accessible to everyone.
Forget about expensive, mass-produced toys; let's create something truly special and unique. This tutorial will show you how to sew a charming owl plushie that's perfect for gifting, decorating your home, or simply enjoying as a comforting friend. Ready to get started on this fun and rewarding crafting project? Let's dive into the step-by-step process, and in no time, you'll be the proud owner of your very own handmade owl!
Preparation and Safety Guidelines
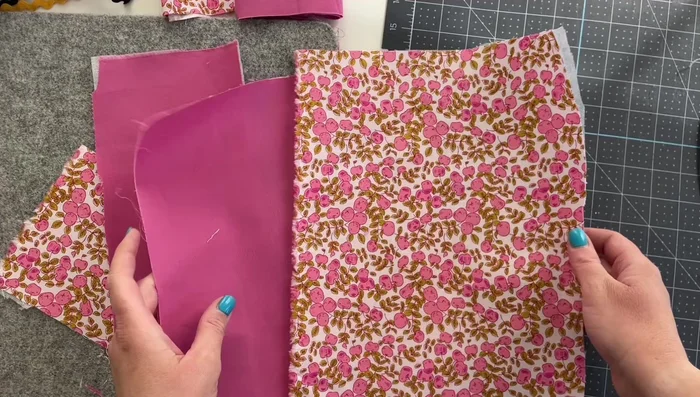
- Fabrics (solid and print recommended)
- Felt or buttons
- Lightweight fusible interfacing
- Stuffing
- Rick rack
- Sewing machine
- Needle and thread
- Pins
- Chopsticks (optional)
- Always supervise young children when using sewing needles and scissors. Keep them out of reach when not in use.
- Use fabric-safe stuffing material to avoid choking hazards. Ensure stuffing is securely fastened to prevent it from coming loose.
- If using a sewing machine, ensure you know how to operate it safely and follow the manufacturer's instructions.
Step-by-Step Instructions
Prepare Materials
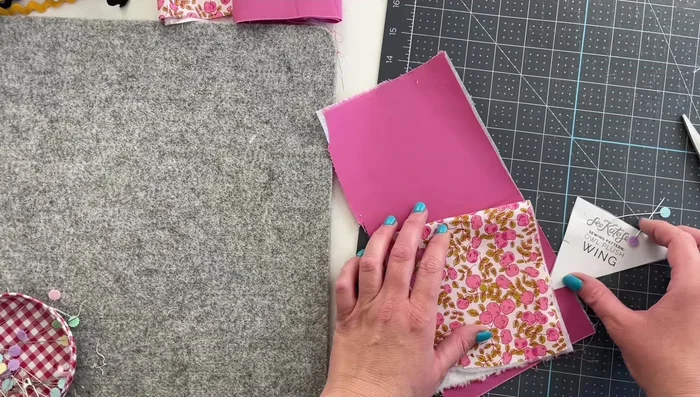
- Back your fabrics with lightweight fusible interfacing before cutting.

Prepare Materials Cut Fabric Pieces
- Cut one body piece from each fabric using the pattern. Cut four wing pieces (two mirror images from each fabric).
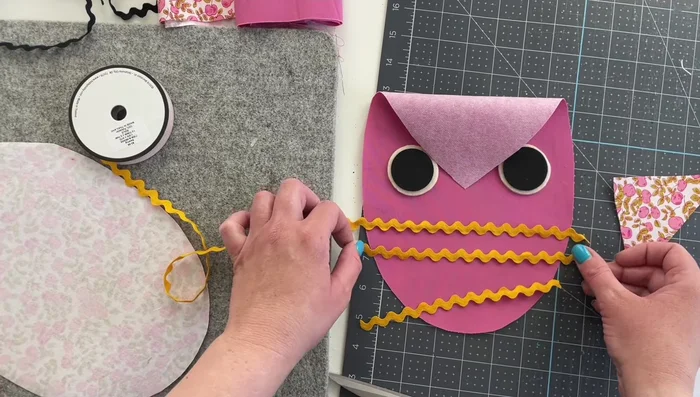
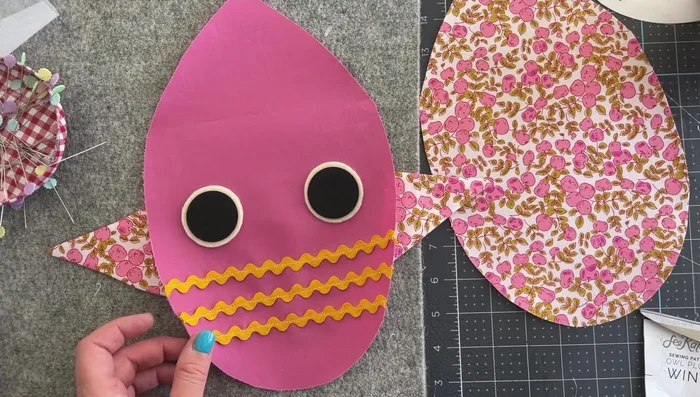
Cut Fabric Pieces Add Details to Front Piece
- Sew rickrack to the bottom of one body piece to create feather detailing. Use the eyes to help determine placement.
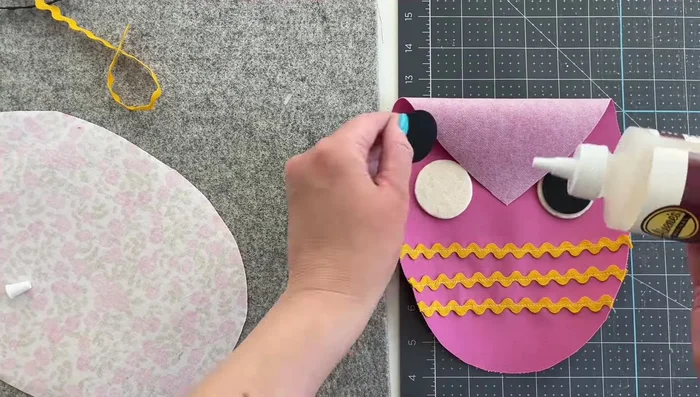
- Add eyes to the owl's face (using fabric glue or sewing).
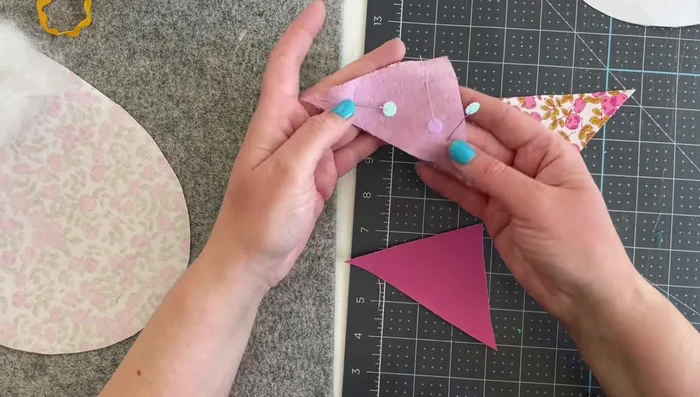
Add Details to Front Piece Assemble Wings
- Sew the solid and print wing pieces together, leaving the straight edge open. Turn right-side out and press.
Assemble Wings Attach Wings to Body
- Pin and sew the wings to the front body piece, aligning with the pattern markings.
Attach Wings to Body Sew Body Together
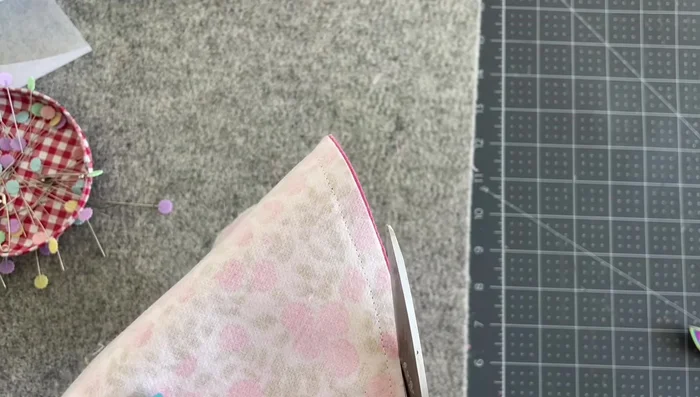
- Place the back body piece on top of the front (with wings attached). Sew around, leaving a 2-inch opening at the bottom.
Sew Body Together Turn and Trim
- Trim the seam allowance, clip curves, and turn the owl right side out.
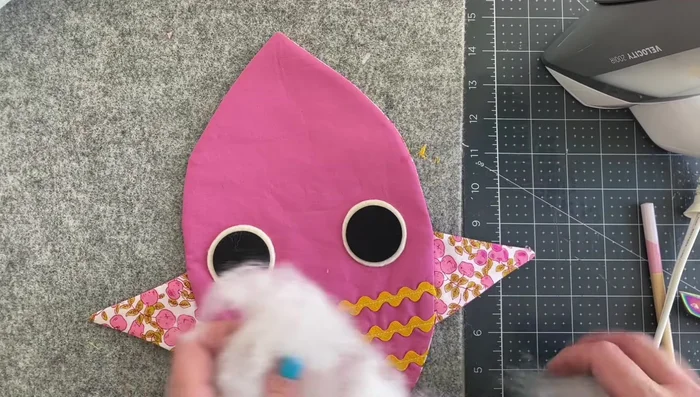
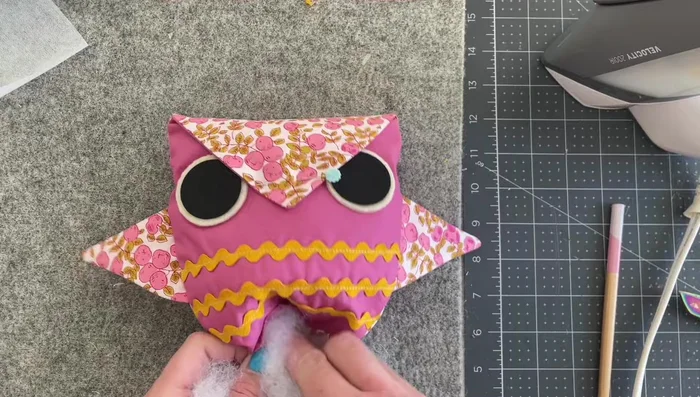
Turn and Trim Stuff and Shape
- Partially stuff the owl's body.
- Fold over the top point to create the beak shape and pin it in place. Experiment with the beak placement before fully sewing.
- Fully stuff the owl.
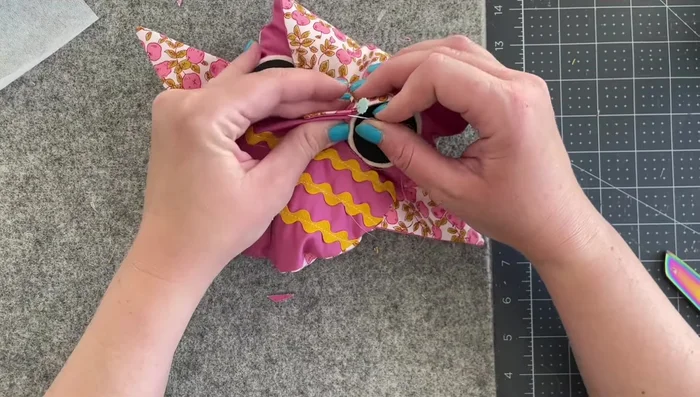
Stuff and Shape Close Openings
- Hand-sew the beak to secure it. Use a slip stitch to close the bottom opening.
Close Openings


Read more: DIY Fluffy Duck Plushie Tutorial: A Step-by-Step Guide
Tips
- Using lightweight fusible interfacing before cutting creates crisper edges.
- Fold fabric in half to cut mirror image wings.
- Use a chopstick or similar tool to help turn the wings and owl right-side out.
- Clipping curves and notches helps create a nice shape when stuffing.
- Press seams and points for a neat finish.