Ombre quilts, with their breathtaking gradient of color, offer a captivating visual experience. The subtle shifts in hue create a depth and richness that’s hard to replicate with other quilting techniques. Today, we're elevating the ombre effect with a stunning Z-pattern design, transforming a simple color transition into a mesmerizing, geometric masterpiece. Imagine the satisfaction of creating a quilt where the colors appear to dance and flow across the fabric, a true testament to your quilting skills. The unique zigzag pattern adds an element of modern sophistication, making this project perfect for both experienced quilters seeking a new challenge and ambitious beginners ready to tackle something truly special.
This tutorial provides a comprehensive, step-by-step guide to crafting your own mesmerizing Z-pattern ombre quilt, from fabric selection and preparation to the final binding. Get ready to be amazed as you witness the transformation from individual fabric pieces to a finished quilt that will be the centerpiece of any room. Let's begin!
Preparation and Safety Guidelines
- Sewing Machine
- Rotary Cutter (optional)
- Iron
- Marking Pen
- Fabric Scissors
- Use sharp fabric scissors to prevent fraying and ensure clean cuts, especially when working with intricate Z-pattern pieces.
- Always pre-wash your fabrics before cutting and sewing to prevent shrinkage and color bleeding after the quilt is completed.
- Handle your sewing machine needle and pins with care to avoid accidental pricks and injuries. Use a pincushion to keep pins organized and readily available.
Step-by-Step Instructions
Prepare Fabric Strips
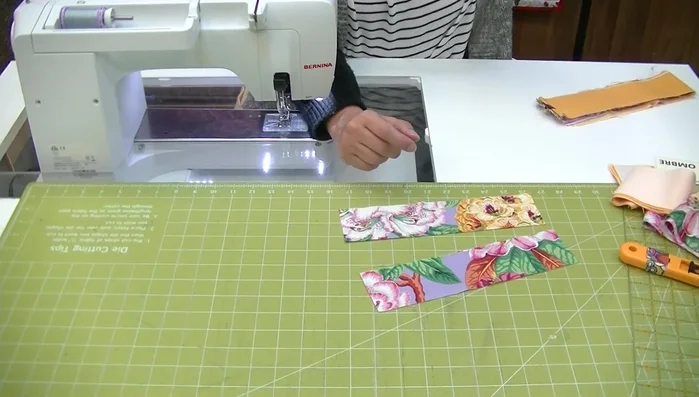
- Cut 28 strips of 2 1/2 inches from 2 yards of ombre fabric and 7-8 strips from 1 yard of focus fabric.
- Cut focus fabric into 10-inch strips.

Prepare Fabric Strips Create Fabric Loops
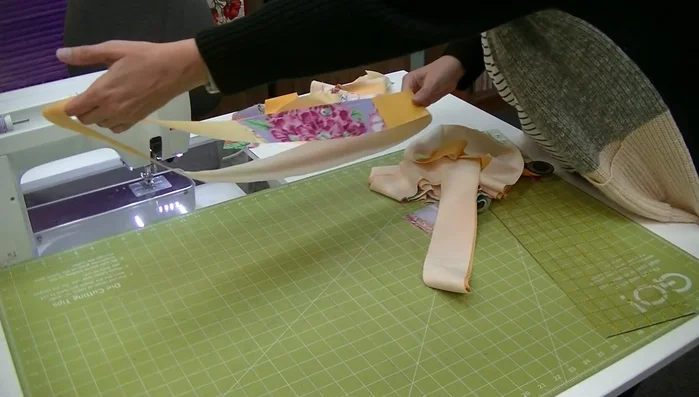
- Sew a piece of ombre fabric to a piece of focus fabric, paying attention to ombre color placement for visual impact.
- Sew the other end of the ombre strip to the first end to form a loop, incorporating the focus fabric.
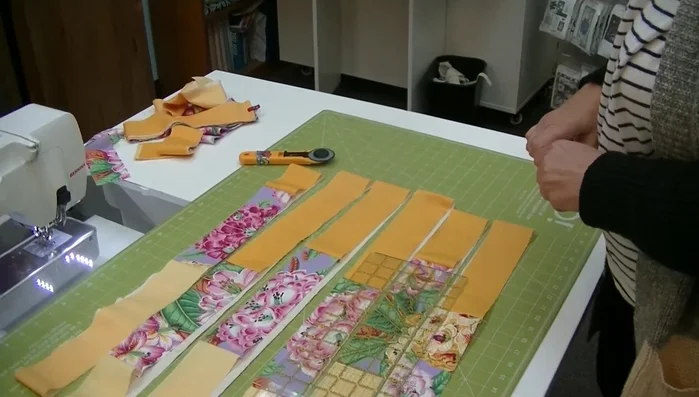
Plan Quilt Layout
- Arrange strips with light color ways on the same side, deciding on quilt layout (e.g., darkest to left, lightest to right).
Plan Quilt Layout Mark and Prepare for Sewing
- Mark 3 inches from the focus fabric on the dark side of the first strip. Subsequent strips are marked in 2-inch increments.
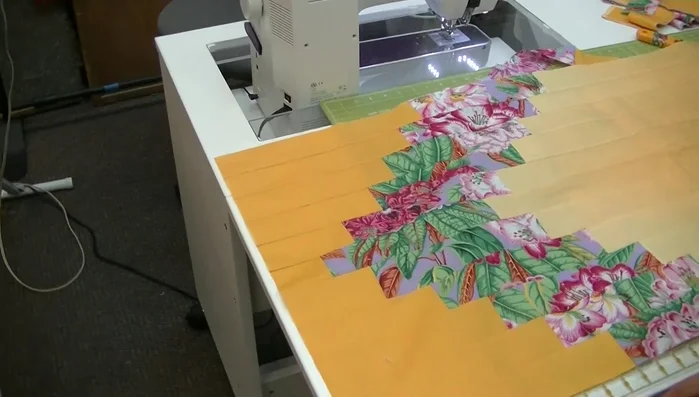
Mark and Prepare for Sewing Sew and Assemble Z-Pattern
- Sew strips together one by one, ironing and flipping after each strip to prevent wonkiness.
- Cut and sew strips, creating a Z-pattern with the focus fabric. The deepest point of the Z is 13 inches from the focus fabric, decreasing in 2-inch decrements.
Sew and Assemble Z-Pattern Complete Quilt
- Repeat the process until the desired quilt size is achieved.
Complete Quilt
Read more: King Size Quilt Tutorial: Efficient Chain Piecing Method
Tips
- Pay attention to color placement on ombre fabric for best visual effect.
- Sew and iron strips individually to avoid wonkiness.
- Don't worry about pressing seams open; let the fabric fall naturally.
- Adjust focus fabric size to change quilt dimensions. Consider 10-18 inches maximum width for the best effect.