Are you ready to embark on a fun and rewarding sewing project? This guide will walk you through the creation of a charming Lowland Kids Octi, a delightful octopus plushie perfect for cuddling, playing, or even gifting. Whether you're a seasoned stitcher or have barely touched a needle, this project is designed for beginners, using simple techniques and easily accessible materials. The adorable design of the Lowland Kids Octi makes it an ideal first project for those wanting to learn the basics of sewing, offering a satisfying sense of accomplishment upon completion.
This step-by-step guide provides clear instructions and accompanying images to help you create your very own Lowland Kids Octi from start to finish. Get ready to gather your supplies, and let's dive into the process of bringing this cute cephalopod to life! We'll cover everything from cutting the fabric to adding the finishing touches, ensuring a smooth and enjoyable sewing experience.
Preparation and Safety Guidelines
- sewing machine
- serger (optional)
- poly fill
- buttons
- fabric (two types)
- needle and thread
- clips
- Always use a sharp needle and appropriate sized thread to avoid breaking needles and potential injury. Keep your fingers clear of the needle path.
- Before operating the sewing machine, ensure you are familiar with its safety features and instructions. Keep fingers and loose clothing away from moving parts.
- Use fabric scissors specifically for fabric and not paper or other materials, as this will dull your scissors and affect the quality of your cuts.
Step-by-Step Instructions
Prepare the Eyes
- Sew the bottom eye panel to the eyelid piece, stuffing a little polyfill inside. Then attach the top eye panel to the bottom one.

Prepare the Eyes Assemble the Body Sections
- Sew two body panel pieces together along their inner edges.
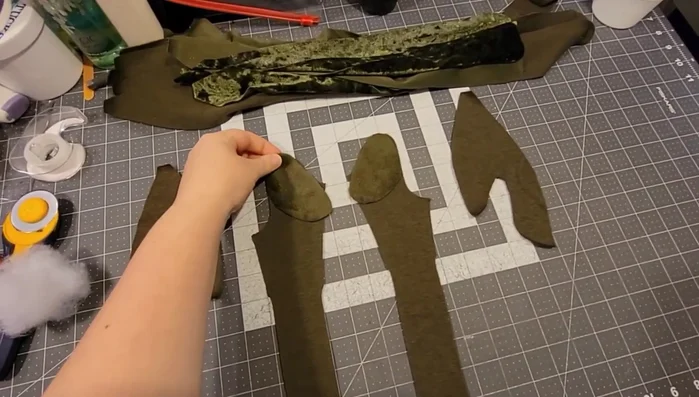
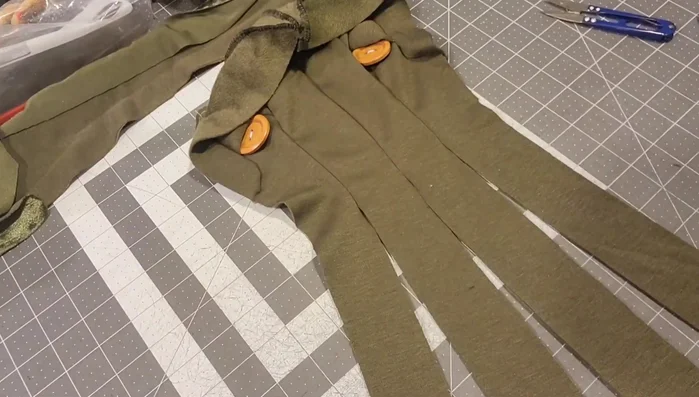
- Sew the inner tentacles together along their straight edges (either individually or in pairs, as demonstrated in the video).
Assemble the Body Sections Attach Eyes to Body
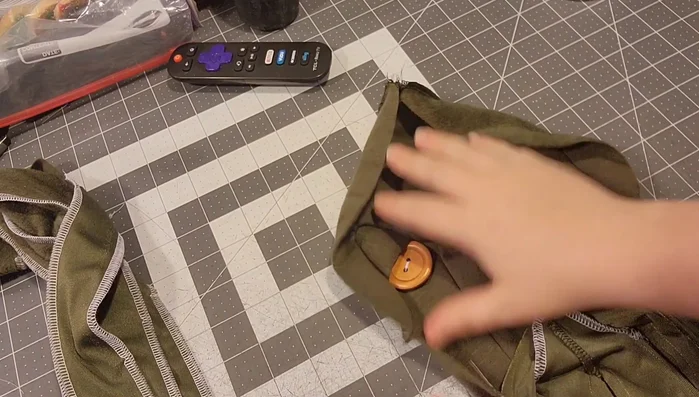
- Sew the completed eye panels onto the body panels.
Attach Eyes to Body Attach Tentacles
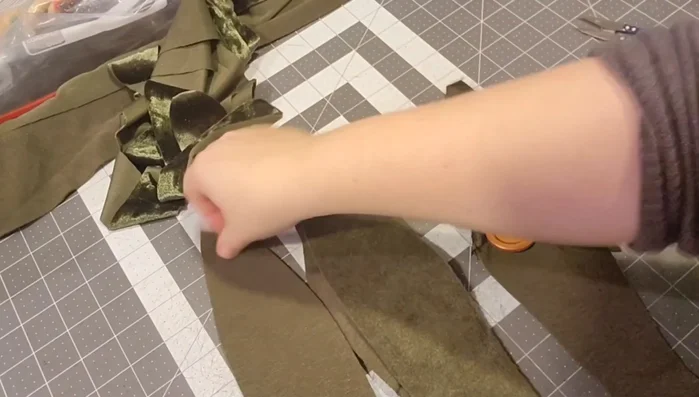
- Attach the tentacles to the body panels by sewing along the edge, one side at a time.
Attach Tentacles Final Assembly and Stuffing
- Sew the two halves of the octi body together, right sides facing. Leave a gap for stuffing.
- Stuff the octi with polyfill and close the opening by sewing the gap shut.
Final Assembly and Stuffing

Read more: DIY Fluffy Duck Plushie Tutorial: A Step-by-Step Guide
Tips
- Go slow and steady, especially when sewing the curved eye panels. Clipping helps.
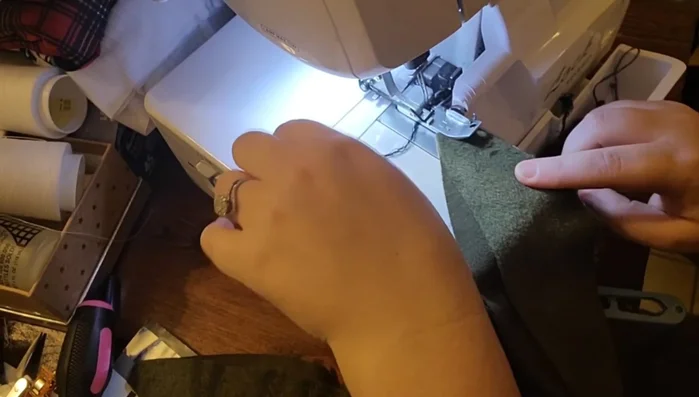
- Use a sewing machine for better control when sewing the curved eye pieces and attaching the tentacles. A serger might work for some, but the sewing machine offers more control for the curves.
- If you miss a stitch, go back over it. Don't stress about minor imperfections.
- Use appropriately sized buttons for easy sewing. Too-large buttons might make this step difficult.
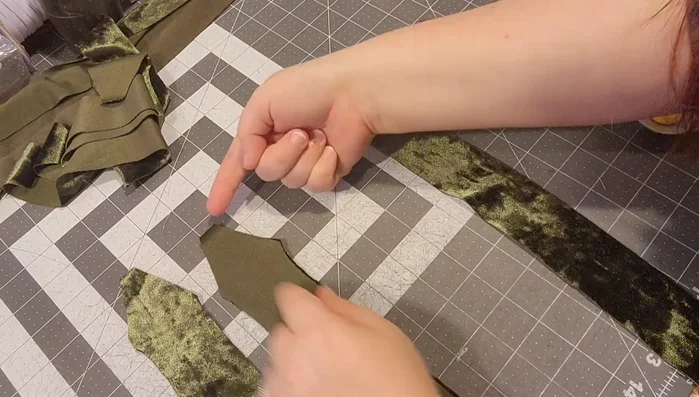
- Pay attention to matching up pieces, especially when attaching tentacles. Extra fabric might appear as you sew, so ensure the pieces align correctly.